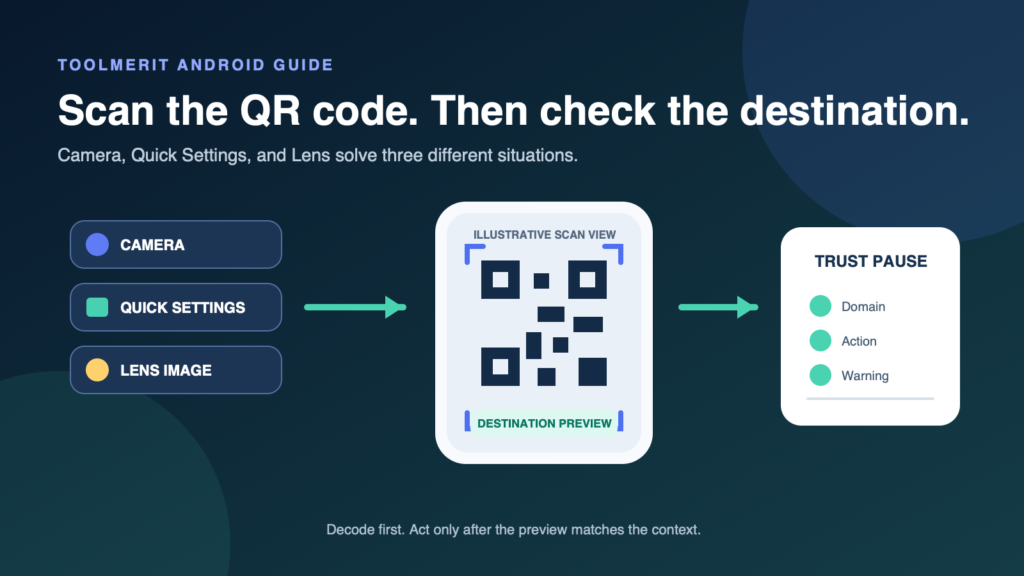
A device-aware route for live QR codes, screenshots, missing scan banners, and safer destination checks on Android.
Open the Android Camera app in its normal Photo mode, point it steadily at the entire QR code, and tap the banner or URL that appears. If no result appears, use the Scan QR code tile in Quick Settings when your device provides it. For a QR code saved on the same phone, open Google Lens from the Google app or Chrome and upload the screenshot. Inspect the destination before opening it.
There is no single button sequence for every Android phone. Camera recognition, a dedicated QR mode, and the Quick Settings tile vary by device and camera app. The reliable method is to choose the route from the location of the code, then move to the smallest fallback if that route produces no result.
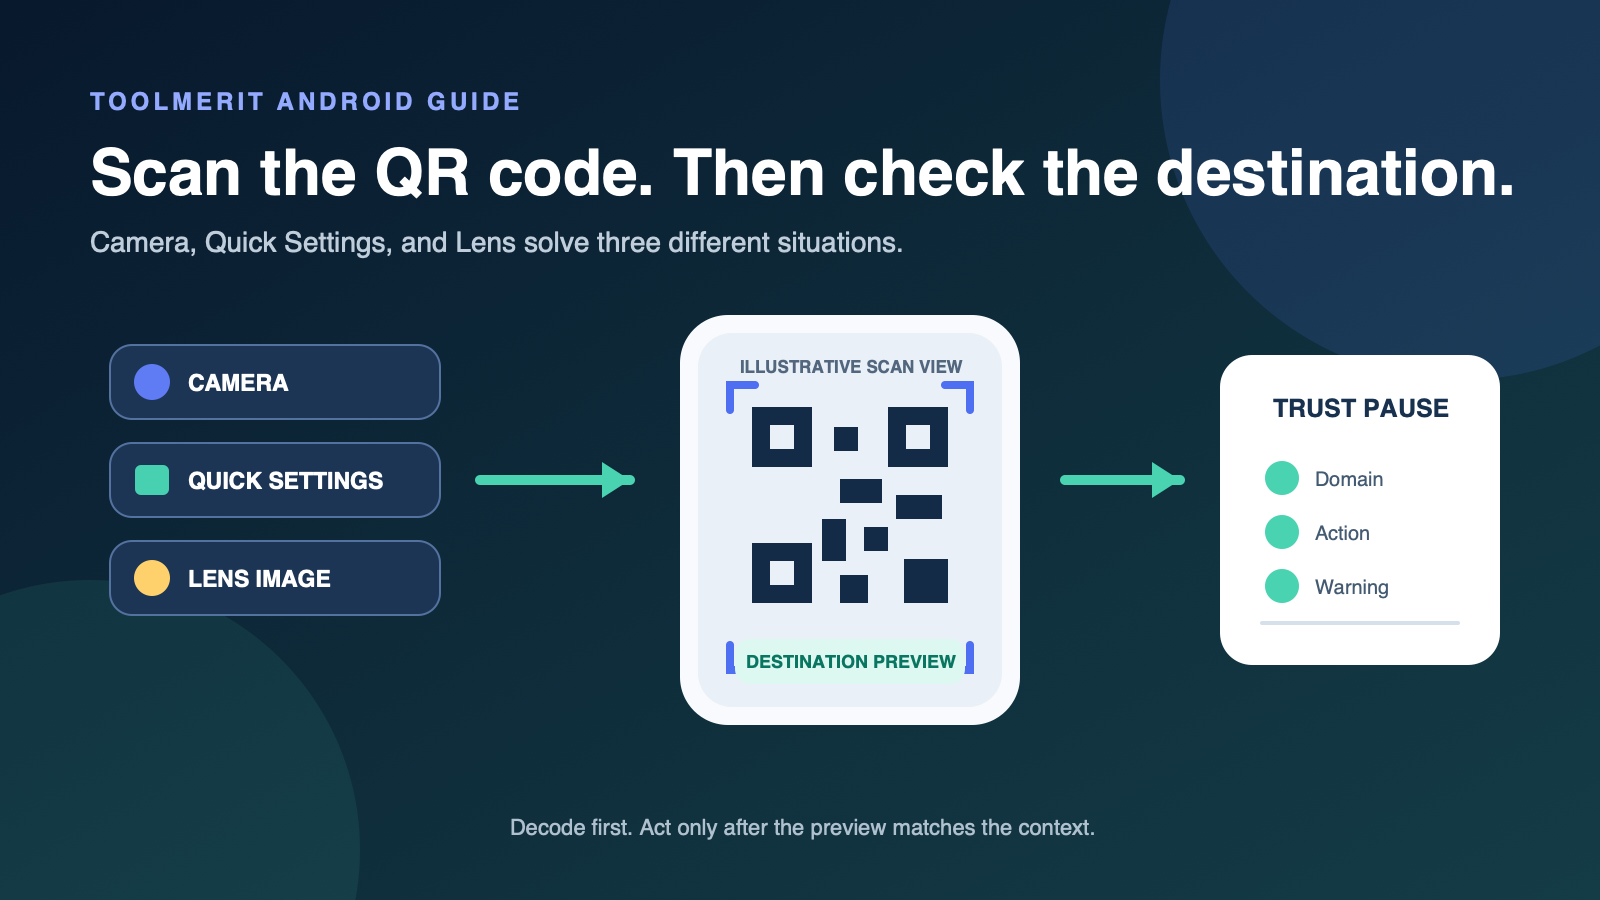
Choose the route before you aim
First ask where the QR code is. A printed sign or a code on another screen can be scanned live. A code shown on the same phone cannot be aimed at with that phone’s rear camera; it needs the saved-image route.
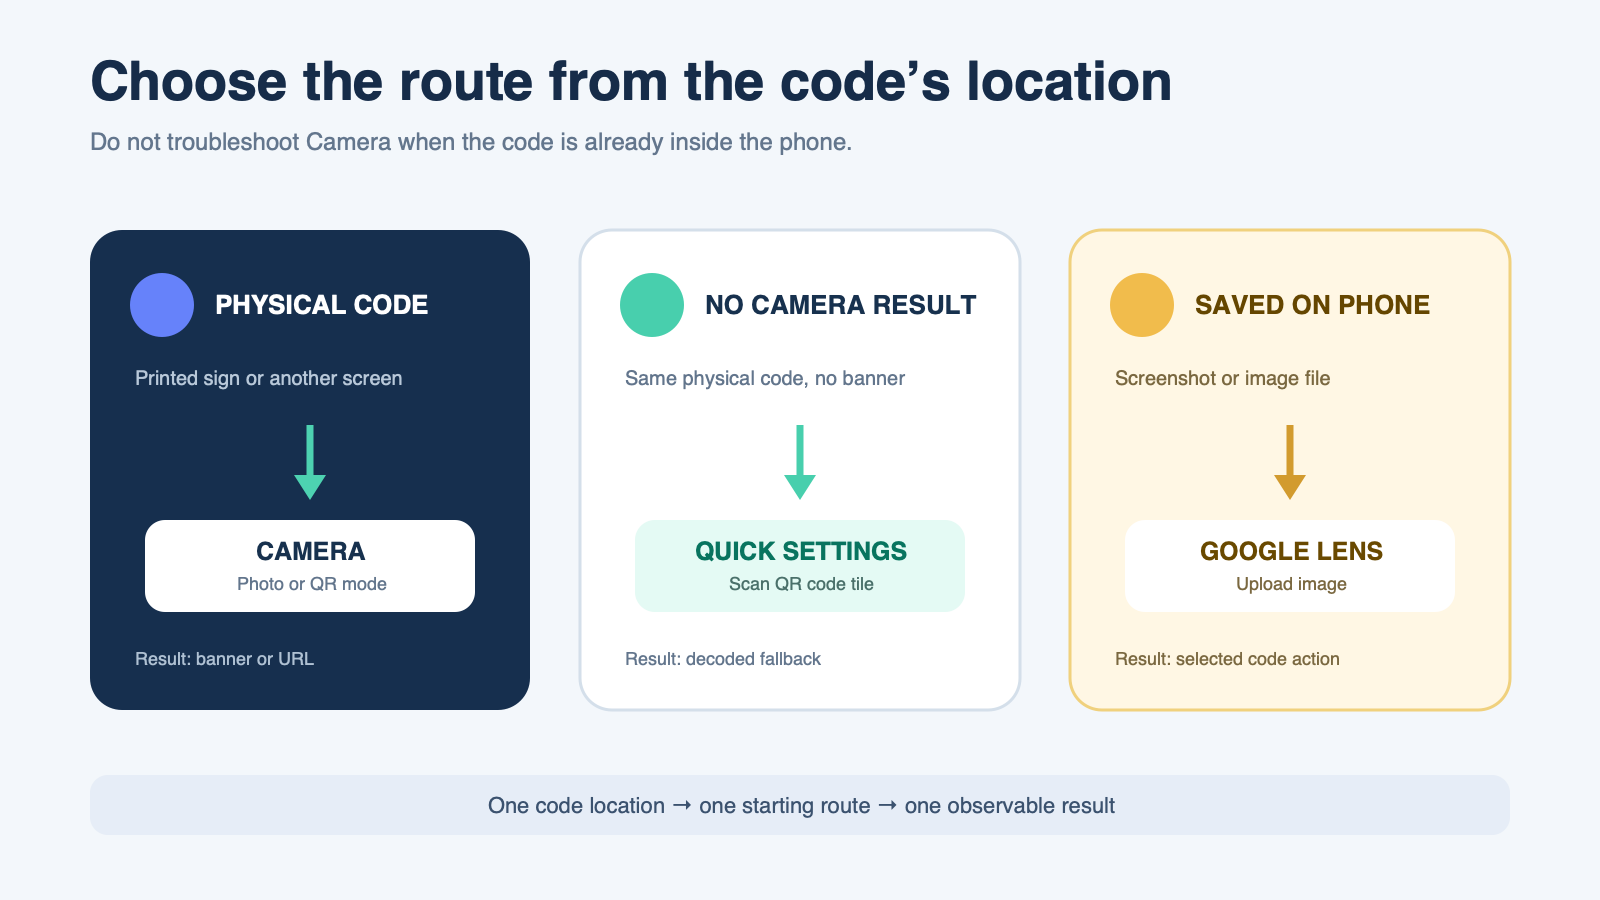
| Situation | Start here | Observable result |
|---|---|---|
| Printed code or code on another screen | Camera in Photo or QR mode | A banner, URL, text result, or app action appears |
| Camera sees the code but shows nothing | Scan QR code in Quick Settings | The scanner decodes the same physical code |
| Code is in a screenshot or image on this phone | Google Lens image upload | Lens identifies the code region and offers its result |
Google’s current Android guidance explicitly notes that default-camera support varies by model and points to the Quick Settings scanner as a fallback. That is why a missing Camera banner is a route signal, not proof that the QR code is invalid.
Many QR codes resolve to web addresses; the URL structure and safety guide explains what the preview should reveal before you open the destination.
Scan a physical code with Camera
Google’s Camera from Google instructions support scanning in a dedicated QR mode or in the default photo mode on selected devices. Follow this short sequence:
- Open the built-in Camera app.
- Select the normal Photo mode. If the app visibly offers a QR mode, that route is also appropriate.
- Point the rear camera at the code so all four corners are inside the preview.
- Hold the phone still long enough for focus and exposure to settle. You normally do not need to take a picture.
- Read the banner or URL that appears. Tap only after checking that it matches the expected task.
For Camera from Google specifically, Google says QR scanning does not work in Portrait or Video mode. Other manufacturers may name modes differently, so use the mode labels on the device rather than assuming a Pixel-style layout.
Scan a code already on your screen
When the QR code is inside an email, browser page, document, or message on the same Android phone, save it as an image instead of trying to point the camera at a mirror or another improvised surface. If the image is not already in the gallery, capture the QR code as a screenshot.
- Open the Google app or Chrome.
- Tap the Google Lens icon in the search bar.
- Under Screenshots or the image picker, select the saved QR image.
- If Lens selects the wrong object, tighten the selection around the QR code.
- Review the decoded result before opening it.
Google’s current Lens instructions for Android document both taking a photo and uploading an existing image, including images under Screenshots. If the code occupies only a small part of a crowded image, crop the screenshot around the code while retaining its complete square and quiet border.
Give the camera a readable code
A QR scanner needs the pattern, not merely a black-and-white object somewhere in the frame. Correct these four variables before changing apps.
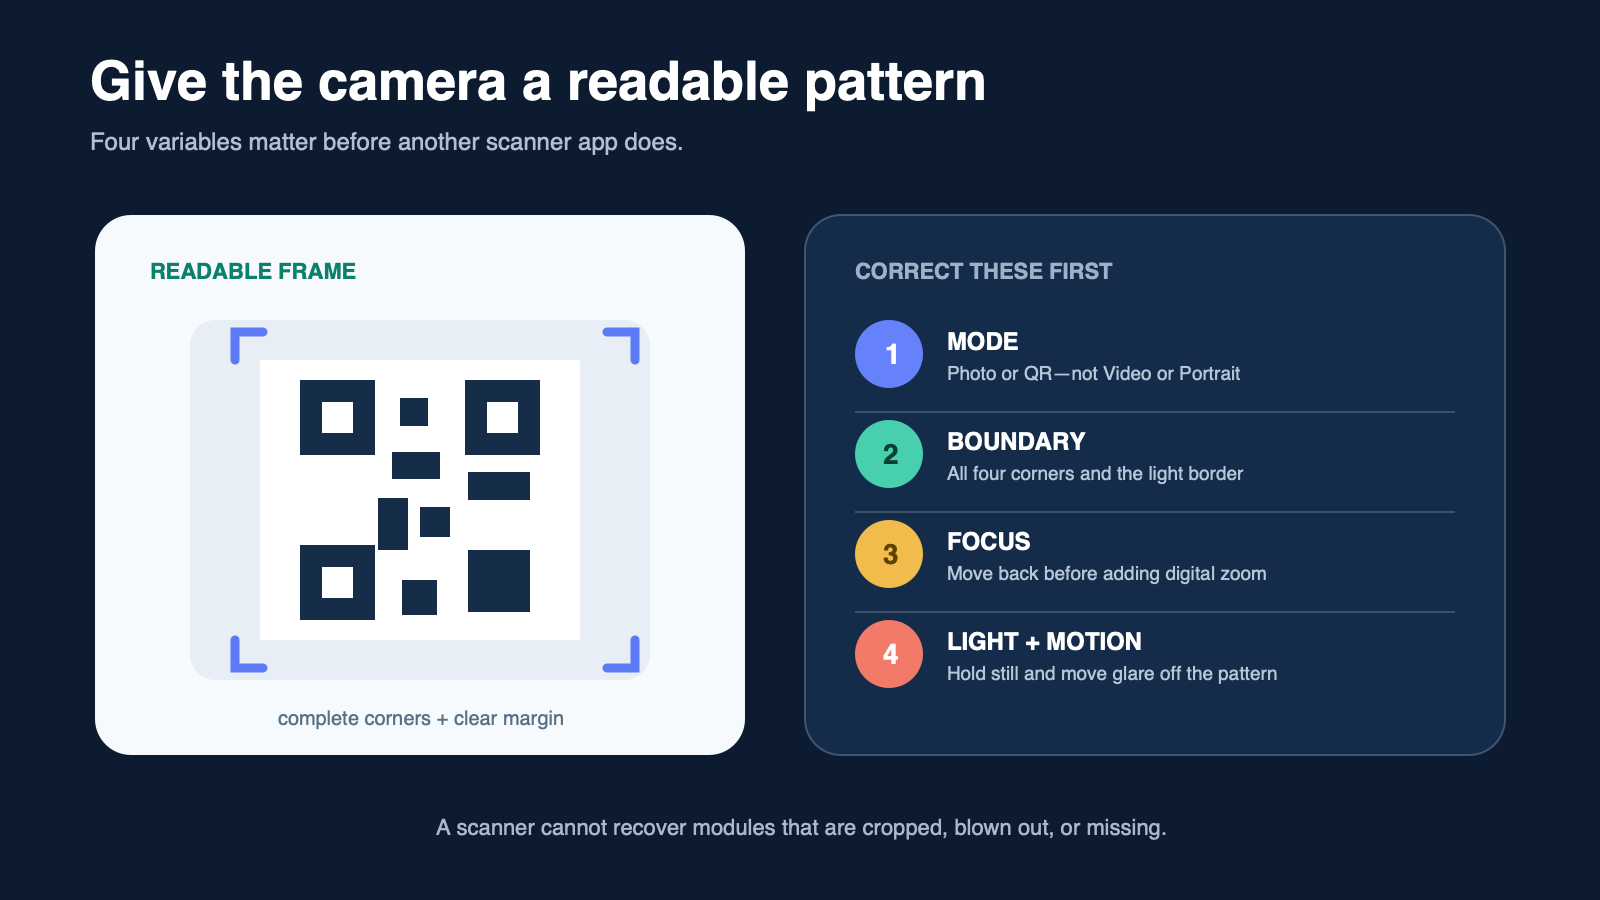
- Mode: use Photo or a dedicated QR mode, not Video, Portrait, or another effect mode.
- Boundary: include every corner and a visible light margin around the code.
- Focus: if the code is soft, move slightly farther away before zooming. Tap near the code only if the camera needs a focus cue.
- Light and motion: hold still, reduce reflections, and avoid a shadow that covers part of the pattern.
A sharp display can sometimes be enlarged or recaptured, but missing modules cannot be inferred safely. When the source image is blocky or smeared, distinguish pixelation from recoverable display blur and request the original code instead of repeatedly sharpening a damaged copy.
Fix a scan that produces no banner
Change one variable at a time. The ladder below keeps the failure observable, so you learn whether the problem belongs to the image, the camera route, or the device’s available controls.
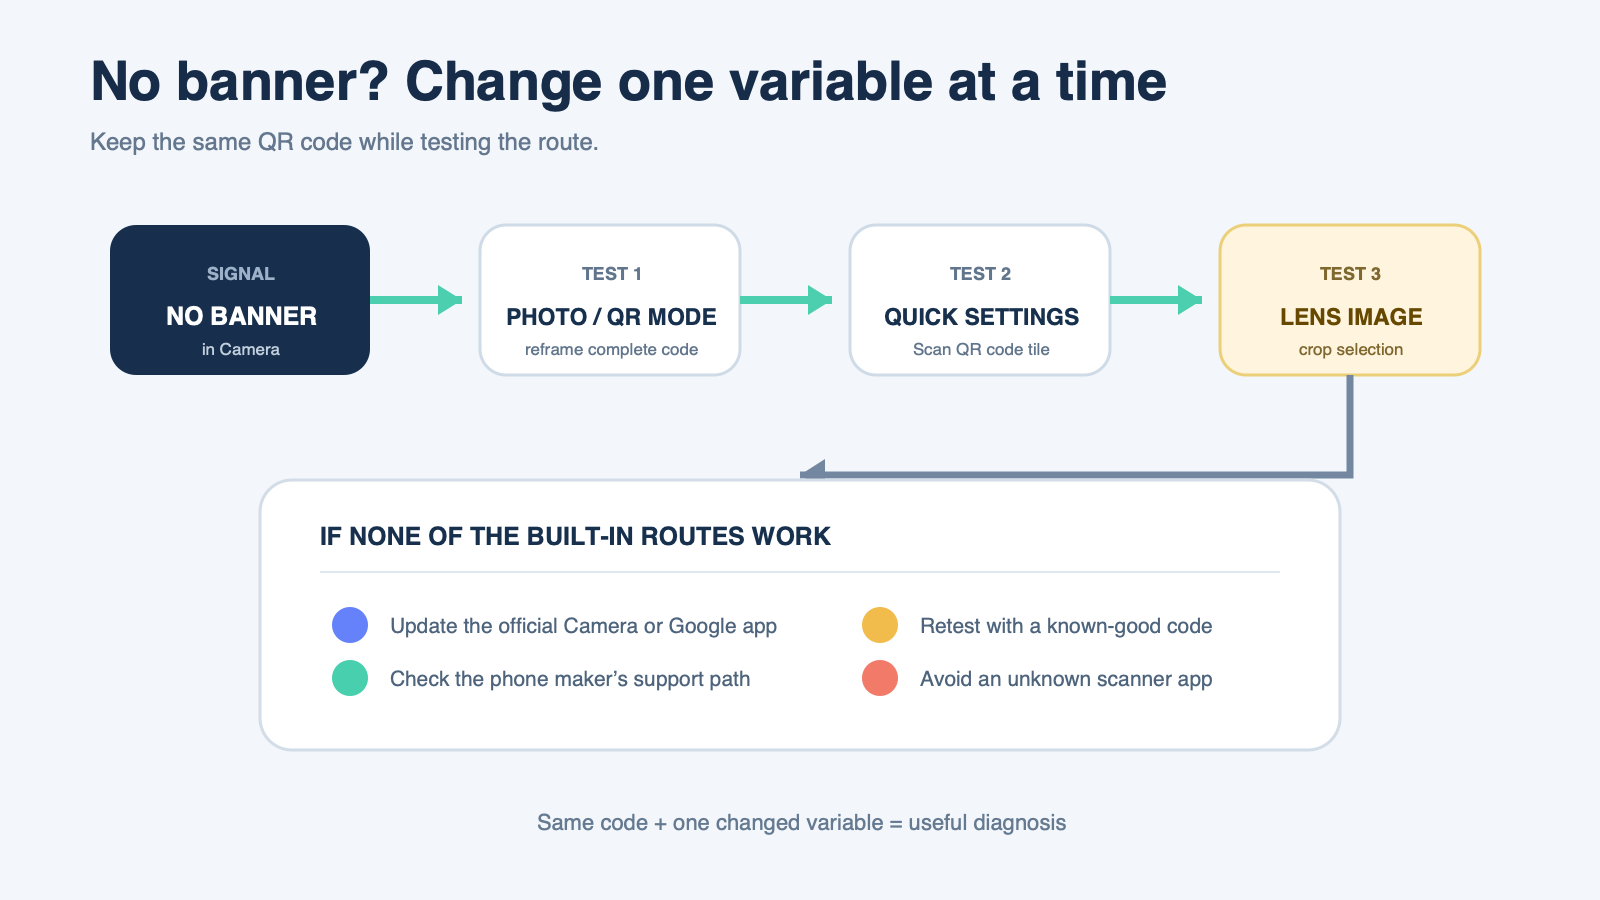
| Signal | Smallest next test | What it separates |
|---|---|---|
| Camera shows no banner | Return to Photo or QR mode and reframe the complete code | Wrong mode or unreadable framing |
| Another phone scans the same code | Open Quick Settings and try Scan QR code | Code quality from Camera-app support |
| Scan QR code tile is missing | Edit Quick Settings or use Lens | Hidden control from unsupported control |
| Saved image yields unrelated results | Crop the Lens selection to the QR square | Wrong selected object from a damaged code |
| No built-in route succeeds | Update the official camera/Google app and check the device maker’s support page | Stale software from a device-specific limitation |
Google’s Android Quick Share help shows both the default-camera and Quick Settings scanning routes and says camera support varies by model. If device support needs to see the exact missing control or behavior, make a short capture that excludes private notifications and account information.
Do not install the first unfamiliar scanner merely because a built-in route failed. If you already installed one and then noticed redirects, intrusive ads, unknown permissions, or other suspicious behavior, remove the app and run a trusted malware assessment.
Pause on the destination preview
A successful decode can produce a website, plain text, an app deep link, a Wi-Fi action, or a payment action. Google’s Camera documentation explicitly notes that a scan may open a browser or another app. The preview is therefore a decision point, not a command to continue.
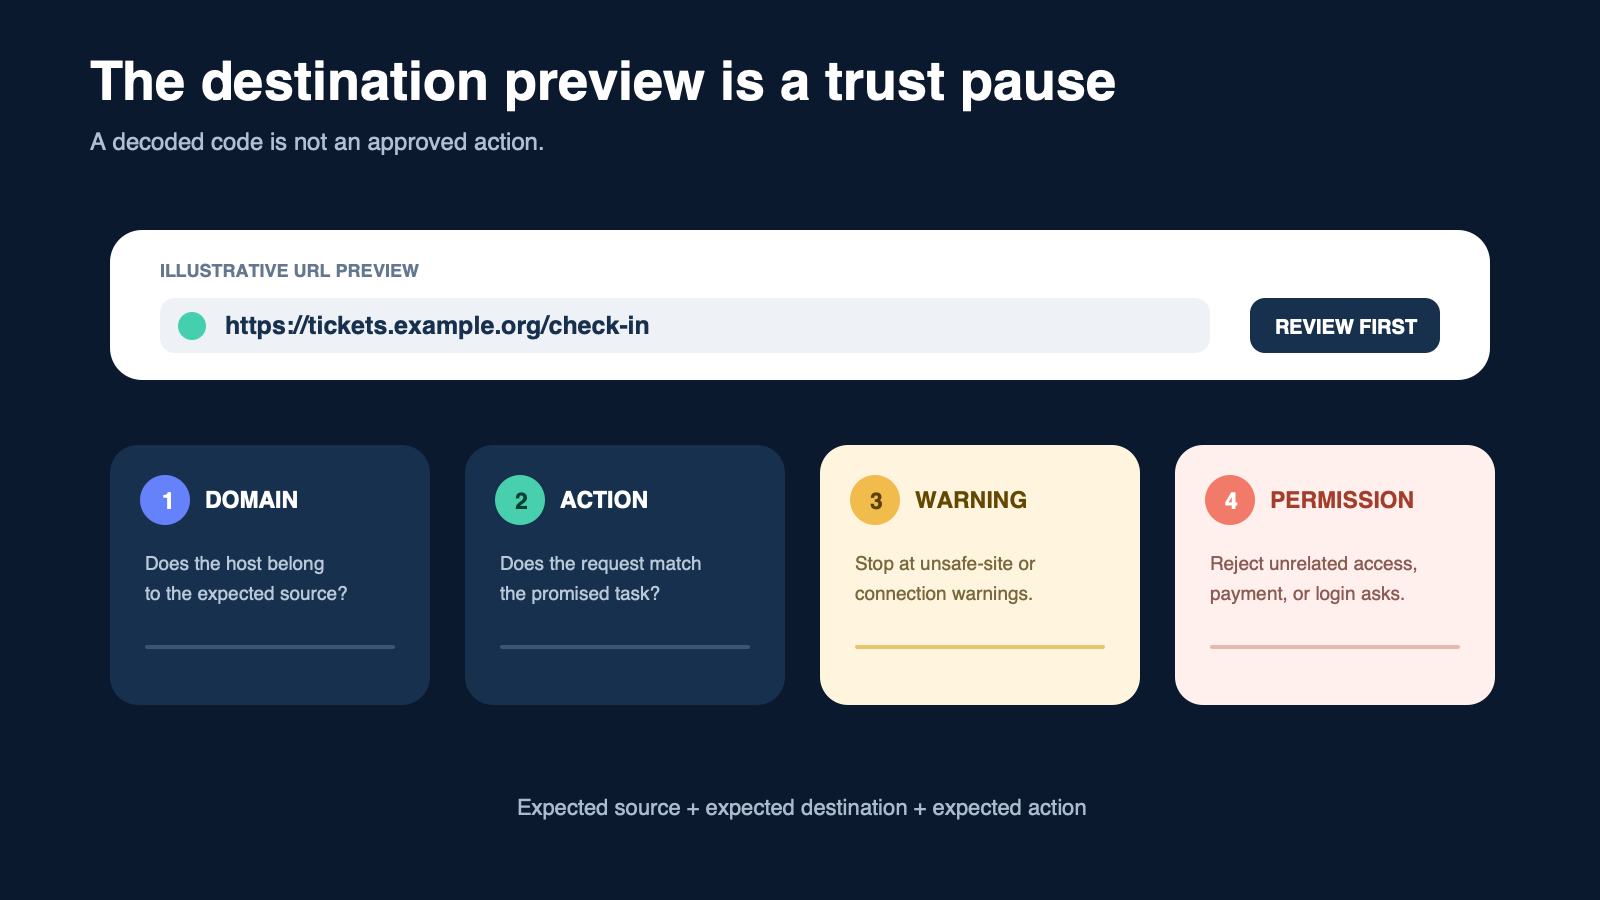
- Expected domain: does the visible host belong to the organization that supplied the code? Look for misspellings and misleading extra words.
- Expected action: a restaurant menu should not ask for device-administrator access; an event ticket should not require an unrelated payment.
- Browser warning: stop at phishing, unsafe-site, or insecure-connection warnings rather than disabling protection.
- Independent route: for a login, payment, or account change, open the known official app or type the known address yourself when practical.
A short or branded address may redirect after the scan, so understand the public link and redirect destination before treating a compact URL as the final host. The same logic used to apply the sender-request-destination phishing test also works for a QR code. When the person or organization is unfamiliar, verify the unfamiliar source independently rather than using the QR result as proof of its own legitimacy.
Chrome’s current Android safety guidance describes Safe Browsing checks and an option to warn before insecure connections. These controls reduce risk, but they do not make every unflagged QR destination trustworthy.
Know when the scan is actually complete
A colored frame around the code proves only that the camera noticed a pattern. Completion depends on the intended result:
| Intended result | Completion test |
|---|---|
| Open a web page | The reviewed domain loads the expected page without a safety warning |
| Read text or contact details | The decoded content is visible and plausible before saving |
| Open an app action | The correct app opens to the expected non-destructive step |
| Download a file | The file name, type, source, and saved result match what was promised |
| Start a payment or account action | The merchant or account identity and amount are independently confirmed before authorization |
If the QR destination starts a download, verify what the QR destination downloaded before opening it. If you entered credentials before noticing that the destination was wrong, close the page and reset the exposed password from a trusted route; do not return through the QR link.
Stop when the domain, requested permission, account, merchant, or file does not match the context. The scanner’s job is to reveal the destination; it cannot decide that the destination is safe or intended.