A practical repair ladder for pixel blocks, blur, and compression artifacts—without pretending generated detail was recovered from the source.
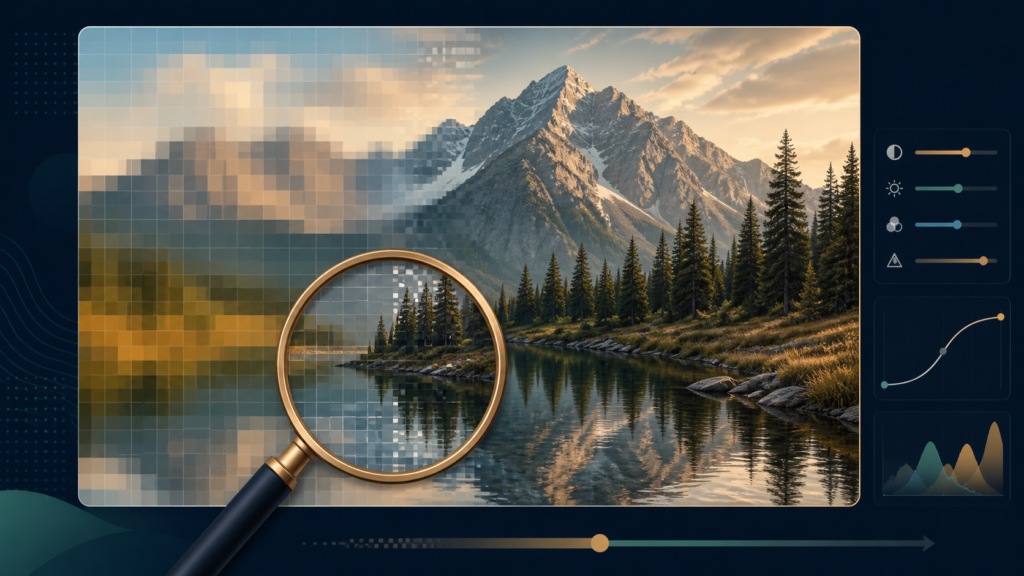
You can make a pixelated photo look better, but you cannot reliably recover detail that was never captured. First find the highest-resolution original. Then match the image to its final display size, resample once with a photo-appropriate method, apply light artifact reduction and sharpening, and compare the result at 100% view. Use AI upscaling only as a generated interpretation, not as restored evidence.
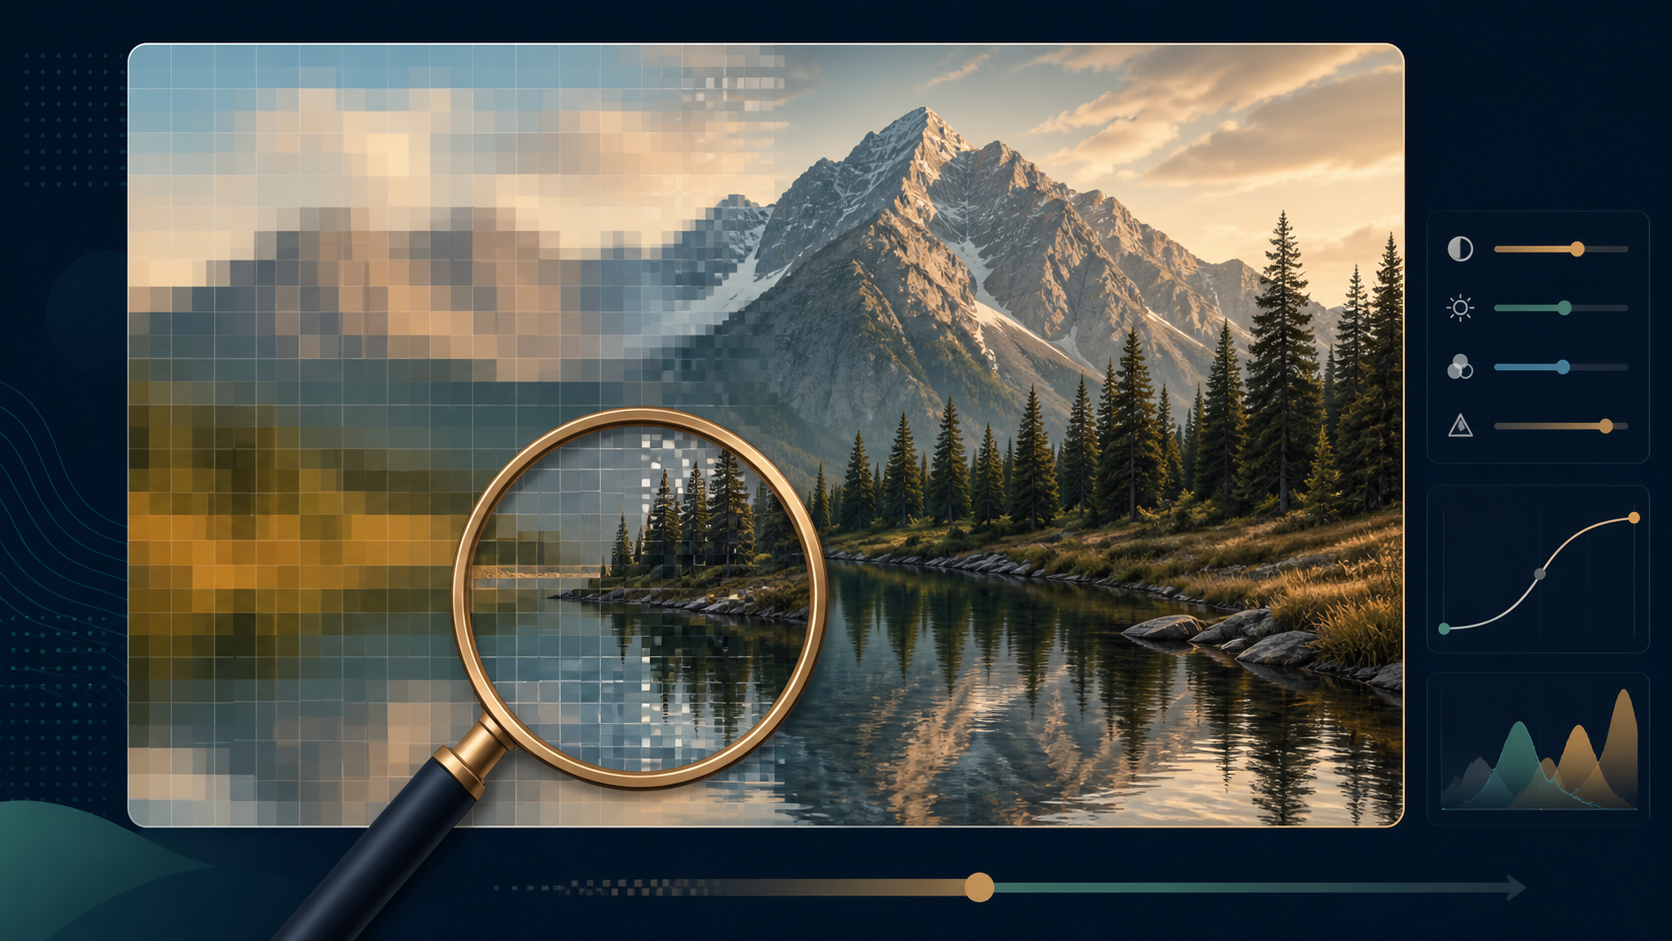
Identify what “pixelated” means in this photo
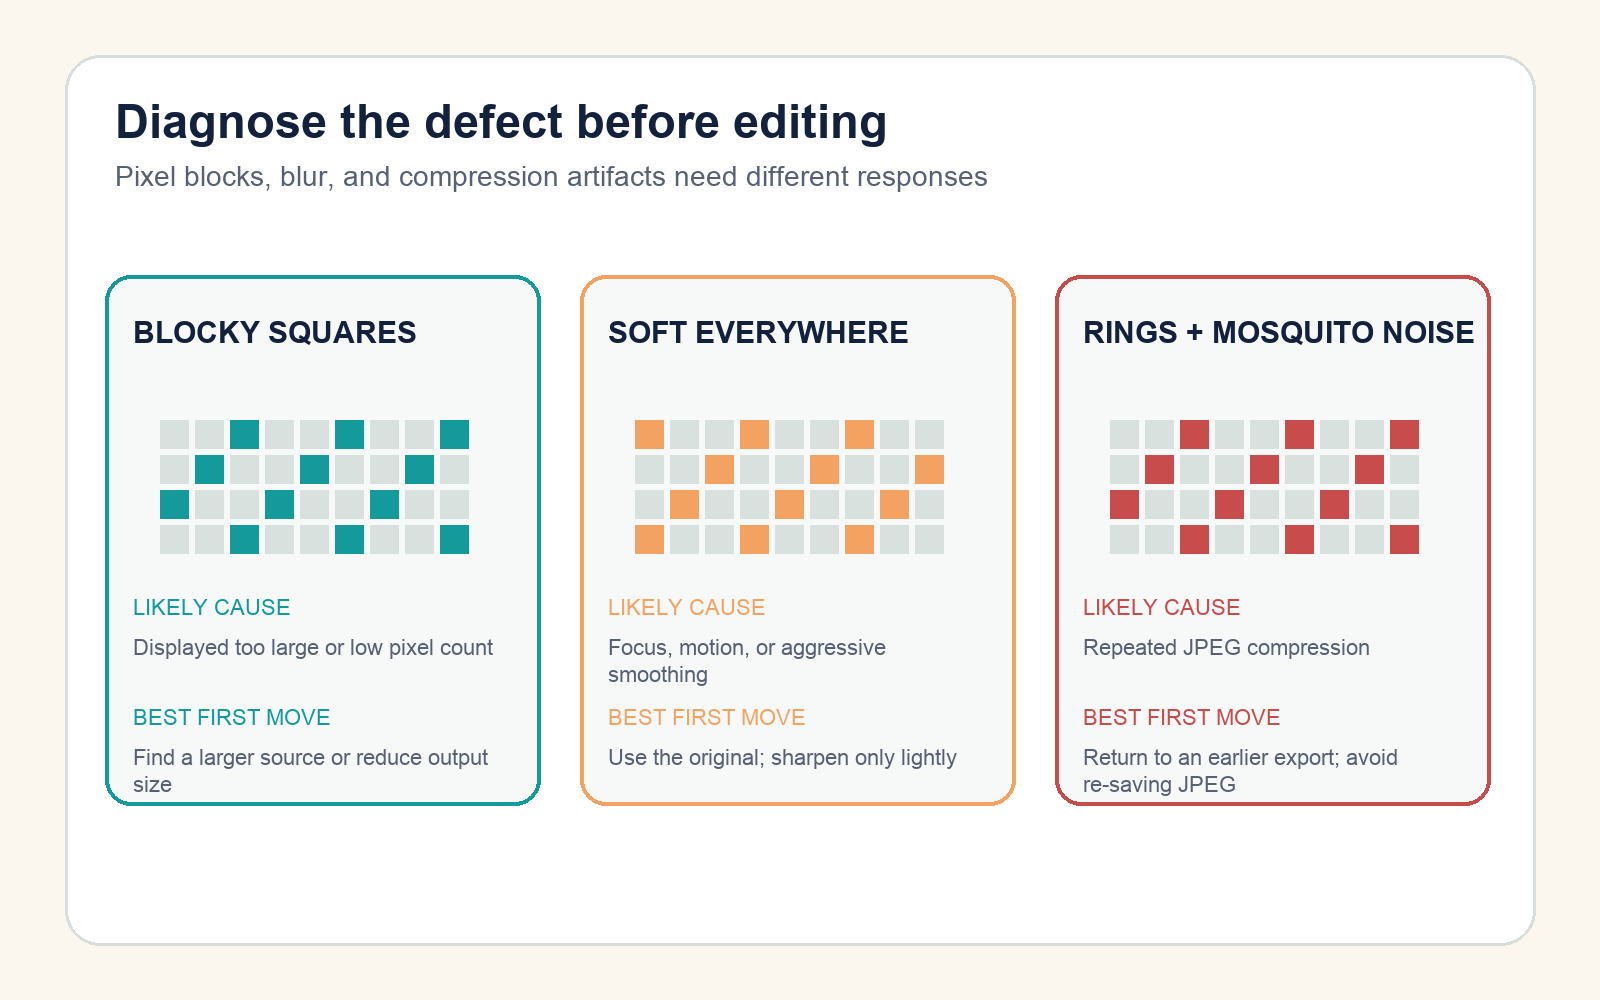
| Symptom | Likely cause | Most useful response |
|---|---|---|
| Large square blocks | Small image enlarged beyond its pixel dimensions | Use a larger source or display it smaller |
| Soft edges everywhere | Missed focus, motion, lens limits, or smoothing | Recover the original; use restrained sharpening |
| Ringing around edges or noisy 8×8-like regions | Strong or repeated lossy compression | Return to an earlier export and limit JPEG re-saving |
| Jagged diagonal lines | Scaling method or low resolution | Resample once with a smoother interpolation method |
| Looks sharp at normal size but blocky when zoomed | Normal pixel visibility at magnification | Judge it at intended output size |
Pixelation is not the same as blur. Upscaling can add pixels and smooth edges, but those new pixels are computed from existing ones. Adobe describes resampling as changing pixel dimensions and assigning values to pixels through an algorithm. The process can improve presentation without proving that newly visible texture existed in the scene.
Use the least-inventive repair ladder
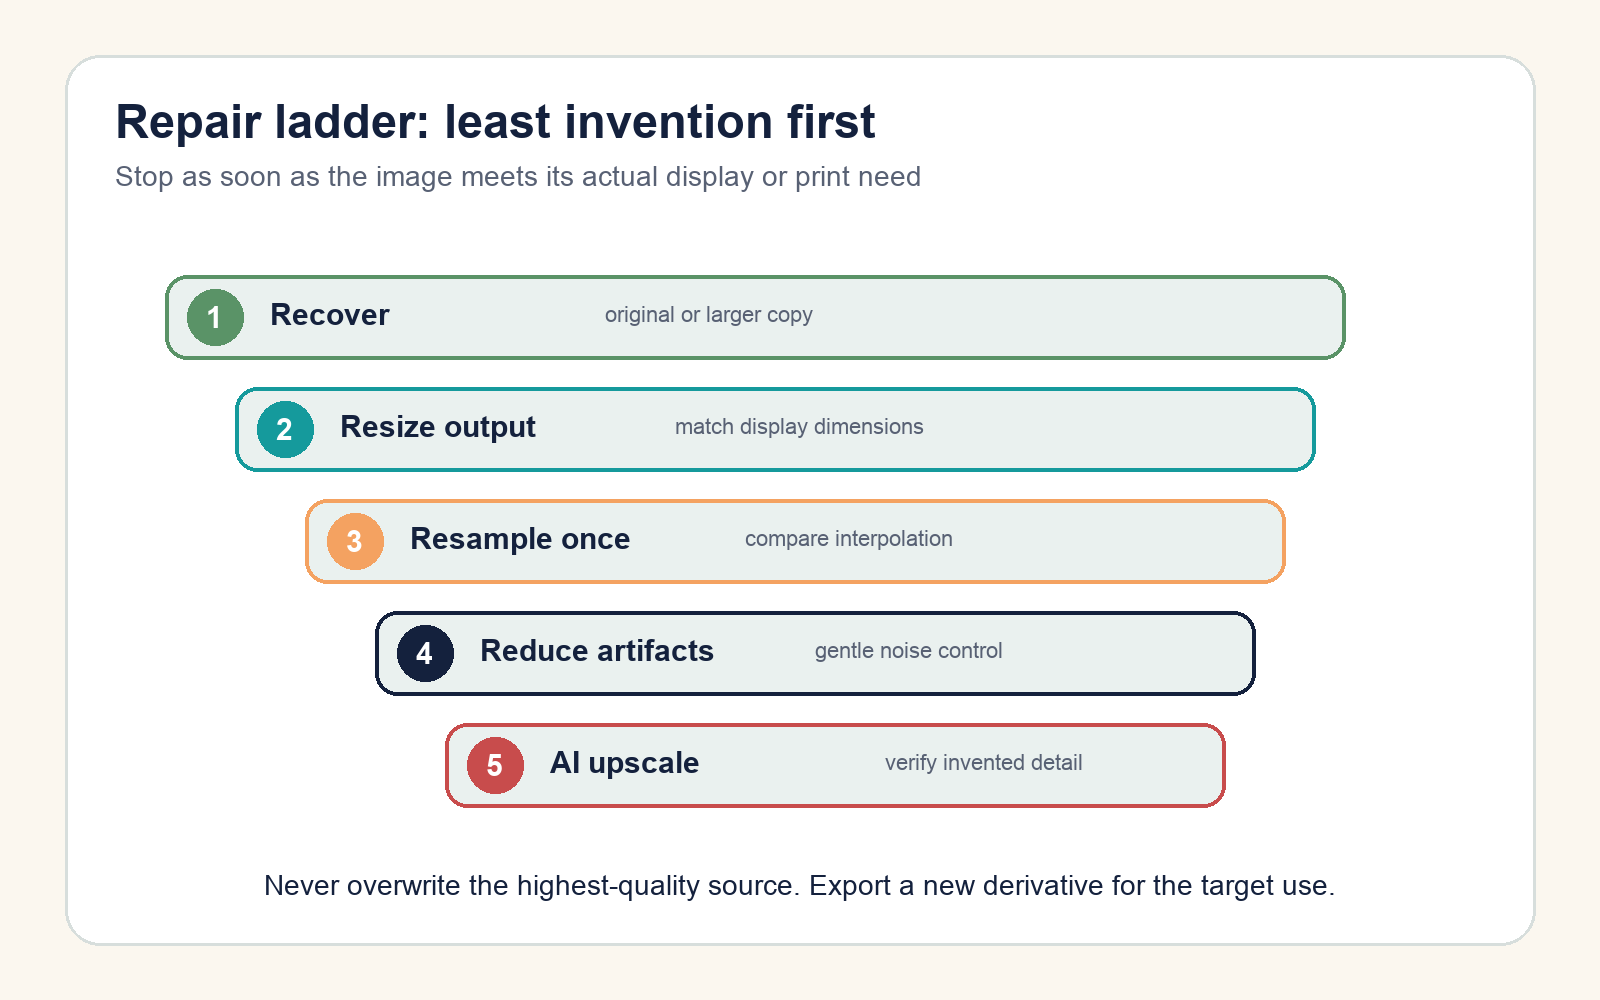
- Recover the best source. Check the camera roll, cloud library, email attachment, scanner output, design file, or sender’s original. Do not upscale a messaging-app preview if a larger file exists.
- Set the target. A 600-pixel-wide thumbnail and an 8-by-10-inch print have different requirements. Evaluate at that size, not at arbitrary zoom.
- Resample once. Compare two or three appropriate methods, then keep the cleanest result. Repeated resizing compounds changes.
- Reduce artifacts carefully. Use modest noise or JPEG-artifact controls before final sharpening. Excessive smoothing turns texture into plastic surfaces.
- Use AI upscaling with disclosure. Compare against the original and reject versions that alter identity, text, evidence, or product details.
Resize in Photoshop or GIMP
In Photoshop, open Image > Image Size, preserve the aspect ratio, enable Resample when pixel dimensions must change, and compare methods. Adobe currently recommends Preserve Details 2.0 for enlargement, Bicubic Smoother for smooth enlargement, and Nearest Neighbor for intentionally hard-edged pixel art—not ordinary photos.
In GIMP, use Image > Scale Image and compare interpolation choices. GIMP’s documentation lists Linear, Cubic, NoHalo, and LoHalo and warns that interpolation may introduce halos. The “best” option depends on image content and scaling direction, so inspect the result rather than trusting a label.
Work on a duplicate or a non-destructive layer. Keep the source at its native dimensions, and export a new derivative for the website, presentation, or print. The Library of Congress’s still-image preference similarly favors the highest-resolution source without rescaling or interpolation for preservation.
Sharpen only after the final resize
Sharpening increases local edge contrast; it does not restore missing structure. Apply it at the final output size while viewing the image at 100%. Watch hair, eyelashes, fabric, tree branches, and high-contrast lettering for light or dark halos.
If the image contains both noise and important fine texture, make small changes and toggle the edit on and off. A technically “crisper” image may be less faithful when grain, pores, foliage, or lettering has been converted into repeating artificial patterns.
When AI upscaling is appropriate
AI enhancement can be useful for a decorative web image, a personal snapshot, or a layout mockup when the original is unavailable. Generate more than one version and compare faces, hands, logos, small objects, reflections, architecture, and text against the source.
Do not use generated detail as though it were recovered fact in medical, legal, forensic, scientific, archival, identity, or product-evidence contexts. Preserve the original, label the enhanced derivative, record the tool and settings, and never let the derivative replace the source.
Choose output size before print or web export
For screens, pixel dimensions matter directly. If the page displays an image at 800 pixels wide, a 400-pixel source will be enlarged by the browser and may show blocks. Supply a suitable source and avoid CSS enlargement beyond its natural width.
For print, required pixel dimensions depend on physical size and pixels per inch. At 300 pixels per inch, an 8-by-10-inch print needs 2,400 by 3,000 pixels for that target sampling density. Changing only the PPI metadata does not create new image detail when resampling is off.
Final quality check
- Compare original and edited files side by side at the intended size and at 100%.
- Check that faces, text, edges, and repeating patterns have not changed meaning.
- Confirm color profile, aspect ratio, file format, and compression are suitable for delivery.
- Open the exported file—not only the editor preview—to inspect the actual result.
- Keep the original and name the output so its enhancement status is clear.
The safe stopping rule is: use the smallest intervention that makes the photo work at its intended size, and stop before invented sharpness becomes false detail.