Use the right screenshot command on a computer, phone, or tablet, choose the useful capture boundary, find the image, and prepare it to share.
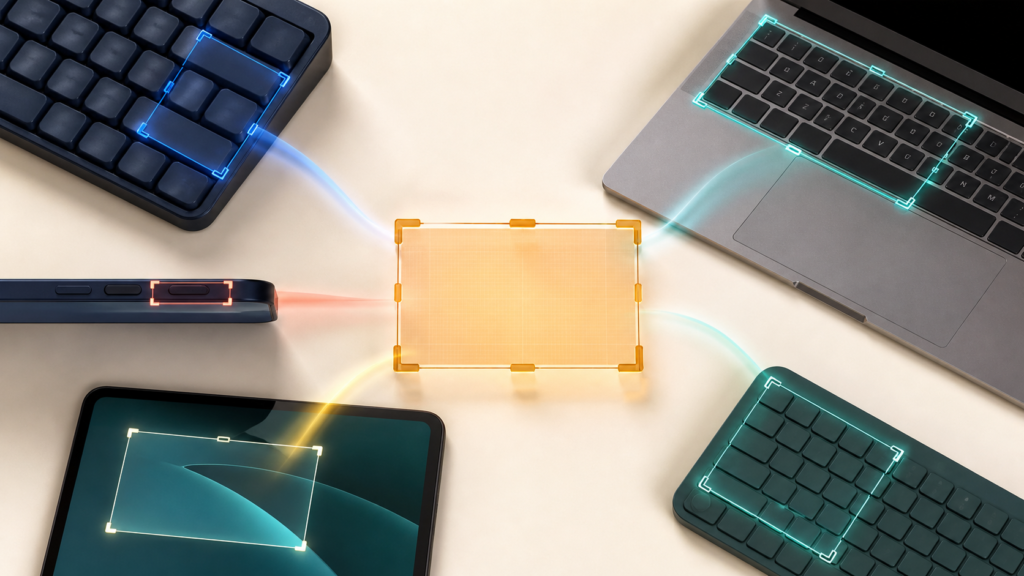
To take a screenshot, use the shortcut or button pair for your device: Windows + Shift + S on Windows, Shift + Command + 4 on Mac, the Screenshot key on a Chromebook, Side + Volume Up on a Face ID iPhone, Top + either Volume on an iPad without a Home button, or Power + Volume Down on most Android phones. Choose a region when possible, check where the image was saved, and open it before sharing.
The best command depends on two decisions: which device is in front of you and whether the recipient needs the whole display, one window, a selected detail, a long page, or motion. The tables below turn those decisions into a quick, verifiable capture instead of a hunt through menus.
Use the screenshot command for your device
Start with the row that matches the operating system, not the keyboard’s appearance. A Windows laptop and a Chromebook can have similar layouts but use different shortcuts.
| Device | Fastest reliable command | What it captures | First destination |
|---|---|---|---|
| Windows 11 or 10 | Windows + Shift + S | A region by default, with window and full-screen modes available | Clipboard, Snipping Tool, and an automatically saved file when auto-save is enabled |
| Mac | Shift + Command + 4 | A region; press Space afterward for one window | Desktop by default |
| Chromebook | Screenshot key, or Shift + Ctrl + Show windows | Full screen, a region, or a window selected from the capture bar | Clipboard and Downloads folder by default |
| iPhone with Face ID | Side + Volume Up, then release | The visible screen | Screenshot tools or thumbnail, then Photos |
| iPad without a Home button | Top + either Volume, then release | The visible screen | Thumbnail, then Photos by default |
| Android phone or tablet | Power + Volume Down | The visible screen; some devices also offer a longer capture | Preview, then the Screenshots collection or album |
For an immediate full-screen file on Windows, use Windows + PrtScn; Microsoft says it saves to the Screenshots subfolder inside Pictures. Alt + PrtScn copies the active window instead. Current Microsoft keyboard-shortcut documentation also notes that the behavior of the plain Print Screen key can be changed in Accessibility settings.
On a Mac, Shift + Command + 3 captures the entire screen, while Shift + Command + 5 opens the Screenshot panel. Apple’s Mac screenshot guide confirms that adding Control to a screenshot shortcut sends the result to the Clipboard instead of waiting for a file on the desktop.
Google’s Chromebook capture instructions list the Screenshot key first. If it is absent, the capture bar also opens from the status area or with Shift + Ctrl + Show windows; an external keyboard without a Show windows key can use Ctrl + Shift + F5.
Mobile buttons must be pressed together and released quickly. Apple’s current instructions distinguish three iPhone layouts: Face ID models use Side + Volume Up, Touch ID models with a side button use Side + Home, and older Touch ID models use Top + Home. An iPad with a Home button uses Top + Home. Google’s Android instructions use Power + Volume Down as the general route but direct users to the manufacturer when neither that nor the Power-menu option works.
Choose the smallest capture that proves the point
A screenshot should include enough context to be understood and no more. Before capturing, close notifications, password managers, private messages, customer data, and unrelated tabs. Cropping afterward can remove an edge, but it cannot undo exposure to a synced clipboard, shared folder, or automatic upload.

| What the recipient needs | Capture boundary | Keep visible | Common mistake |
|---|---|---|---|
| A precise error or setting | Selected region | The message, relevant control, and a small amount of location context | Cutting off the app or page identity |
| One application’s state | Window | The title area and the controls that explain the result | Including private content from the rest of the desktop |
| A display or layout problem | Full screen | Every affected display only when the arrangement matters | Making the important detail unreadably small |
| A webpage, receipt, or conversation longer than the screen | Scrolling or full-page capture | The beginning, relevant middle, and ending state | Assuming every app supports a long capture |
| A hover, animation, drag, or multi-step failure | Screen recording | The action immediately before and after the problem | Sending many still images with no clear order |
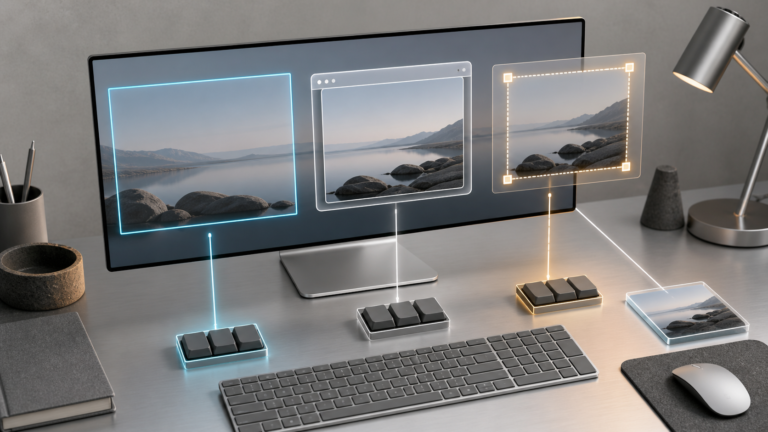
Use a region for most support requests because it preserves legibility while limiting accidental disclosure. Use a window when its title and controls are part of the evidence. Reserve a full-screen image for multi-window placement, display scaling, menus that close when focus changes, or another issue whose context would otherwise disappear.
Find the image after capture
A capture can exist only on the Clipboard, only as a file, or in both places. If no file appears, try pasting into a blank email, chat draft, document, or image editor before repeating the screenshot.
- Windows region capture: select the notification to open Snipping Tool. Current Windows 11 versions can save captures automatically; check the Screenshots folder and the app’s Settings for the chosen location and auto-save behavior. Use Save as to choose an explicit file destination. Older versions and changed settings can behave differently.
- Mac: look on the desktop by default. Open Shift + Command + 5, then Options, if you need to confirm or change the save location.
- Chromebook: open Files > Downloads unless a different folder was selected in Screen Capture settings. Google also copies captures to the Clipboard automatically.
- iPhone: open Photos > Collections > Media Types > Screenshots. In iOS 26, screenshot tools appear immediately and include a choice of where to save; earlier versions show a temporary thumbnail.
- iPad: open Photos > Collections > Media Types > Screenshots for images saved to the photo library.
- Android: open Photos > Collections > On this device > Screenshots. On a device without Google Photos, check the Gallery app’s Screenshots album.
Microsoft’s Snipping Tool instructions explain automatic saving and the Save as control. Before searching by filename, sort the likely folder by newest first and compare the capture time. A clipboard-only screenshot does not become a named file until it is saved.
For Windows keyboard variants and save locations, use the Windows screenshot guide. For Mac capture modes and destination settings, use the Mac screenshot guide. These device-specific branches extend the shortcut table rather than requiring another general screenshot tutorial.
Capture a long page without losing the sequence
Use a built-in long capture only when the current app offers it. On Android 12 or later, Google’s documented route is Power + Volume Down followed by Capture more on most scrollable screens. Adjust the crop guides before saving. On iPad, supported content such as a webpage in Safari can present a Full Page choice after you tap the screenshot thumbnail; the result can be saved as an image or as a PDF in Files.
If no Full Page or Capture more control appears, the app or current screen may not support it. Choose the fallback by the recipient’s goal:
- They need the complete document: use the app’s Export, Download, or Print-to-PDF command rather than stitching pictures. Check the exported file for missing sections before sending it.
- They need visual evidence from several points: take overlapping regional screenshots from top to bottom. Keep a repeated heading or sentence at each boundary so the order can be verified.
- They need to see navigation or changing content: make a short screen recording. Pause briefly before the action, perform it once, and stop as soon as the result is visible.
- The content is private or regulated: do not use an unfamiliar stitching service. Use the device’s approved export or capture method and follow the organization’s sharing policy.
This boundary decision prevents a common failure: producing a technically successful screenshot that cannot show the relationship between the top and bottom of the page.
Prepare the screenshot for another person
A useful screenshot lets the recipient answer three questions without guessing: Where am I looking? What is important? What should happen next?
- Open the saved result. Do not rely only on a flash, shutter sound, or thumbnail animation.
- Check the four edges. Confirm that the key label, error code, selected control, or timestamp is not cropped.
- Remove unrelated data. Crop first; use opaque redaction for information that must not remain readable. Decorative blur can leave recognizable shapes or may be reversible in an editable file.
- Add one restrained annotation. A box or arrow should identify the important object, not cover it. Put a longer explanation in the message rather than across the image.
- Send at readable size. Avoid a messaging mode that aggressively compresses small text. If the recipient needs to zoom, attach the file instead of embedding a tiny preview.
- State the context. Include the device, operating-system or app version when relevant, the action taken, and the expected result.
For tools that crop, annotate, resize, or prepare media, browse ToolMerit’s editing tools. For team troubleshooting, store the capture beside the affected task and record who owns the next action; the project-management tools directory can help compare systems for that workflow.
Fix a screenshot command that does nothing
| Symptom | Likely cause | Next check |
|---|---|---|
| No visible result on a computer | The capture went to the Clipboard, or the shortcut was intercepted | Paste into a blank document; then open Snipping Tool, Screenshot, or Screen Capture from the system search/menu |
| Print Screen opens a different action | Windows Print Screen behavior is configurable, or the keyboard requires a function modifier | Use Windows + Shift + S; then review Accessibility > Keyboard and the device’s keyboard guide |
| Chromebook lacks a Screenshot or Show windows key | An external or alternate keyboard layout is connected | Open Screen Capture from the status area, or use Ctrl + Shift + F5 on an external keyboard |
| A phone locks or changes volume | The buttons were pressed one after another or held too long | Press the pair simultaneously and release quickly; then use the documented on-screen route or manufacturer instructions |
| The image is black or excludes one window | The app, protected media, security policy, or hardware rendering blocks capture | Do not try to bypass the restriction; use the app’s supported export or ask the administrator/content provider |
| The image cannot be found | It was never saved as a file, or the destination was changed | Try Paste first, then inspect the platform destination above and its capture settings |
Restart the capture tool before restarting the whole device, and test on a harmless screen. If the shortcut works there but not in one app, the boundary is probably the app or content rather than the keyboard.
Finish with a 30-second handoff check
- The image opens from the file or message you will actually send.
- The important detail is readable at normal viewing size.
- Enough device or app context remains to identify the location.
- Passwords, personal messages, customer records, account identifiers, and unrelated notifications are absent or safely redacted.
- The capture type matches the evidence: still image for state, long capture or document for length, recording for motion.
- Your message says what happened, what you expected, and what the recipient should examine.
The screenshot is complete when the intended person can open it, locate the relevant detail, and understand the next action without asking which device, window, or step it came from. For more platform-specific workflows, continue through ToolMerit’s tool tutorials.