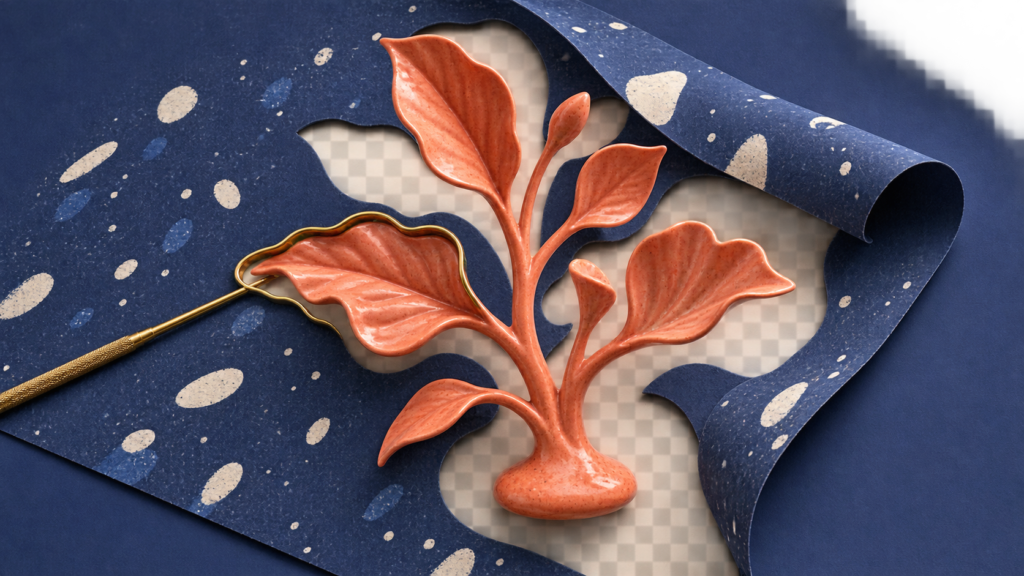
A recoverable GIMP workflow for choosing the right selection tool, refining a layer mask, diagnosing halos, and exporting a verified transparent PNG.
To remove a background in GIMP, add an alpha channel, choose a selection tool that matches the boundary, turn the selection into a layer mask, refine the mask against contrasting test layers, and export the result as a PNG. A flat backdrop may take minutes with Fuzzy Select; hair, shadows, and similar colors usually need Foreground Select and manual mask cleanup.
This workflow follows the GIMP 3.0 manual and keeps the original pixels recoverable. Save the working file as XCF before exporting. The checkerboard inside GIMP indicates transparent pixels, but the real quality test is whether the cutout still looks clean over light, dark, and saturated backgrounds.
Prepare an editable cutout before selecting anything
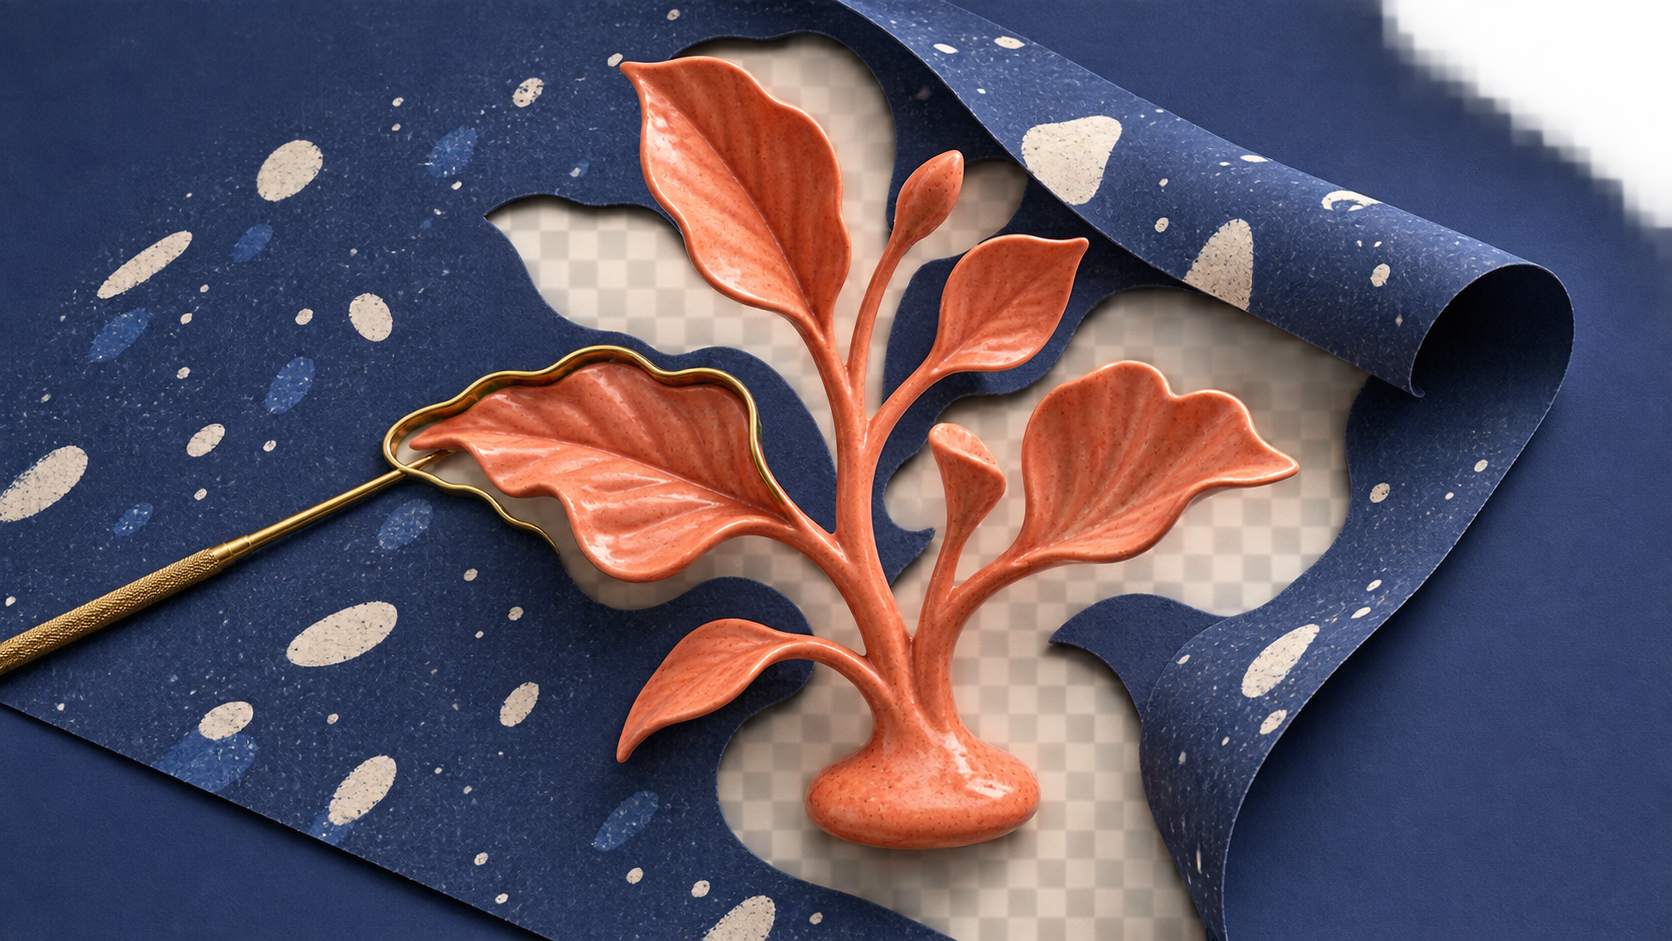
Open the image, then make the job reversible before you touch the edge:
- Save a working XCF. Use the XCF file for layers and masks; create the delivery PNG only at the end. If the source came from a phone and GIMP cannot open it in the form you received, prepare a compatible copy first; this HEIC conversion guide explains the format decision, although an already compressed JPEG may contain edge artifacts that need extra cleanup.
- Duplicate the source layer. Hide the untouched copy and work on the duplicate. This gives you a visual reference and a fast reset point.
- Add transparency. With the working layer active, choose Layer → Transparency → Add Alpha Channel. The official GIMP transparency guide explains that PNG alpha transparency is stored in this separate channel. If the command is unavailable, the layer normally already has one.
- Add a temporary test layer below the subject. Fill it with a color unlike both subject and background. This is not the exported background; it makes missed pixels and accidental holes easier to see.
Adding an alpha channel does not remove anything by itself. It only gives the layer somewhere to store partial or complete transparency. If clearing a selection replaces the background with a solid color, check that the correct layer is active and has an alpha channel.
Choose the selection method from the boundary
The fastest reliable method depends on how the background connects, not on the file name or the subject category. Use this routing table before changing thresholds:
| What the image looks like | Start with | Why it fits | Stop and switch when |
|---|---|---|---|
| One plain or nearly plain background connected around the subject | Fuzzy Select | It expands through contiguous pixels similar to the clicked point. | A threshold that reaches the full background also removes subject colors. |
| The same background color appears in separate enclosed areas | Select by Color | It finds similar pixels whether or not they touch. | The selected color also occurs in important subject details. |
| Uneven scene, soft shadow, hair, fur, fabric, or similar foreground and background colors | Foreground Select | You identify foreground and background examples instead of relying on one color threshold. | The preview cannot separate the edge even after targeted foreground and background marks. |
| A single flat color must become partially transparent throughout one layer | Color to Alpha | It removes a specified color while retaining partial transparency in mixed pixels. | That color is part of the subject or the file contains several layers that must be treated differently. |
| Hard product outline or geometric object that must follow deliberate control points | Paths or a carefully drawn selection | A controlled contour can be more predictable than color similarity. | The edge is soft, translucent, or too detailed to trace efficiently. |
Fuzzy Select and Select by Color are related but not interchangeable. GIMP’s Select by Color documentation states that the former follows connected regions, while the latter selects sufficiently similar pixels anywhere in the image. That distinction matters for holes between arms, product handles, letters, and other enclosed background islands.
How to remove a plain background in GIMP
For a product, icon, document object, or simple portrait on a mostly uniform background, begin with Fuzzy Select. The goal is not to make the selection as large as possible. It is to cover the background without crossing the true subject boundary.
- Activate Fuzzy Select. Choose Tools → Selection Tools → Fuzzy Select or press U, then click a representative background area away from the subject.
- Tune the threshold while watching the edge. According to the official Fuzzy Select guide, dragging down or right increases the selected color range; dragging up or left reduces it. Enable its mask preview when marching ants do not show the coverage clearly.
- Add missed background islands deliberately. Use the selection mode controls to add separate regions. If many disconnected regions share one background color, Select by Color may be faster—but inspect every place that color appears on the subject.
- Inspect at useful zoom. Check narrow gaps, corners, shadows, and antialiased pixels. If raising the threshold begins selecting the subject, undo that change. Do not trade a damaged edge for one-click coverage.
- Invert the background selection. Choose Select → Invert so the subject, not the background, is selected.
- Convert it to a mask. Choose Layer → Mask → Add Layer Masks, initialize from Selection, and add the mask. GIMP’s layer-mask documentation confirms that selected areas become opaque and unselected areas transparent.
- Clear the selection. Choose Select → None, click the mask thumbnail, and refine with a soft or hard brush appropriate to the actual edge. On the mask, black hides, white reveals, and gray creates partial visibility.
For a worked example, imagine a dark-blue mug photographed on off-white paper. Fuzzy Select can claim the connected paper quickly, but the soft shadow under the mug will not match the brightest paper. Do not keep increasing the threshold once blue glaze begins to enter the selection. Mask the obvious background first, then paint the remaining shadow out on the mask. This separates a color-selection job from an edge-finishing job and protects the mug.
You can clear a background selection directly after adding alpha, but a layer mask is safer. If a handle hole disappears or the base looks clipped later, painting white on the mask restores the original pixels without reopening the source.
Use Foreground Select for a complex subject
Foreground Select is a better starting point when the subject crosses several background colors or includes hair, fur, fabric fibers, soft shadows, or partially transparent edges. It creates a selection from examples you mark rather than from a single clicked color.
- Choose Tools → Selection Tools → Foreground Select.
- Draw a rough closed outline around the subject with a little background included. It is a boundary for analysis, not the final contour. Close the outline and press Enter.
- Draw strokes through representative foreground colors. Cover distinct regions such as skin, clothing, dark hair, highlights, and saturated details, but do not paint over the background.
- Toggle the preview. Zoom into uncertain areas. Use Draw background to mark false inclusions and Draw unknown where genuine subject pixels were omitted.
- When the preview captures the subject without large background patches, finalize the selection.
- Add a layer mask initialized from the selection, clear the selection, and finish on the mask rather than erasing pixels.
The official Foreground Select instructions recommend a rough initial outline, foreground strokes, preview, and targeted refinement. The tool can be slower on large images, so reduce the unknown area with a sensible outline instead of circling the entire canvas.
Foreground Select is not a promise that every hair will be perfect. Its best output is a strong first mask. Final delivery quality still depends on inspecting the mask at the intended display size and testing it over the backgrounds where it will actually be used.
Repair halos, holes, and rough edges with three test backgrounds
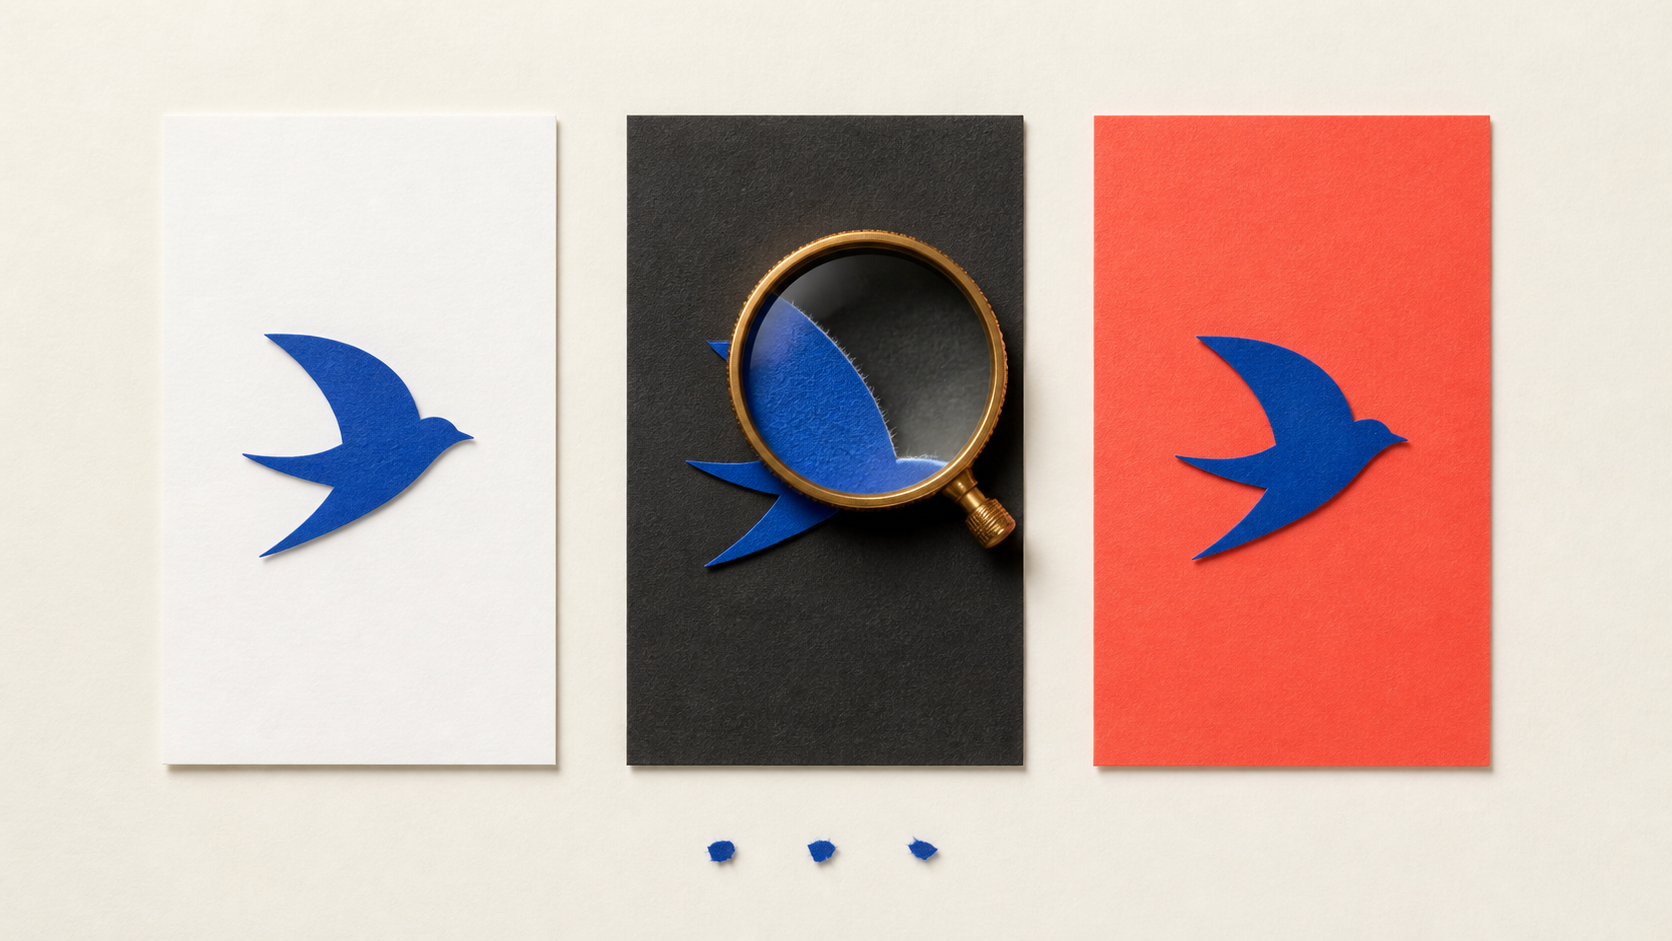
Create three temporary layers below the cutout: white, near-black, and a saturated color unlike the subject. Toggle them one at a time. A checkerboard alone can hide light fringes and small transparent holes.
| What you see | Likely cause | Mask repair | Recheck |
|---|---|---|---|
| Light halo on the dark test layer | Bright background pixels remain partially visible. | Paint black carefully on the mask just outside the real boundary; use a small brush and avoid shrinking the whole subject. | Dark and saturated layers |
| Dark fringe on the white test layer | Shadow or dark background contamination remains in the transition. | Refine the mask locally. If the contamination is one consistent color on a single layer, test Color to Alpha on a duplicate and compare it with the mask result. | White layer at intended output size |
| Holes inside the subject | The threshold was too broad or a foreground region was marked as background. | Paint white on the mask to reveal the preserved source pixels. | All three layers, especially the saturated one |
| Jagged diagonal or curved edge | The selection transition was too hard or refinement happened at an unhelpful zoom. | Undo and rebuild with antialiasing, or soften only the damaged mask section. Use minimal feathering; broad blur creates a new halo. | View at 100% and at final display size |
| Hair or fabric fibers disappear | A color-threshold tool treated fine foreground detail as background. | Return to Foreground Select and mark distinct foreground and background samples, then blend only uncertain mask areas. | Dark and light layers |
| Small background patches remain in enclosed gaps | Fuzzy Select reached only the connected outer background. | Add the missed regions or use Select by Color when the same background color is safe to select globally. | Saturated layer |
GIMP supports feathered selections, but feathering is a transition tool, not a universal cleanup button. The GIMP selection guide explains that feathering creates partial selection values across a boundary. Apply only enough to match the source edge. A crisp package photo, a motion-blurred object, and fine hair should not receive the same treatment.
Export a transparent PNG and verify the delivered file
When the mask is clean, hide all temporary test layers. The canvas should show GIMP’s transparency checkerboard around the subject. Then complete this release check:
- Save the XCF again. Keep the source layer, mask, and test layers for corrections.
- Export rather than Save As. Choose File → Export As or press Shift+Ctrl+E, use a
.pngfilename, and continue to the PNG options. - Preserve alpha. In the PNG export dialog, keep a pixel format with alpha when that choice is exposed. The official PNG export reference documents RGB or grayscale output with or without an alpha channel.
- Reopen the exported PNG. Do not rely only on the XCF preview. Place the actual PNG over white, black, and the intended page or brand color.
- Check dimensions and edge behavior. Confirm that the transparent area remained transparent, the subject was not cropped, enclosed gaps are open, and no test layer was exported.
| Delivery test | Pass evidence | If it fails |
|---|---|---|
| Transparency | The reopened PNG shows checkerboard or the new layer beneath it. | Confirm alpha exists, hide the background layer, and export PNG again. |
| Light/dark edge | No pale outline on black and no dark outline on white. | Return to the XCF mask; do not paint fixes into the exported copy. |
| Interior detail | Handles, gaps, hair, and fine edges match the intended silhouette. | Reveal missing pixels with white on the mask or hide residue with black. |
| Destination fit | The PNG looks correct at its real placement size and background color. | Evaluate at delivery size; repair only the edge sections that remain visible. |
A transparent PNG is still a raster image; background removal does not convert it into editable vector paths. If the destination requires resolution-independent artwork, first understand the difference between a vector image and a pixel image. If the input itself is a screen capture, make the cleanest possible source before editing by following the appropriate method in this cross-device screenshot guide.
The completion rule is simple: keep the XCF recoverable, export a PNG with alpha, reopen that PNG, and make it pass the three-background edge test. Once all four are true, the background is not merely hidden in the editor—it is removed in the file you can actually deliver.