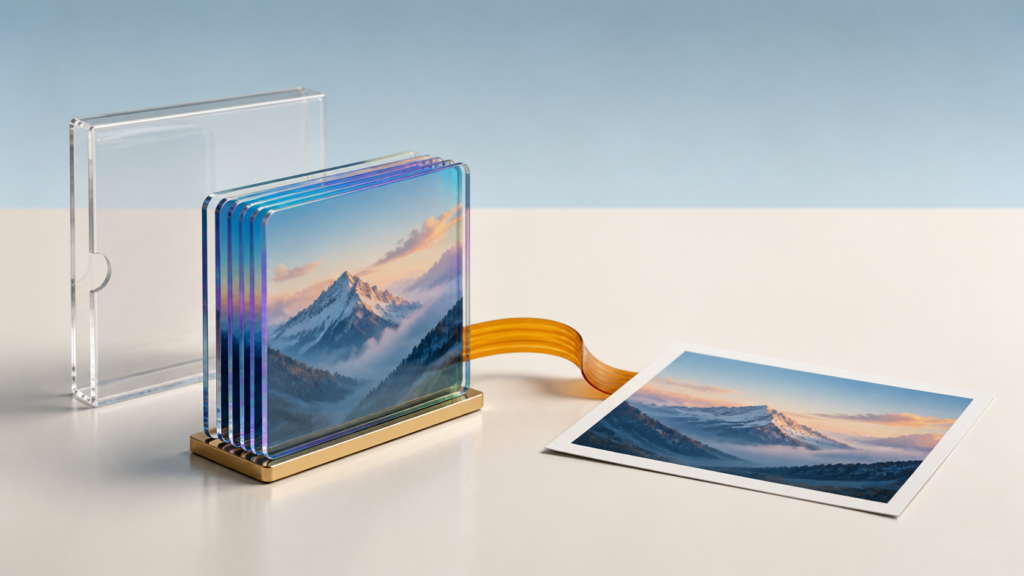
Choose the right local HEIC-to-JPG method for Mac, Windows, iPhone, or a whole folder, then verify the copies before removing originals.
To convert HEIC to JPG, use an export or conversion command—not Rename. On Mac, open the HEIC file in Preview, choose File > Export, select JPEG, set quality, and save a new copy. On Windows, add Microsoft’s HEIF support if the file will not open, open it in Paint, and choose File > Save as > JPEG picture. On iPhone or iPad, make a Shortcuts workflow with Select Photos, Convert Image set to JPEG, and Save to Photo Album. Keep every original until the JPG opens with the expected dimensions, orientation, and appearance.
JPG and JPEG are two filename extensions for the same image format. The useful change is from HEIC content to JPEG content; typing .jpg over the old extension does not perform that conversion. Pick the route below by device, number of files, privacy, and whether you will repeat the job.
Choose the route with three constraints
Start with the files you already have and the device that can open them. A local method keeps the image bytes on your device. A browser converter uploads them to another service, so its retention, deletion, and metadata practices matter when the photos are private.
| Situation | Route | Why it fits | Stop condition |
|---|---|---|---|
| One or a few files on Mac | Preview export | Built in, local, and exposes a JPEG quality control | Use another route if Preview cannot decode the source |
| One or a few files on Windows | Official HEIF support plus Paint | Uses Windows components and saves a deliberate JPG copy | Install only from Microsoft Store prompts; do not download a random codec bundle |
| Photos still on iPhone or iPad | Shortcuts | Runs on-device and can accept multiple selected photos | Test one photo before allowing a large selection |
| A repeatable folder of dozens or hundreds | ImageMagick batch command | Keeps a predictable input/output boundary and produces one JPG per source | Stop if the installed build cannot read HEIC or the first sample looks wrong |
| One non-sensitive photo and no compatible local app | Browser converter | Requires no installation | Do not upload confidential, personal, client, location-sensitive, or unreleased images without reviewing the service terms |
Microsoft’s guide to common filename extensions explicitly warns that changing an extension changes only the name, not the underlying format. If photo.heic becomes photo.jpg but no exporter ran, the file is still HEIC and may now be harder for software to identify.
Convert HEIC to JPG in Preview on Mac
Preview is the shortest controlled path when the files are already on a Mac:
- Copy the HEIC files into a working folder. Leave the originals in their current library or archive.
- Open one file in Preview.
- Choose File > Export.
- Open the Format menu and select JPEG.
- Move the Quality control toward Best for an important master copy, or choose a lower setting only when the destination has a size limit. The slider is a tradeoff, not a promise of a particular file size.
- Choose a different output folder, keep a recognizable base name, and click Save.
Apple’s current Preview conversion guide documents JPEG export, its quality control, and the ability to convert several images at once. For a group, open the HEIC files in one Preview window, select them in the sidebar, and export the selection into an empty JPG folder. Convert two files first, inspect them, then process the rest.
Recent macOS versions may also offer Finder’s Convert Image quick action. Preview remains useful when you want to see the photo and make a conscious quality choice. Neither route requires uploading the image.
Make a JPG copy on Windows
First determine whether Windows can decode the file. Double-click one HEIC photo. If Photos or Paint reports that an extension is required, use the Microsoft Store link shown by Windows rather than searching the web for a codec installer. Microsoft’s HEIF support instructions describe the official HEIF and HEVC extensions and advise restarting the Photos app after installation. Codec requirements can vary with the file and Windows installation.
Once Paint can open the image:
- Right-click the HEIC file and choose Open with > Paint.
- Confirm the photo is upright and fills the expected canvas. Do not crop or resize unless that is part of the job.
- Choose File > Save as > JPEG picture.
- Save into a new folder such as
converted-jpg. Keep the base filename so the pair remains traceable. - Close Paint, reopen the JPG from File Explorer, and test it in the website or app that rejected HEIC.
If the pictures are still on an iPhone, a fresh USB import or a compatible share may deliver JPEG automatically. Apple says HEIF media may be converted to JPEG during USB import or when sent to a device that does not support the newer format. “May” is not deterministic enough for an archive migration, so inspect the actual downloaded extension and content rather than assuming conversion occurred.
Build an on-device converter in Shortcuts
For photos that have not left the iPhone or iPad, a small shortcut avoids a third-party upload and becomes reusable:
- Open Shortcuts and create a new shortcut named Make JPG Copies.
- Add Select Photos. Enable multiple selection if you want a batch.
- Add Convert Image and set its output format to JPEG.
- Add Save to Photo Album, or use a file-saving action if you want the outputs in a dedicated Files folder.
- Run the shortcut with one HEIC photo and grant only the requested photo access.
- Open the result, share it to the real destination, and confirm that destination accepts it before running a larger batch.
Apple’s Shortcuts documentation shows Select Photos feeding the Convert Image action. Action wording and available details can move between OS versions, so use each action’s information panel to confirm its input and output. If you add a Save action, place it after Convert Image; otherwise the workflow may save the selected HEIC source instead of the converted result.
For future camera captures, Apple documents Settings > Camera > Formats > Most Compatible as the setting that creates new photos as JPEG on supported devices. It does not convert the HEIC files already in your library, and Apple notes that HEIF usually uses less storage than JPEG at comparable visual quality. Change the camera format only when downstream compatibility is worth that storage tradeoff.
Convert a whole folder without mixing inputs and outputs
ImageMagick is useful when conversion is recurring, scriptable, or too large for manual export. Install it from the official project or your trusted package manager, then verify that your build lists HEIC as a readable format. If it reports a missing decoder or delegate, do not force the batch; use Preview, Windows support, or a build with HEIC capability.
Create this directory layout before running anything:
photo-job/
  source-heic/       ← protected inputs
  converted-jpg/     ← empty output directory
From inside source-heic, run:
magick mogrify -path ../converted-jpg -auto-orient -quality 90 -format jpg *.HEIC
If the filenames end in lowercase .heic on a case-sensitive system, change the final pattern accordingly. The -path option sends the outputs to the separate folder, -format jpg creates JPEG files, and -auto-orient applies the source orientation to the output pixels. Quality 90 is a practical first test, not a universal optimum; adjust it only after comparing appearance and file size in the real destination.
The official ImageMagick Mogrify documentation explains that changing the output suffix leaves the source format files untouched, but it also warns that an existing same-named output can be overwritten. Start with an empty converted-jpg directory. Never point -path at the source folder, and never use an unreviewed recursive command on your only copy.
After the command completes, compare source and output counts. If there were 83 HEIC inputs, there should be 83 expected JPG outputs before you move on. Duplicate base names, unreadable sources, multi-image containers, and prior output files can break a naïve one-to-one assumption, so count mismatch means investigation—not deletion. For occasional format and sizing utilities, ToolMerit’s free tools provide other focused conversion starting points.
Know what the JPEG copy may leave behind
A successful JPG is a compatible derivative, not a perfect substitute for every capability of the HEIC source. Apple describes HEIF as offering better compression than JPEG at comparable visual quality. Converting can therefore produce a larger file even though the output format is older and more widely accepted.
| Source property | What to expect in JPG | Decision |
|---|---|---|
| Visible pixels | Should look similar, but JPEG compression can add artifacts around fine detail and hard edges | Compare at 100% zoom before accepting a quality setting |
| Pixel dimensions | Should remain unchanged unless the converter or export preset resizes | Check width and height, not just file size |
| Orientation | May be stored differently or baked into the pixels | Open portrait and rotated samples outside the converter |
| HDR or wide-gamut appearance | Highlights, saturation, or contrast may look different in the JPEG destination | Compare on the device and site where the JPG will be used |
| Transparency or auxiliary image data | A normal JPEG cannot retain a transparent channel or every HEIF auxiliary representation | Use PNG or retain HEIC if those properties are required |
| Date, location, camera, and edit metadata | Preservation depends on the exporter, permissions, and destination | Inspect required fields explicitly; never infer them from the visible photo |
| Live or multi-item behavior | A single JPG is a static image | Retain the Photos library item or original companion media when motion matters |
JPEG is also a poor working master for repeated saves because each lossy re-encode can discard more image information. Keep the HEIC original, perform edits from the best available source, and export the final delivery JPG once. ToolMerit’s editing tools directory can help compare software when the task extends beyond format conversion.
Approve the JPG set before deleting anything
For a batch of five or fewer, inspect every image. For a larger batch, inspect at least five deliberately chosen files: the first, the last, a portrait image, a landscape image, and the photo with the strongest highlights or finest detail. Random samples alone can miss systematic edge cases.
- Count: expected inputs and outputs reconcile, with any excluded or failed source recorded.
- Decode: each sample opens in a second app, not only in the converter that created it.
- Dimensions: width and height match the intended source; no unintended resize or crop occurred.
- Orientation: portrait, landscape, and rotated photos display correctly.
- Appearance: faces, gradients, text inside photos, shadows, and bright highlights have no unacceptable artifacts or color shift.
- Metadata: capture date, location, credit, or camera fields required by the workflow are present—or their planned removal is documented.
- Destination: upload one JPG to the actual website, editor, CMS, email, or client portal and complete the real handoff.
Only after the complete JPG set passes should you archive or remove redundant copies. Keep at least one recoverable HEIC set when storage permits, especially for HDR, Live Photos, client originals, or images that may need future editing. If a browser service was used, also confirm its deletion policy and remove any public share link; ToolMerit’s performance and privacy resources provide a broader checklist for evaluating web-based workflows.
The job is complete when the output files contain real JPEG data, open outside the converter, retain the required appearance and metadata, and work in the destination that rejected HEIC. A renamed extension or a folder full of untested copies is not a completed conversion.