A preservation-first workflow for scanning an old print, repairing tone and damage on a duplicate, controlling AI invention, and keeping trustworthy versions.
Before opening a photo editor, inspect the physical print. If it is stuck to glass or an album, actively moldy, wet, flaking, brittle, sharply curled, cracked, or separating from its mount, do not clean, peel, flatten, or force it onto a scanner. Digital restoration can wait; new physical damage cannot be undone.
Restore old photos by first stabilizing and digitizing the original, then editing a duplicate—not the preservation master. Correct overall tone and color before repairing dust, scratches, tears, and missing areas; keep every generated or colorized detail in a clearly labeled derivative.
Start with a physical damage triage
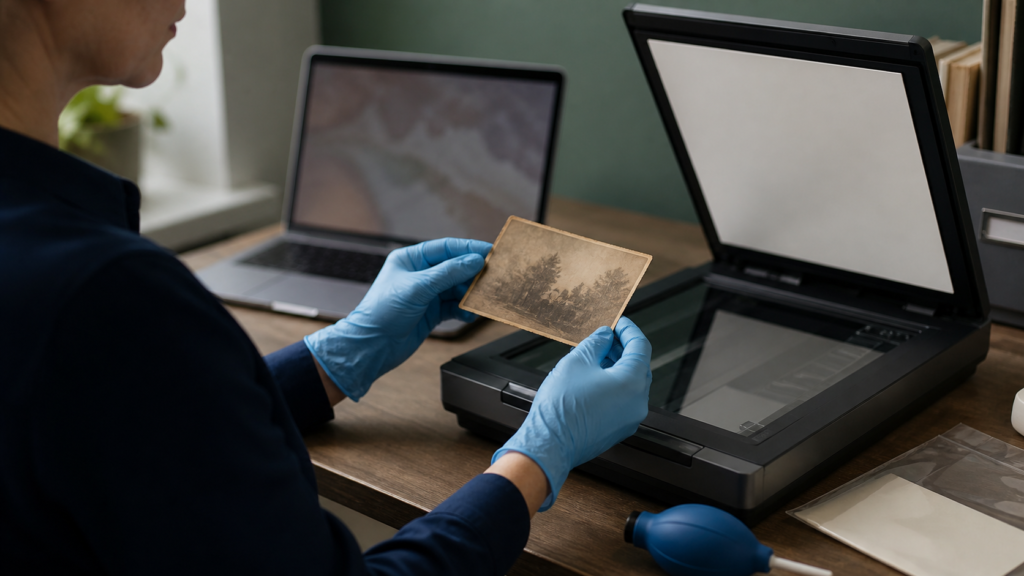
The first tool choice is a preservation decision, not a software decision. Work on a clean, dry surface without food or drinks. Handle a print by its edges with clean, dry hands or fitted nitrile gloves; avoid touching the image layer. If loose dust can be removed safely, the Library of Congress recommends an air bulb rather than canned air and warns that even soft brushes can scratch some photographs.
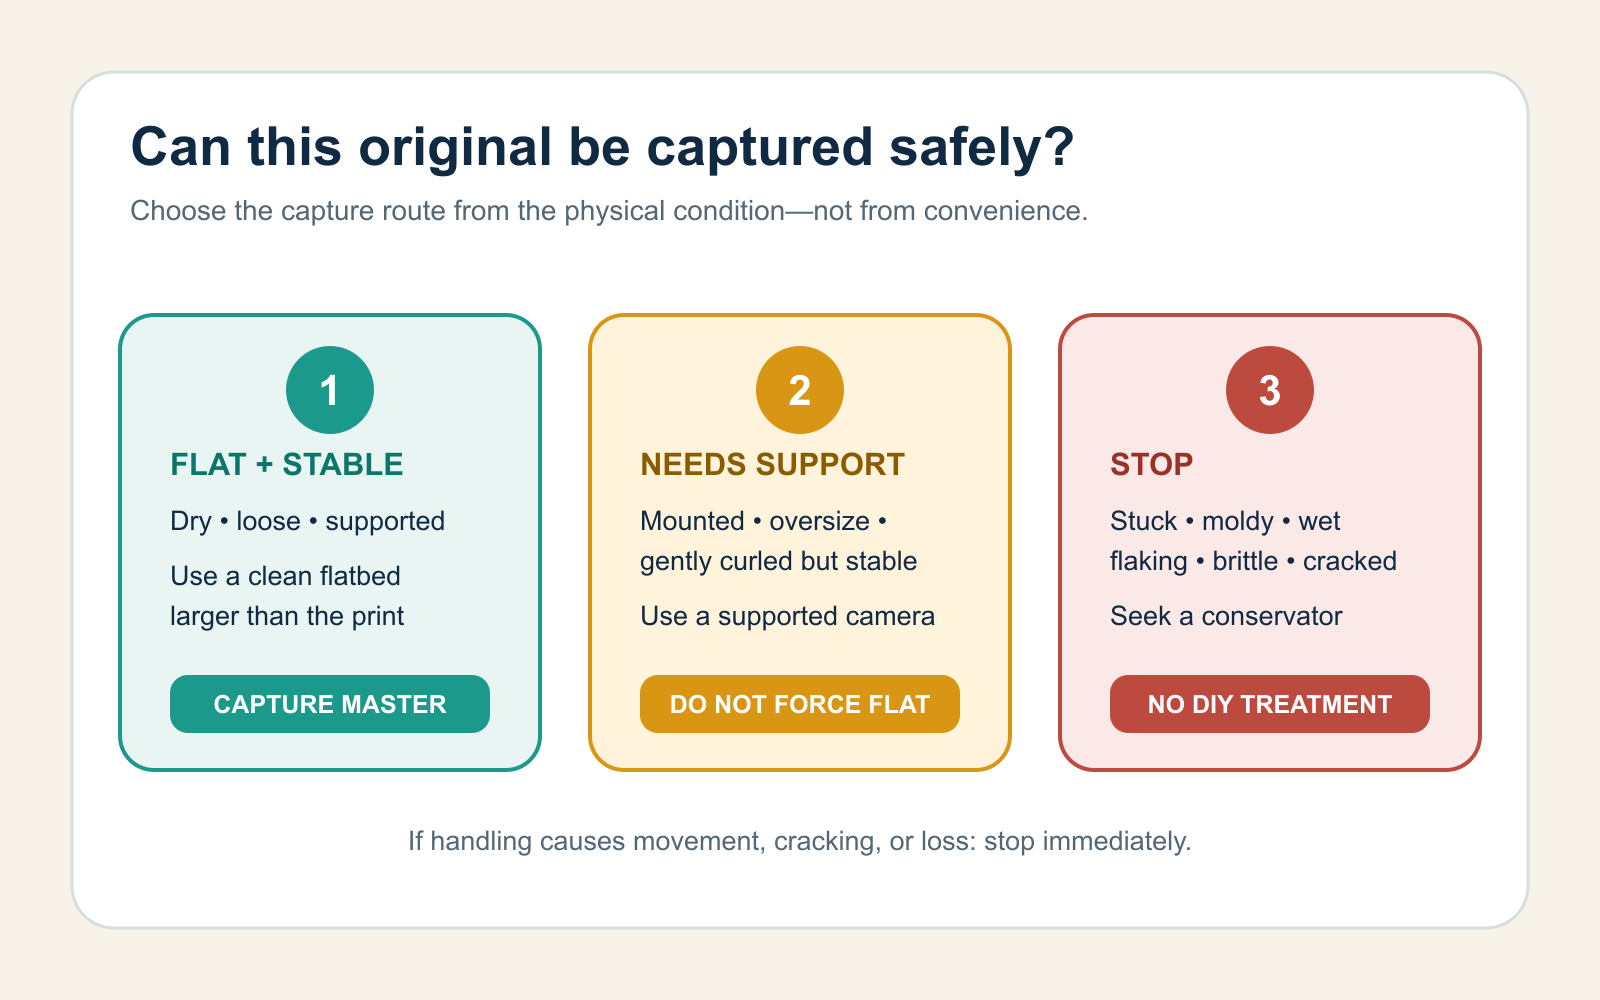
| Condition | Capture route | Do not do |
|---|---|---|
| Flat, dry, stable, and loose | Use a clean flatbed scanner larger than the print | Do not use an automatic document feeder |
| Stable but mounted, oversize, or gently curled | Use a supported camera or planetary-style copy setup with even light and the sensor parallel to the print | Do not force it flat or place weight or glass on it without conservation advice |
| Stuck, moldy, wet, flaking, brittle, cracked, tightly rolled, or separating | Stop and consult a photograph conservator or experienced archival imaging service | Do not peel, wash, tape, trim, heat, or chemically clean it |
Create a preservation master before editing
For a small family print, the following is a strong archival-oriented starting profile when the scanner and storage budget support it:
- Capture: 600 pixels per inch (ppi), at the print’s actual size.
- Color: 48-bit RGB—16 bits per channel—even for a monochrome print when paper tone, staining, or process color matters.
- Format: uncompressed or losslessly compressed TIFF with the scanner’s color profile embedded.
- Processing: turn off automatic restoration, dust removal, sharpening, contrast, and colorization.
- Coverage: include the full edges and scan the back if it contains handwriting, a studio stamp, or other evidence.
This is a practical profile, not a universal minimum. The current FADGI print-and-photograph table defines performance levels from roughly 200 to 600 ppi and uses 16-bit color at its higher levels; the right capture depends on original size, detail, condition, and intended use. A 4 × 6-inch print scanned at 600 ppi becomes 2400 × 3600 pixels, or 8.64 megapixels—enough room for careful local repair without inventing resolution through enlargement.
Clean the scanner glass according to its instructions before the photograph enters the work area; never spray cleaner near the original. Scan once at the chosen master settings. FADGI separates preservation masters from access versions: digital dust removal, restoration, and color or tone enhancement do not belong in the photographic master, while labeled access copies may be adjusted. That separation is the foundation of a trustworthy restoration.
Build a three-file truth system
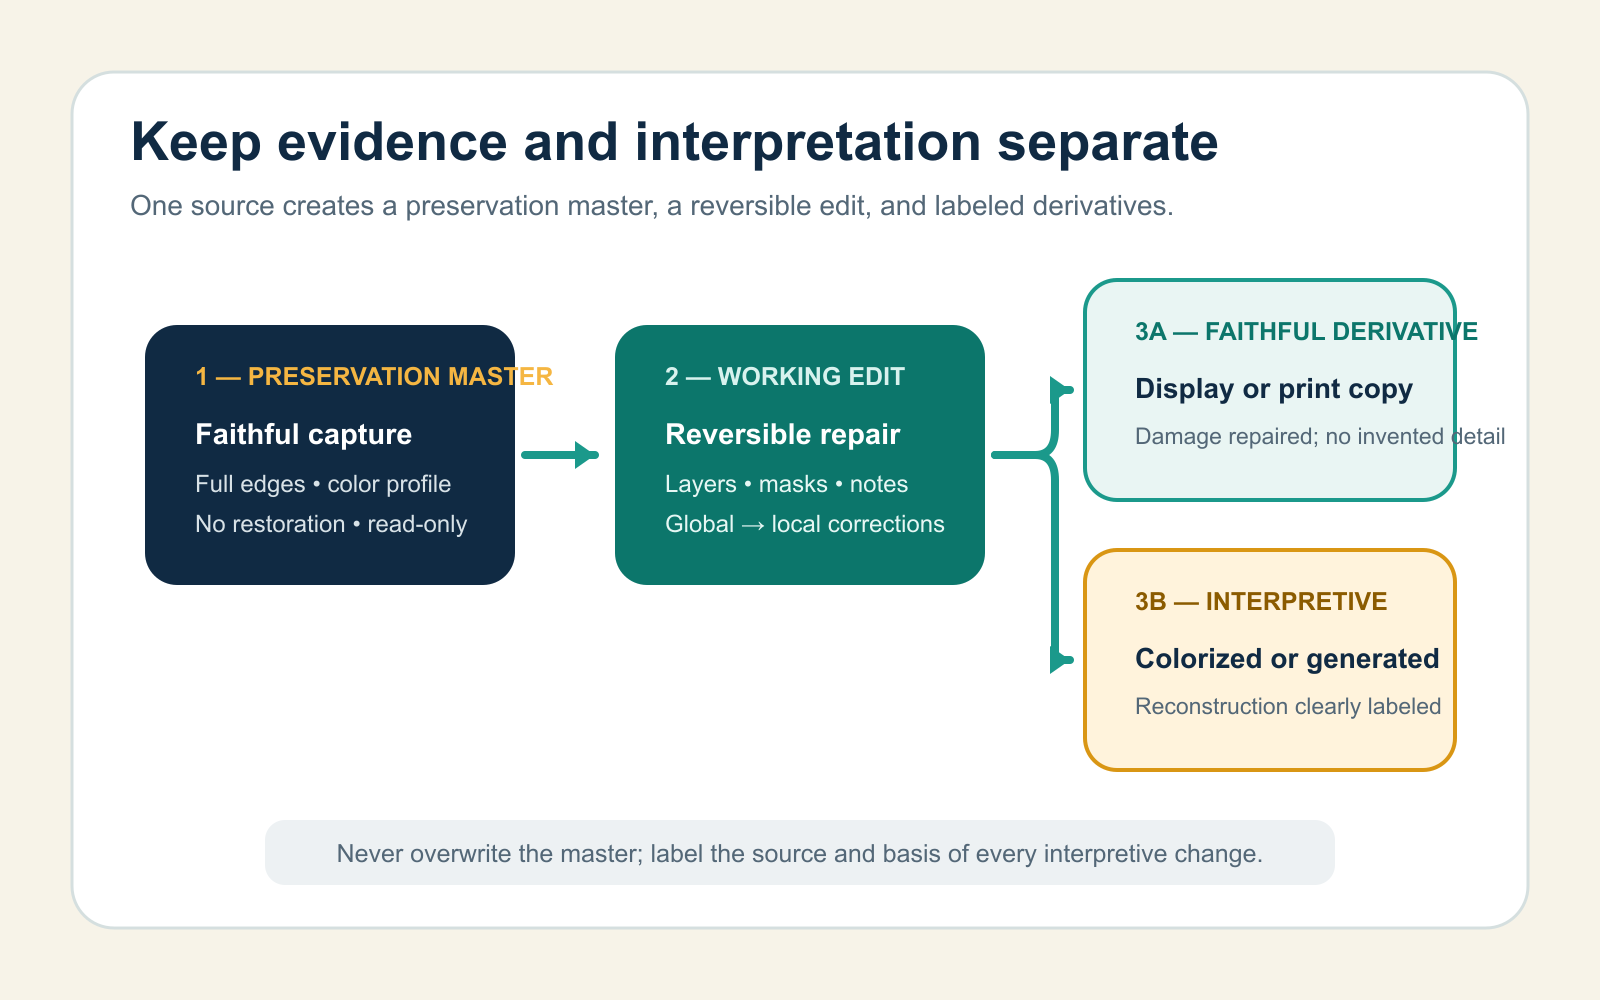
- Preservation master: the color-managed capture with the entire print visible and no restoration. Make it read-only after checking it.
- Working edit: a layered file in the editor’s native format. Use masks, adjustment layers, and separate retouch layers so decisions can be revised.
- Derivative: a flattened display, print, or web file. Label AI reconstruction, speculative repair, or colorization as interpretive.
A filename set might be 1948-family-pic_front_master.tif, 1948-family-pic_edit-v01.psd, and 1948-family-pic_restored-faithful.jpg. A colorized version should say so: 1948-family-pic_colorized-interpretive.jpg. Keep the date approximate if it is not known; do not turn a guess into metadata.
Restore from global to local
Make large, reversible corrections before painting individual pixels. Otherwise, an early spot repair may become too dark, too sharp, or the wrong color after later tonal changes.
- Duplicate and orient. Open the working copy, straighten rotation or perspective, and crop only the edit—not the master.
- Set the tonal range. Use Levels or Curves to recover readable shadows, midtones, and highlights without forcing every old print to pure black and white.
- Correct the color cast. Adjust channels or white balance while watching neutral objects and skin. Keep age-related paper tone if removing it would change the character of the print.
- Repair broad unevenness. Use large feathered masks for fading, vignetting, or local density changes before working on dust.
- Remove small defects. Place spot-healing, healing-brush, or clone work on an empty retouch layer. Sample nearby texture and use short strokes.
- Address tears and losses. Rebuild only where neighboring texture or a matching source supports the decision. Keep large inventions separate and labeled.
- Finish for the output. Reduce noise or sharpen lightly at the final display or print size. Do not erase all grain; grain often carries real edge and tonal information.
Match the defect to the repair tool
| Visible problem | Good first tool | Failure to avoid |
|---|---|---|
| Overall fading or low contrast | Levels or Curves on an adjustment layer | Clipping the oldest highlights and shadows for a dramatic “new” look |
| Red, yellow, or uneven color cast | Channel curves, white balance, or a masked color adjustment | Using teeth, eyes, or aged paper as a guaranteed neutral reference |
| Isolated dust spots | Spot healing on a separate layer | Large automatic cleanup that removes jewelry, film grain, or small facial features |
| Long scratch across texture | Healing or clone tool in short sections, resampling often | Repeating one source patch until a visible pattern appears |
| Missing sky, wall, or fabric pattern | Clone from structurally similar nearby areas, then blend tone | Mirroring a patch that creates impossible architecture, clothing, or lighting |
| Missing eye, mouth, hand, text, or insignia | Another photograph from the same sitting, negative, or documented reference | Presenting a generated feature as recovered fact |
| Motion blur or missed focus | Modest output sharpening | Claiming that sharpening or AI recovered detail the source never recorded |
Use an evidence rule for missing detail
Ask one question before reconstructing: Where does this detail come from?
- Recover: if faint information is present in the scan, reveal it with tonal or local contrast controls.
- Infer and label: if adjacent texture or a documented companion image supports a repair, reconstruct it on a separate layer and note the basis.
- Do not invent: if a face, word, badge, hand, or object is absent with no reference, leave the loss visible in a faithful version. Put any imagined completion in a separate interpretive derivative.
This rule matters most for identity and history. A smooth-looking eye that belongs to no one is a worse restoration than a visible crease when the file is later used as family evidence.
Use AI as a draft, not a witness
AI tools can quickly propose scratch fills, face enhancement, enlargement, or color. They can also change age, expression, hairstyle, clothing seams, architecture, written characters, and family resemblance. Run AI only on a duplicate, compare it with the master at 100%, and mask in the smallest useful region instead of accepting an entire regenerated face.
Colorization is necessarily interpretive unless reliable color references exist. Keep a faithful monochrome restoration beside the colorized copy and label the latter. The same applies to generative fill across a missing corner: it may make a pleasing display image, but it does not become evidence about what the camera originally recorded.
Verify at three viewing scales
- Fit to screen: check overall brightness, color balance, crop, and whether the person still looks like the same person.
- 100% view: look for cloned repeats, halos, plastic skin, broken grain, smeared text, and brush edges.
- Intended size: export or print at the real delivery size. Some invisible pixel-level repairs become obvious in print, while other tiny defects do not deserve more editing.
Blink the faithful scan and working edit on and off. Every change should have an answer: damage removed, tone made legible, or interpretation added. If you cannot classify a change, undo it or move it to the interpretive version.
Export without losing the evidence
Keep the master TIFF, layered working file, and final derivatives in at least two separate storage locations. Export an sRGB JPEG at high quality for ordinary sharing; create a print derivative at the printer’s requested pixel dimensions and profile. Store captions, approximate dates, names, source owner, scan date, and restoration notes in embedded metadata or a sidecar record.
Digital retouching does not stabilize the physical photograph. Return the original to a photo-safe enclosure, keep it cool, dry, dark, and supported, and display a reproduction when possible. If the object itself needs peeling, flattening, mold treatment, emulsion repair, or adhesive removal, the correct next tool is a trained photograph conservator—not a stronger filter.