A print-production guide to cyan-plus-magenta blue, profile-dependent CMYK values, separations, total ink coverage, proofing, and spot-color decisions.
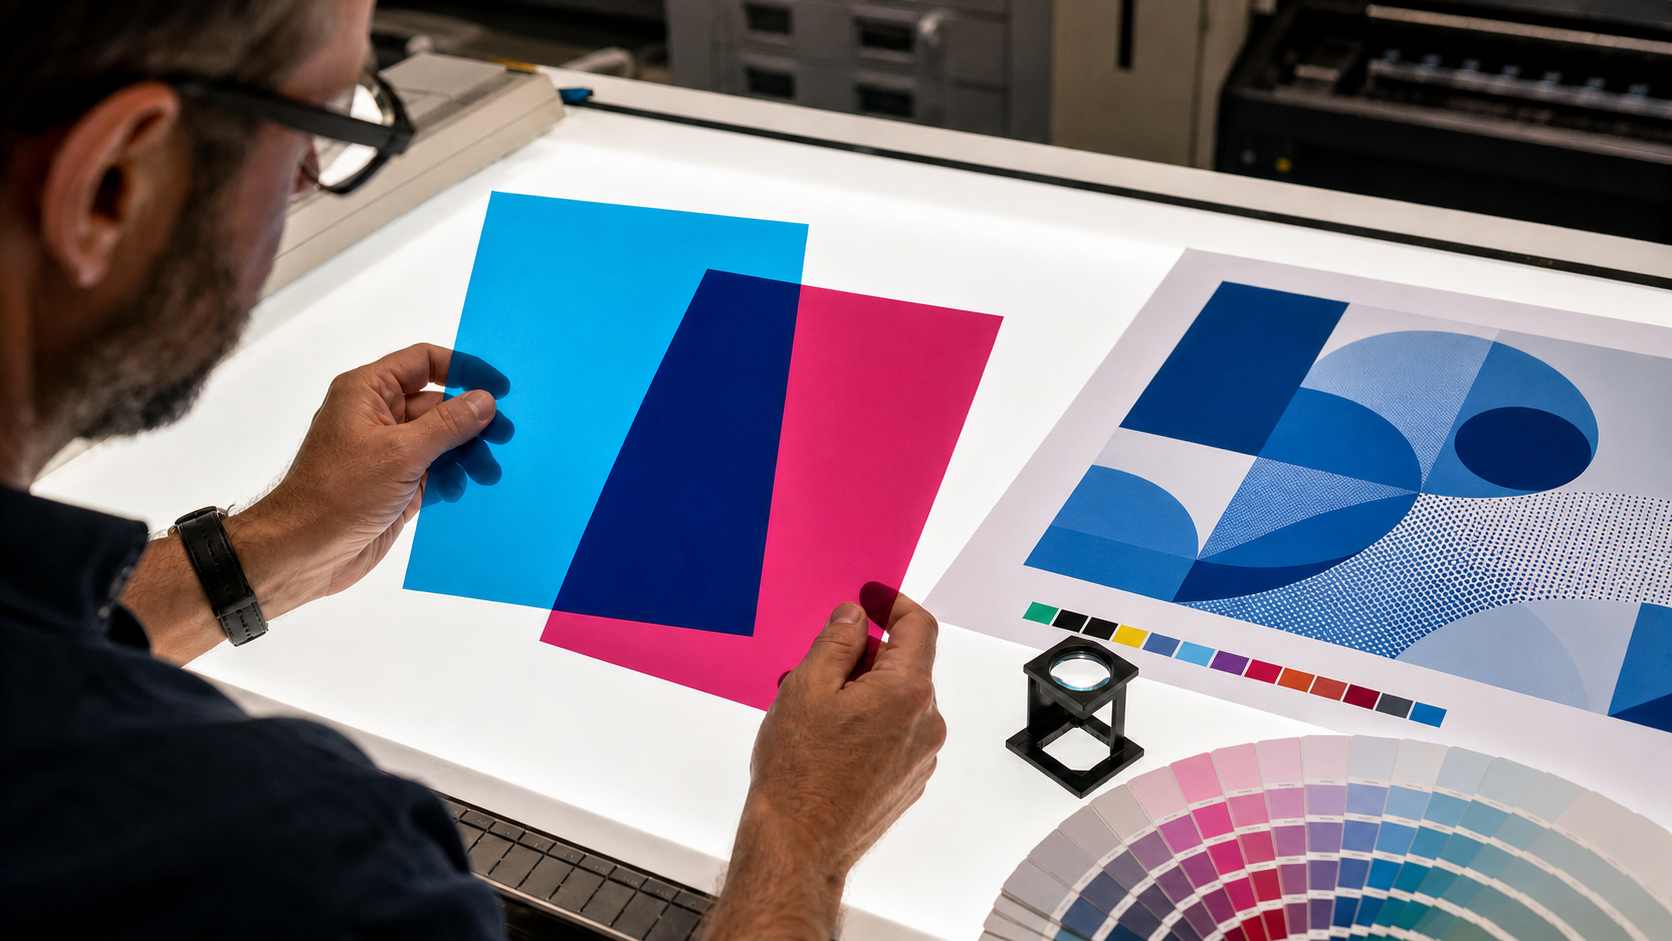
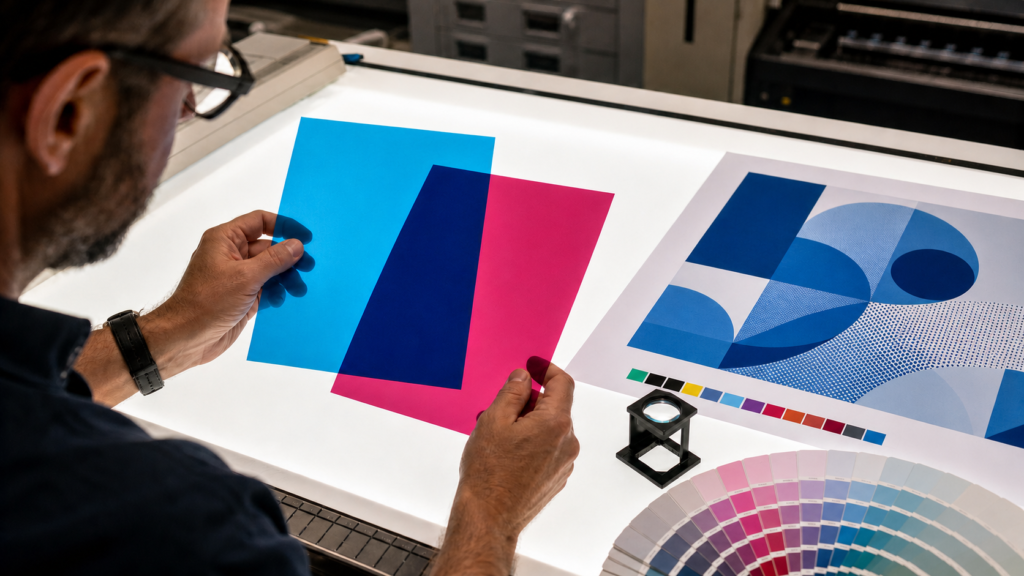
In process printing, cyan and magenta give blue: cyan absorbs red light and magenta absorbs green light, leaving more blue light to reflect from white paper. C100 M100 Y0 K0 is a useful conceptual starting swatch, not a universal production recipe. The final values must be evaluated through the printer’s ICC profile and an appropriate proof.
The question what colors give blue has a different answer on a press than it does on a monitor or an artist’s palette. This guide is about four-color process printing: files separated into cyan, magenta, yellow, and black inks or toners. Its goal is not merely to produce something blue on screen, but to make a blue that survives handoff to a known print process.
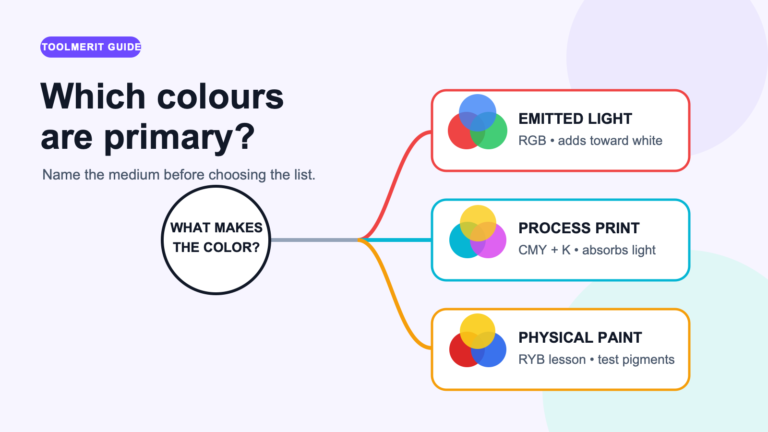
This answer belongs to process printing
| Medium | Color model | Where blue comes from |
|---|---|---|
| Monitor, phone, projector | Additive RGB light | Blue is one of the three encoded light channels |
| CMYK process print | Subtractive cyan, magenta, yellow, black | Cyan and magenta separations overlap to leave a blue-dominant reflection |
| Artist paint | Pigment-specific subtractive mixing | Results depend on the actual pigments, binders, opacity, and ratios |
| Spot-color print | Premixed dedicated ink | The printer lays down a specified spot ink rather than simulating it only with CMYK dots |
Do not copy #0000FF into a CMYK field and expect the press to reproduce its screen intensity. Adobe notes that RGB and CMYK have different modes and gamuts, and that the exact CMYK range varies with the press and printing conditions. Some highly saturated screen blues sit outside a given CMYK gamut.
Why cyan and magenta produce blue
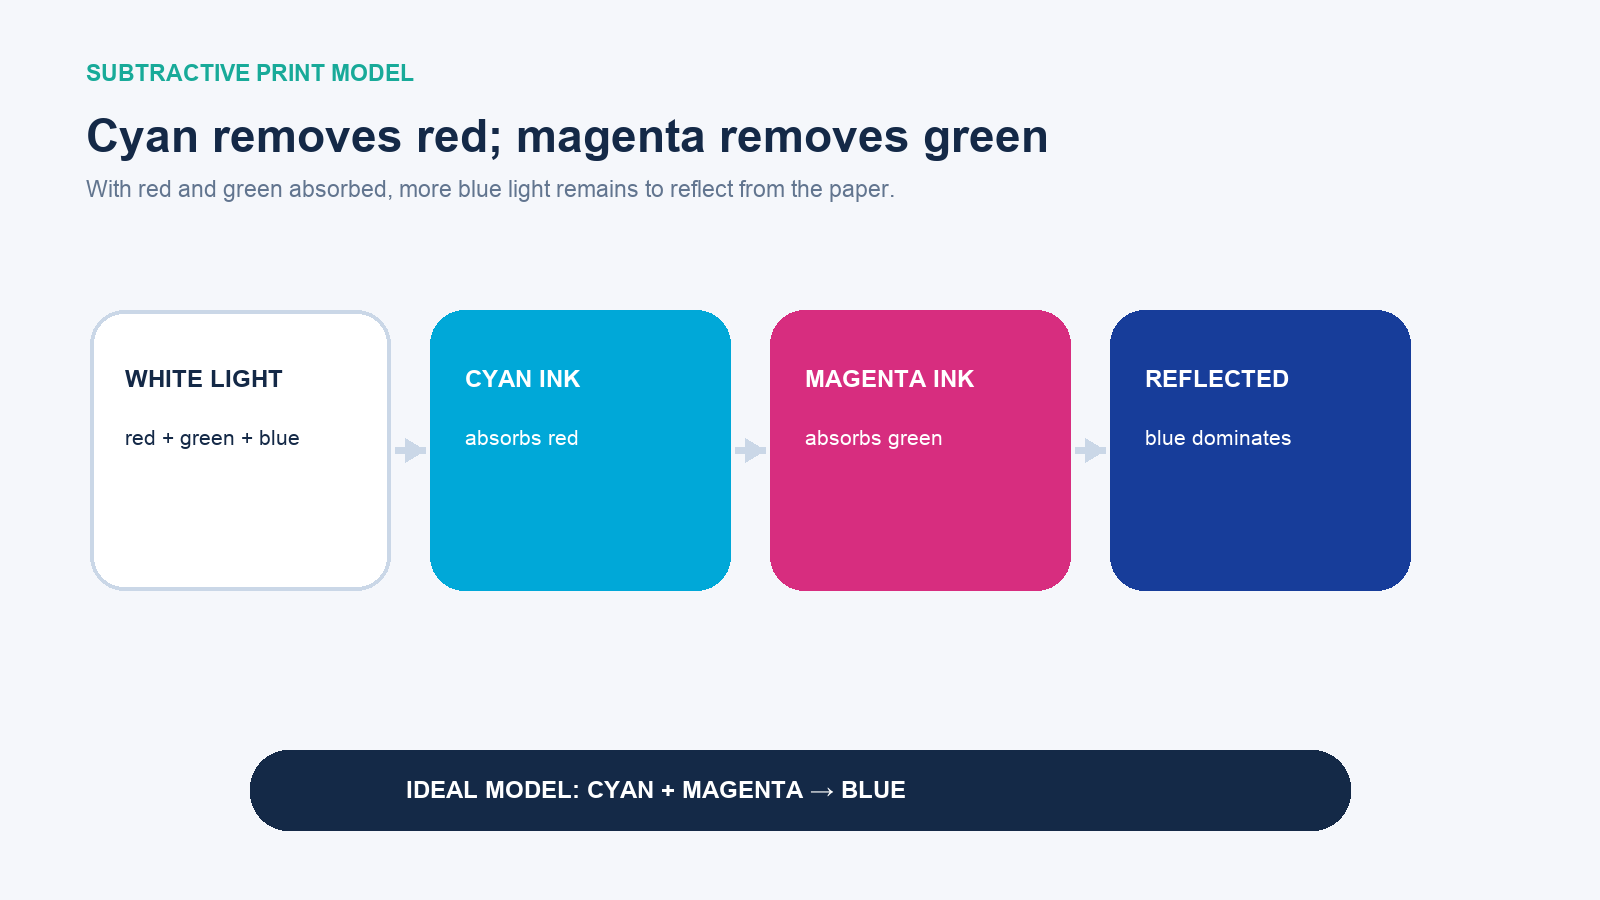
Printed color begins with illumination striking the substrate. Cyan ink is described in the ideal model as absorbing red; magenta absorbs green. Where their screened dots overlap, red and green are reduced, so proportionally more blue light is reflected to the observer. Canon’s process-color material expresses the relationship directly as blue equals cyan plus magenta.
“Ideal model” is an important qualification. Real ink films are not perfect filters. Paper has its own whiteness and surface, dot gain changes effective coverage, and screening places many dots beside one another rather than creating a uniformly mixed liquid. Black ink is added to practical process printing because real cyan, magenta, and yellow do not produce an ideal neutral black efficiently.
Treat CMYK numbers as starting coordinates
In a CMYK picker, C100 M100 Y0 K0 is a clean teaching example: full cyan and magenta, no yellow, no black. It identifies the subtractive corner associated with process blue. It may print darker, more violet, less saturated, or otherwise different from the preview under a particular profile.
Make directional changes rather than trusting anonymous recipes:
| Desired movement | First controlled adjustment | What to watch |
|---|---|---|
| More cyan / less violet | Reduce magenta relative to cyan | The blue can move toward azure and lose depth |
| More violet | Increase magenta relative to cyan | Small changes can look large in saturated areas |
| Darker blue | Evaluate a controlled black component or a profile-generated darker separation | Black can suppress chroma and hide detail |
| Cleaner, brighter blue | Keep yellow at zero unless the target calls for a muted or green-shifted result | Unexpected yellow can make the blue dull |
| Lighter blue | Reduce process coverage rather than adding white ink in ordinary four-color work | The paper becomes part of the color |
Total area coverage is the sum of the four channel percentages at a point. Thus C100 M100 Y0 K0 totals 200%, and C100 M90 Y0 K30 totals 220%. Those totals are arithmetic, not approval. The printer’s specified limit and the relevant profile determine what the process can handle; excessive ink can create drying, set-off, detail, and color problems.
Why identical CMYK values can print differently
- Ink or toner set: the spectral behavior of one cyan or magenta is not identical to every other formulation.
- Paper: coated, uncoated, recycled, brightened, and colored stocks reflect and absorb differently.
- Press and screening: dot shape, line screen, calibration, gain, registration, and density influence the overlap.
- ICC profile and rendering: conversion maps source colors into the gamut of a characterized print condition.
- Total ink limit and black generation: separation strategy changes how cyan, magenta, yellow, and black share a dark color.
- Viewing light and finishing: illumination, varnish, lamination, and adjacent colors change the observed result.
The W3C’s print-color work makes the same dependency explicit: calibrated CMYK needs an ICC profile corresponding to the inks, paper, total ink coverage, and equipment. It warns that an uncalibrated device-CMYK approximation can be visually far from actual output. A four-number value without its print condition is therefore incomplete production information.
A controlled workflow for a print-ready blue
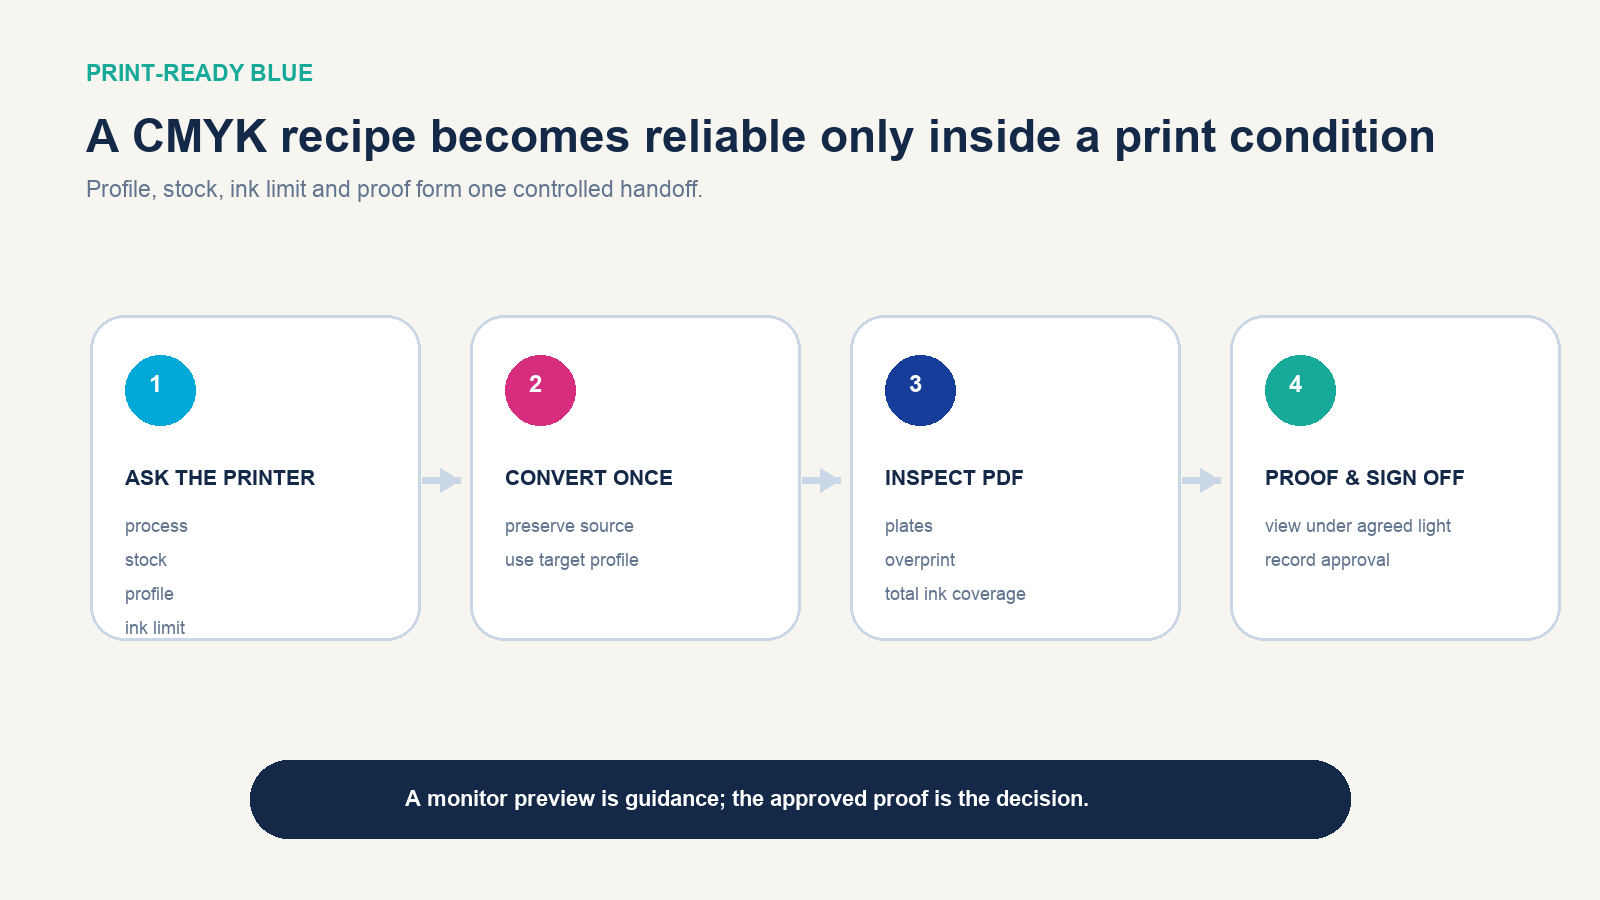
- Ask the printer first. Obtain the process, stock, required ICC profile or output condition, total ink limit, PDF standard, bleed, finishing constraints, and proof option.
- Keep an editable source. Preserve the original RGB artwork or wide-gamut master and all vector colors. Do not repeatedly convert the same pixels between RGB and CMYK.
- Soft-proof the target condition. Use the supplied profile and an appropriate rendering intent to preview gamut loss. A calibrated display helps, but it does not turn emitted light into paper.
- Convert deliberately. Let color management generate the separation, then inspect any brand-critical solid color rather than replacing the result with an internet formula.
- Inspect the production PDF. Check source spaces, output intent, cyan/magenta/yellow/black plates, overprint behavior, transparency handling, and total area coverage.
- Proof on the correct basis. Use the proof class agreed with the printer. View it under the agreed illumination and beside any approved reference.
- Record sign-off. Save the file version, profile/output condition, stock, proof identifier, date, approver, and any tolerated difference.
Adobe Acrobat’s Output Preview can expose separations, source color spaces, object information, overprints, and ink coverage. Adobe also cautions that an onscreen separation preview cannot reproduce every production variable, including all trapping, screen, and press effects. Use it to find file problems; use the appropriate proof and printer communication to approve color.
Troubleshoot the printed blue by symptom
| Observed proof or press result | Likely checks | Controlled response |
|---|---|---|
| Too purple | Magenta balance, profile, measurement, surrounding color | Reduce magenta relative to cyan in the approved workflow, then reproof |
| Too cyan or greenish | Magenta separation, cyan density, unwanted yellow change | Correct the separation or calibration; do not compensate blindly on press |
| Muddy | Yellow contamination, excess black, TAC, paper absorption | Remove unintended channels and check the target profile/stock |
| Too dark | Black generation, shadow compression, dot gain, lighting | Re-separate or adjust the target color under the same proof condition |
| Weak or washed out | Uncoated stock, low density, gamut limit, incorrect profile | Set realistic stock expectations or evaluate another process/ink |
| Different between vendors | Different profiles, papers, presses, calibration, or proof standards | Specify a shared target and obtain vendor-specific proofs |
A single bad print does not prove the numbers are wrong. Confirm that the correct file, profile, stock, calibration, and output settings were used before editing the artwork. Otherwise, an artwork change may merely compensate for a process error and fail on the next correctly calibrated run.
When a spot color is the better answer
Process CMYK is economical and flexible for photographs and multicolor pages. A dedicated spot ink can be the better choice when the blue is a primary brand identifier, must match across repeated jobs, falls outside the target process gamut, or needs a special physical effect. The printer still needs the exact spot specification, stock, coating, and proof expectation.
Do not judge a spot color by its monitor simulation alone. Use an up-to-date physical reference appropriate to the substrate and obtain a drawdown or press proof when the tolerance matters. Also confirm whether the job will preserve the spot plate or convert it to process; an unintended conversion defeats the purpose.
The production boundary
Cyan plus magenta gives blue is the correct conceptual answer for CMYK process printing. C100 M100 Y0 K0 is a useful orientation point. Neither statement authorizes a final press run by itself. The production answer is the blue evaluated under the named ICC profile, ink limit, paper, press condition, separation settings, and approved proof—or a properly specified spot ink when process color cannot meet the requirement.