A Chromebook-specific screenshot guide for every keyboard type, capture boundary, save location, tablet route, stylus option, and policy failure.
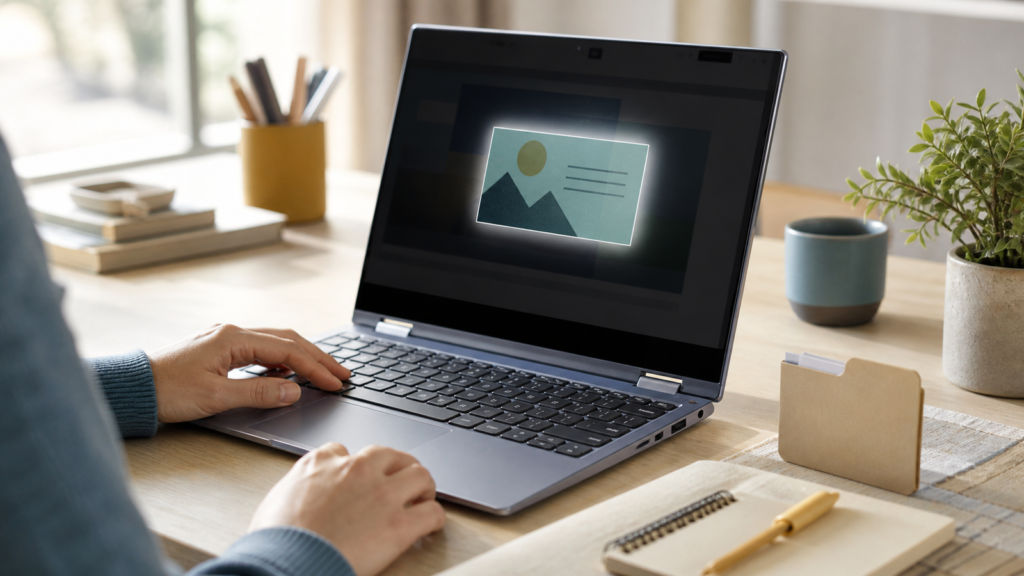
On a Chromebook, press Ctrl + Show windows to capture the full screen. Press Ctrl + Shift + Show windows to open Screen Capture and choose a full-screen, partial, or window screenshot.
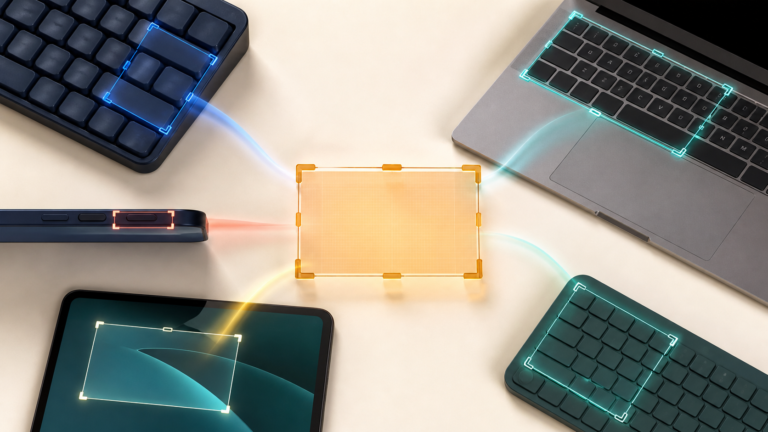
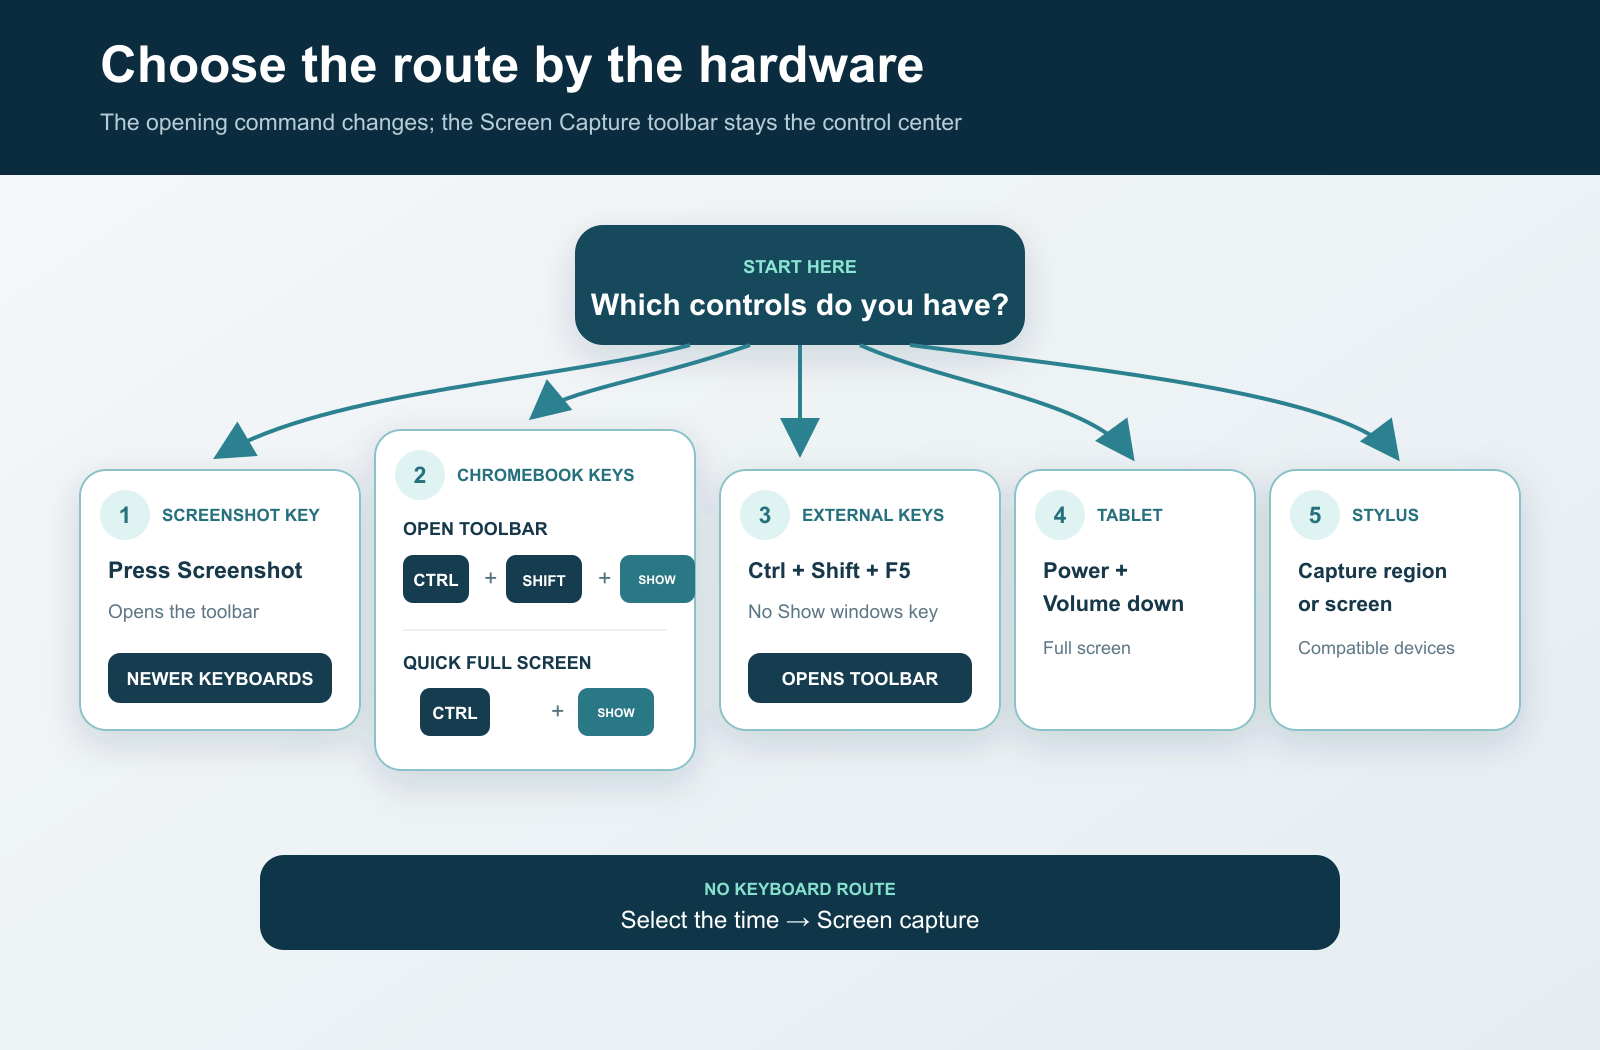
The correct route changes when the device has a dedicated Screenshot key, uses an external keyboard, or is folded into tablet mode. Start by identifying the hardware in front of you; then choose the capture boundary. ChromeOS saves the image as a file and also copies it to the clipboard.
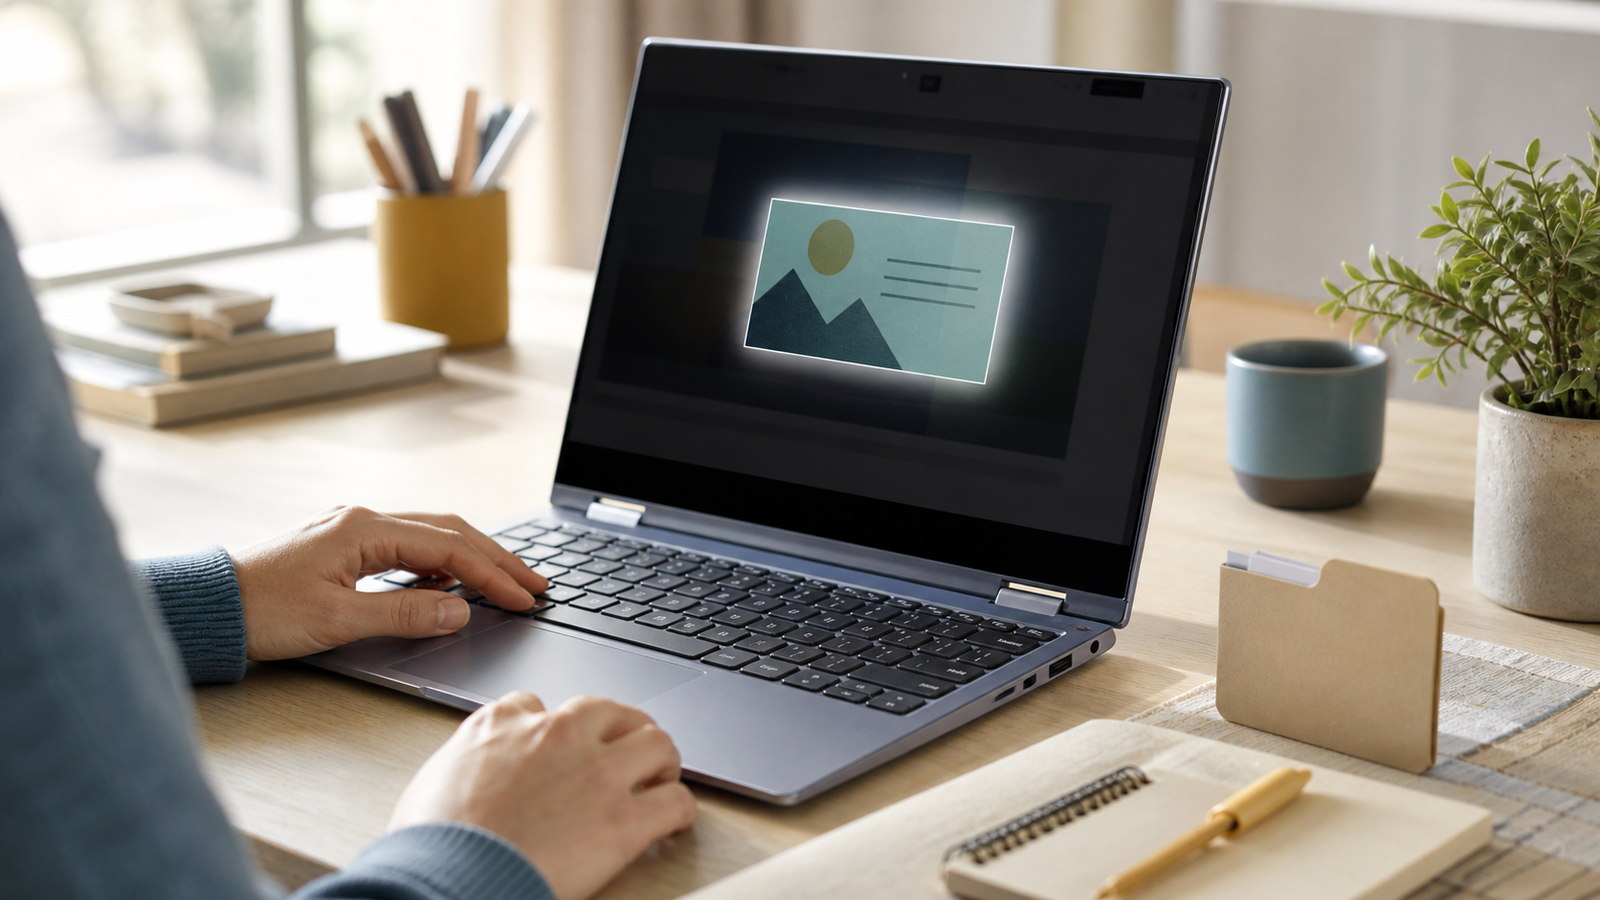
Match the screenshot route to your Chromebook
Use this table before trying random key combinations:
| What you are using | Command | Result |
|---|---|---|
| Chromebook with a dedicated Screenshot key | Press the Screenshot key | Opens the Screen Capture toolbar. |
| Standard Chromebook keyboard | Ctrl + Shift + Show windows | Opens the toolbar for full, partial, or window capture. |
| Standard Chromebook keyboard, full screen only | Ctrl + Show windows | Captures the full screen immediately. |
| External keyboard without Show windows | Ctrl + Shift + F5 | Opens the Screen Capture toolbar. |
| Chromebook in tablet mode | Power + Volume down | Captures the full screen. |
| Compatible Chromebook with stylus tools | Stylus > Capture region or Capture screen | Captures a drawn region or the full screen. |
Google’s current Chromebook screen-capture instructions also provide a mouse-only route: select the time at the lower right, then select Screen capture. That route is useful when you cannot identify a keyboard key.
Find the Show windows key without guessing
The Show windows key is a ChromeOS top-row key. Its symbol resembles a rectangle with two short vertical marks beside it—an arrangement of windows, not a camera. Pressing that key by itself shows open windows; adding Ctrl turns it into a screenshot command.
Some newer keyboards have a separate Screenshot key, so Google’s instructions say to press that key when present. If your keyboard differs from examples online, open the built-in shortcut reference:
- Select the time, then Settings.
- Open Device > Keyboard and inputs.
- Select View keyboard shortcuts and search for “screenshot.”
Google’s Chromebook keyboard-shortcut reference also lists Ctrl + Search + S as a way to open the shortcut viewer. Keyboard layouts and remapping can change what is printed on a key, so the viewer is stronger evidence than a photo of another model.
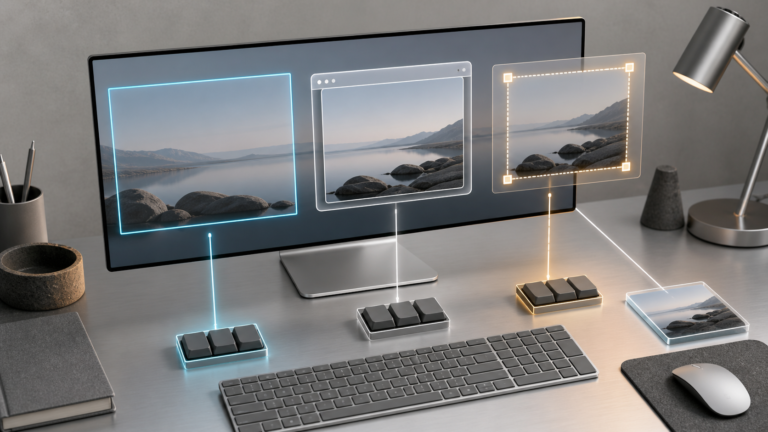
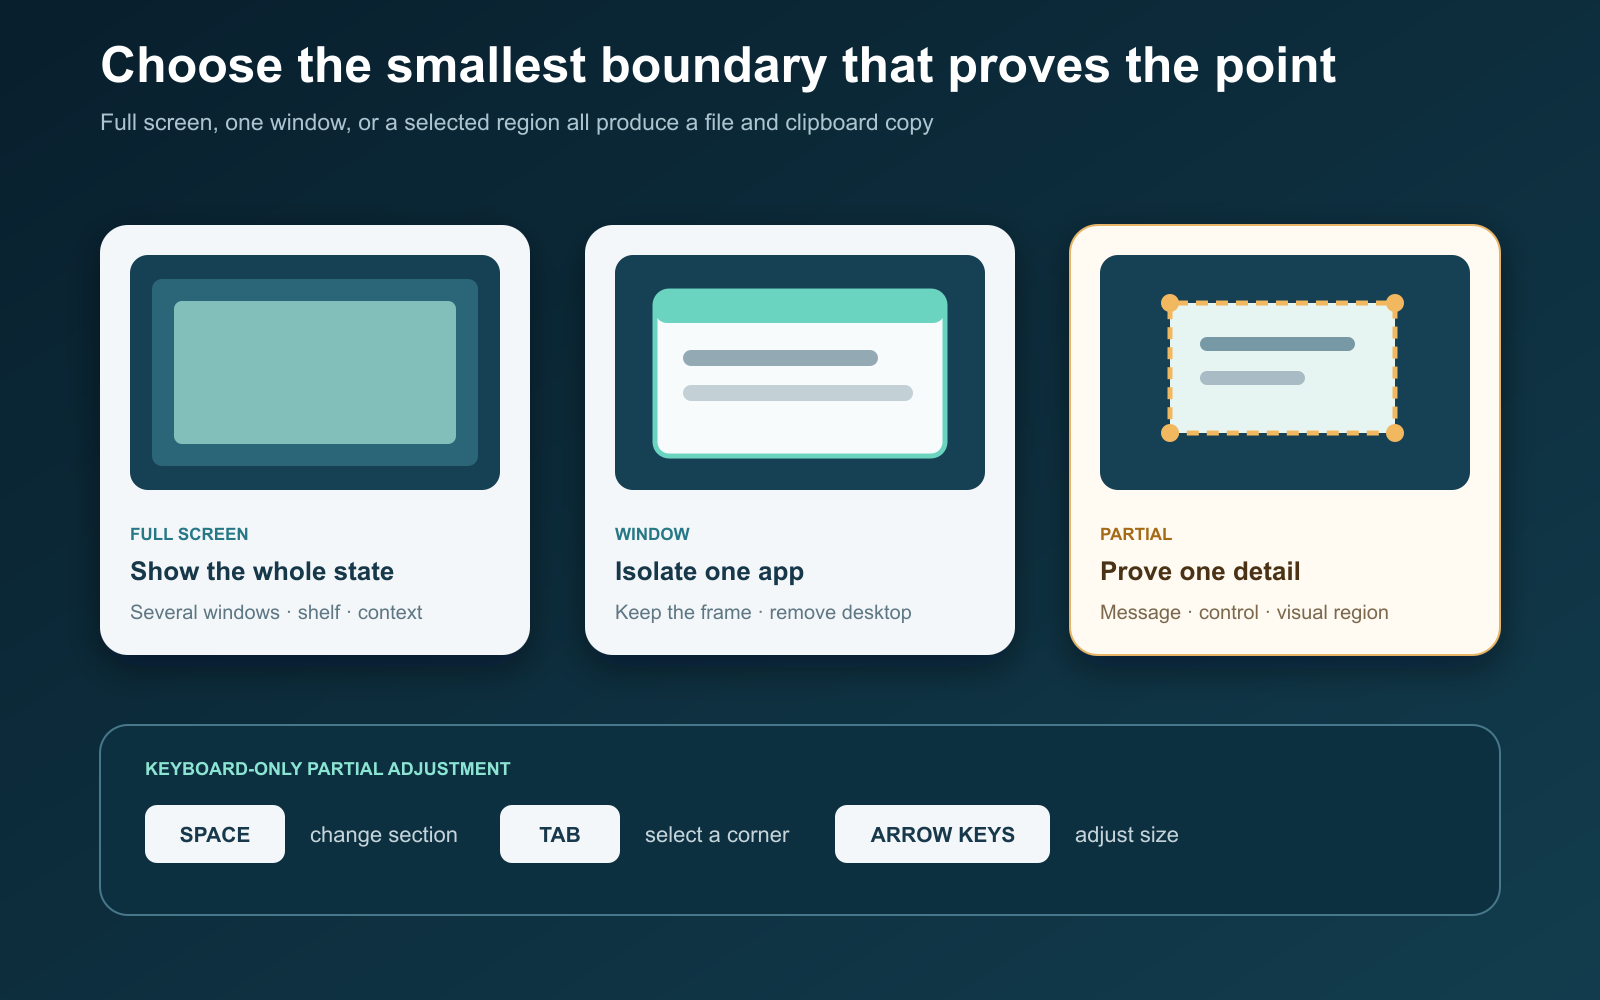
Choose full screen, window, or partial capture
Open Screen Capture with your hardware route. Confirm that the toolbar is set to Screenshot, not Screen record, then choose the boundary:
- Full screen: use when the relationship among several windows, the shelf, or a system state matters.
- Window: use when one app is the evidence and the desktop would be distracting.
- Partial screen: use when a specific message, control, or visual region is sufficient.
For a partial screenshot, drag across the region and confirm the selection. The smallest capture that still proves the point is usually easier to read and less likely to expose unrelated tabs, notifications, names, or account details.
Adjust a partial screenshot without a mouse
The Screen Capture toolbar supports a keyboard path that is easy to miss. Google documents these controls:
- Open Screen Capture and select partial screenshot.
- Press Space to change which section is selected.
- Press Tab until one of the circular corner handles is highlighted.
- Use Up or Down to change height and Left or Right to change width.
- Confirm the capture after the intended boundary is visible.
This route is useful for keyboard-only operation and for making precise adjustments after an approximate selection. If ChromeVox is active, the same capture toolbar can be navigated with Tab while ChromeVox announces the available choices.
Find the screenshot and verify the file
By default, screenshots are saved in the Downloads folder. Open the Launcher, open Files, then select Downloads. ChromeOS also copies each screenshot to the clipboard, so you can paste it into a message or document without first locating the file.
The save destination can be changed from Screen Capture:
- Open the toolbar with Ctrl + Shift + Show windows.
- Select Settings.
- Select Select folder, then choose the new destination.
If a screenshot appears to be missing, check the configured folder before repeating the capture. A second attempt creates another image and can make it harder to know which version was shared.
Open the file and verify three things: the intended content is present, important text remains readable at normal viewing size, and no private material appears around the boundary. This confirmation is the observable end of the capture—not merely hearing the shutter sound or seeing a notification.
Crop, rename, or move the screenshot before sharing
In the Files app, double-click the screenshot to open it in the Gallery app. Google’s photo editing instructions for Chromebook document basic actions such as renaming, cropping, rotating, and rescaling an image. Preserve the original when a later reviewer may need broader context; create a separate redacted or cropped copy for sharing when possible.
Remember that the clipboard copy exists immediately after capture. Before pasting, confirm the destination and audience, especially in a shared chat, classroom, or support ticket. Partial or window capture reduces accidental exposure earlier than cleanup does.
Use tablet and stylus routes deliberately
In tablet mode, press Power + Volume down for a full-screen screenshot. To reach more capture options without a physical keyboard, press and hold the Power button and choose Screen capture, or select the time and then Screen capture.
On a touchscreen Chromebook with supported stylus tools, select the Stylus icon on the shelf. Choose Capture region, drag with the stylus, and lift it to finish; choose Capture screen for the whole display. Google’s Chromebook stylus guidance notes that these tools depend on a compatible touchscreen and stylus setup, so do not expect the option on every Chromebook.
Diagnose a screenshot that does nothing
- Open Screen Capture from Quick Settings. Select the time and Screen capture. If this works, the capture feature is available and the problem is likely the shortcut or keyboard route.
- Identify the keyboard. A Windows or Mac external keyboard may not have Show windows; use Ctrl + Shift + F5 for the toolbar.
- Check the shortcut viewer. A remapped or unfamiliar top row can make a correct-looking key behave differently.
- Check the selected save folder. Search Files for recent images and inspect the folder shown in Screen Capture settings.
- Read any policy warning. On a work or school device, do not try to bypass a blocked capture.
ChromeOS administrators can apply data controls to screen capture. Google’s ChromeOS data-control documentation lists screen capture among the actions an administrator can allow, report, warn about, or block. If a managed device warns or refuses while Quick Settings is otherwise functional, contact the organization’s administrator and explain the legitimate task.
If the device is not actually running ChromeOS, use the correct platform instructions instead; ToolMerit’s cross-device screenshot guide maps the main commands. On a Chromebook, however, a confirmed result is specific: the correct boundary appears in the chosen folder, the clipboard contains the same capture, and any policy restriction remains intact.