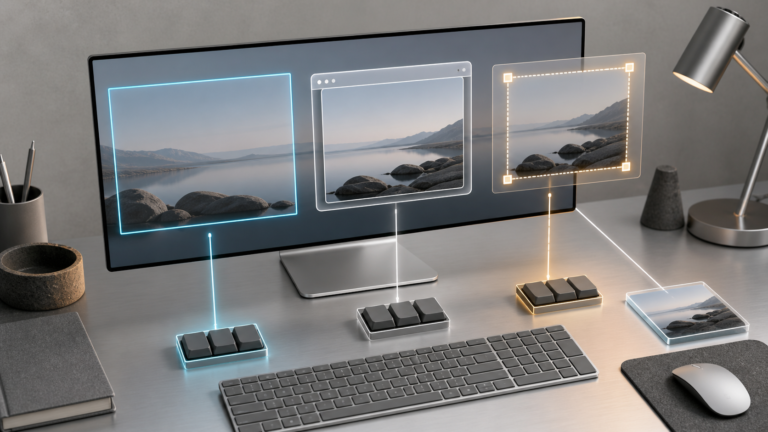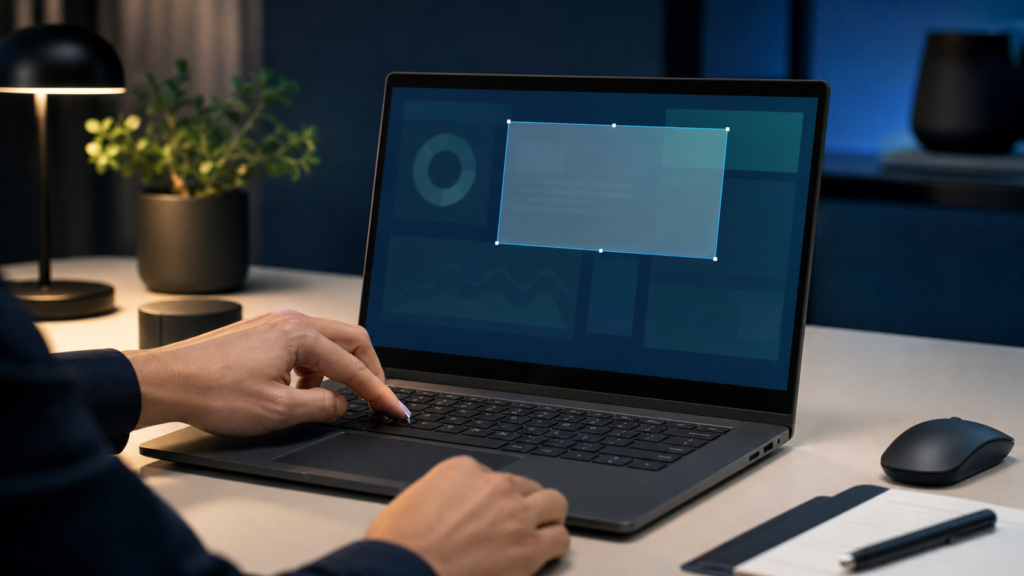
A Dell-specific guide to Windows screenshot shortcuts, saved-file locations, compact keyboard layouts, Snipping Tool options and practical troubleshooting.
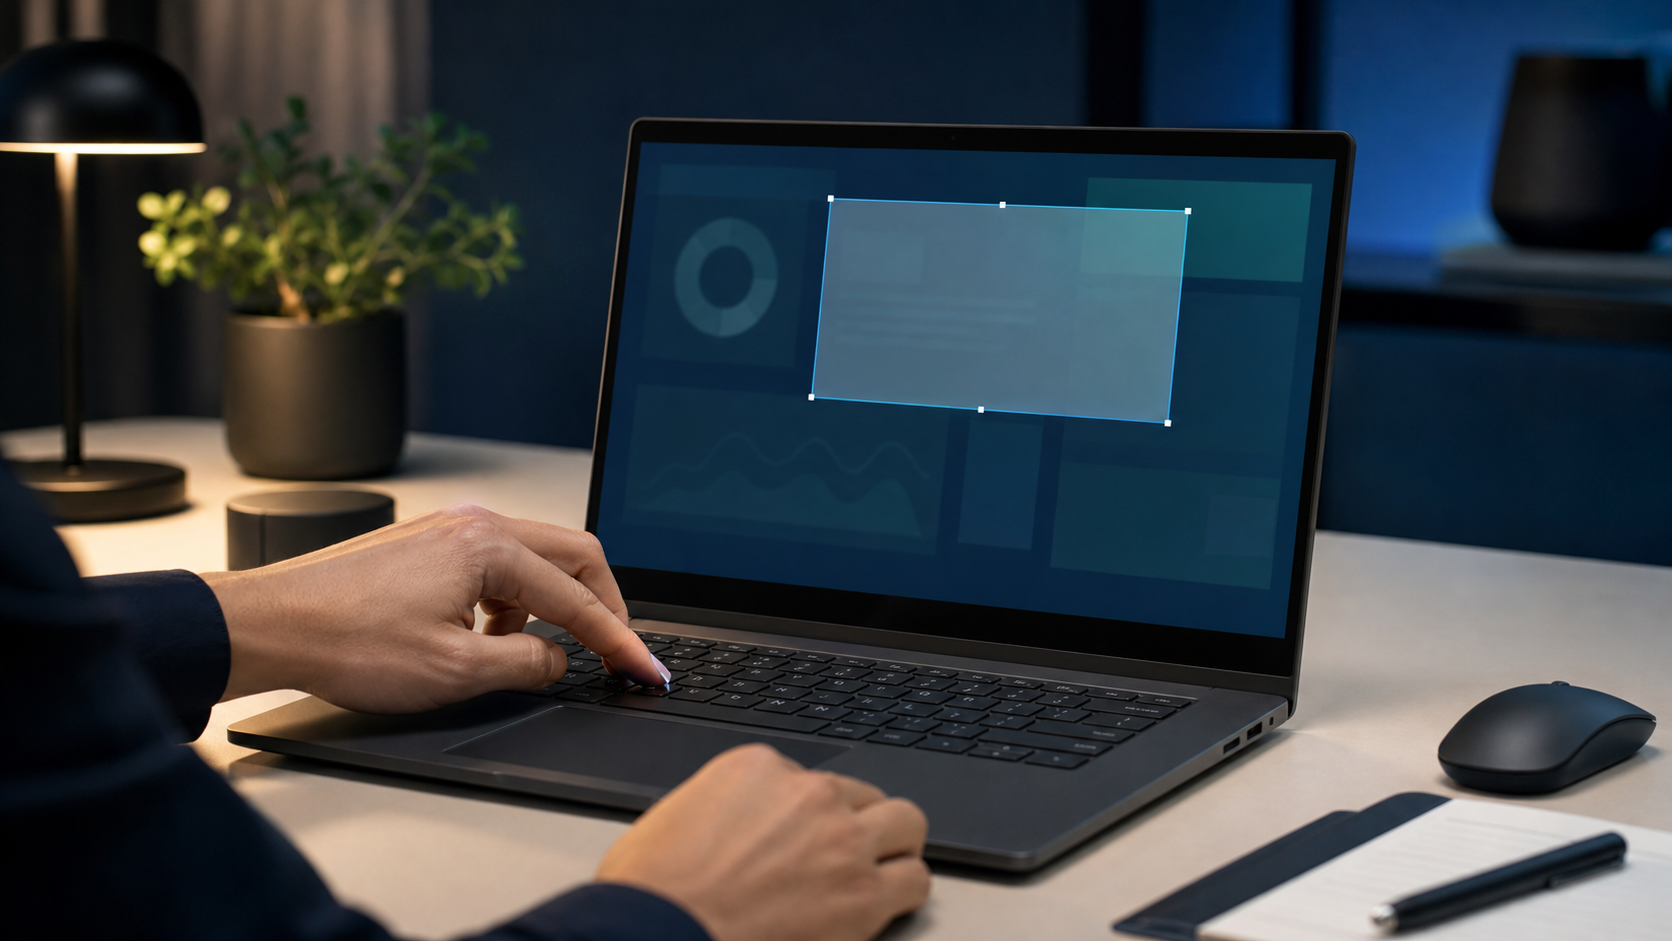
For the most reliable method on a Dell Windows computer, press Windows + Shift + S. Choose Rectangle, Window, Full screen, or Freeform, then select what you want. The capture is copied to the clipboard; open the notification to annotate or save it. For an automatically saved full-screen file, press Windows + PrtSc—adding Fn if Print Screen shares another key—and look in PicturesScreenshots.
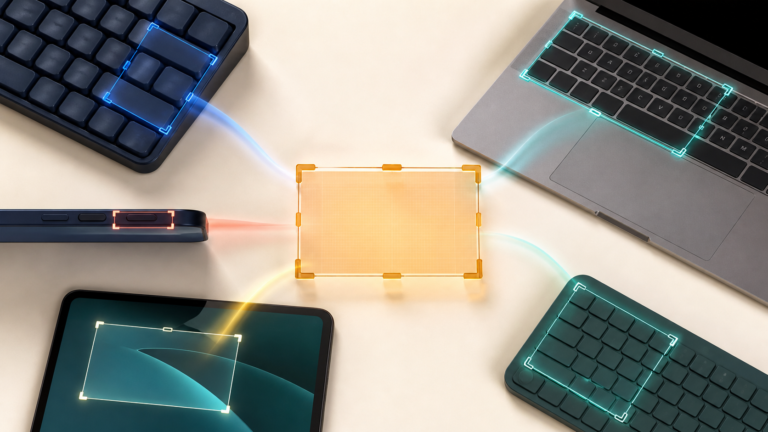
Dell does not use one keyboard layout across every Inspiron, XPS, Latitude, Precision, Alienware, desktop keyboard, and 2-in-1. The operating-system shortcuts are consistent, but the physical key may say PrtSc, PrntScrn, PrntScr, or another abbreviation. That is why a result-first method is more useful than a single universal key claim.
Pick the method by the result you need
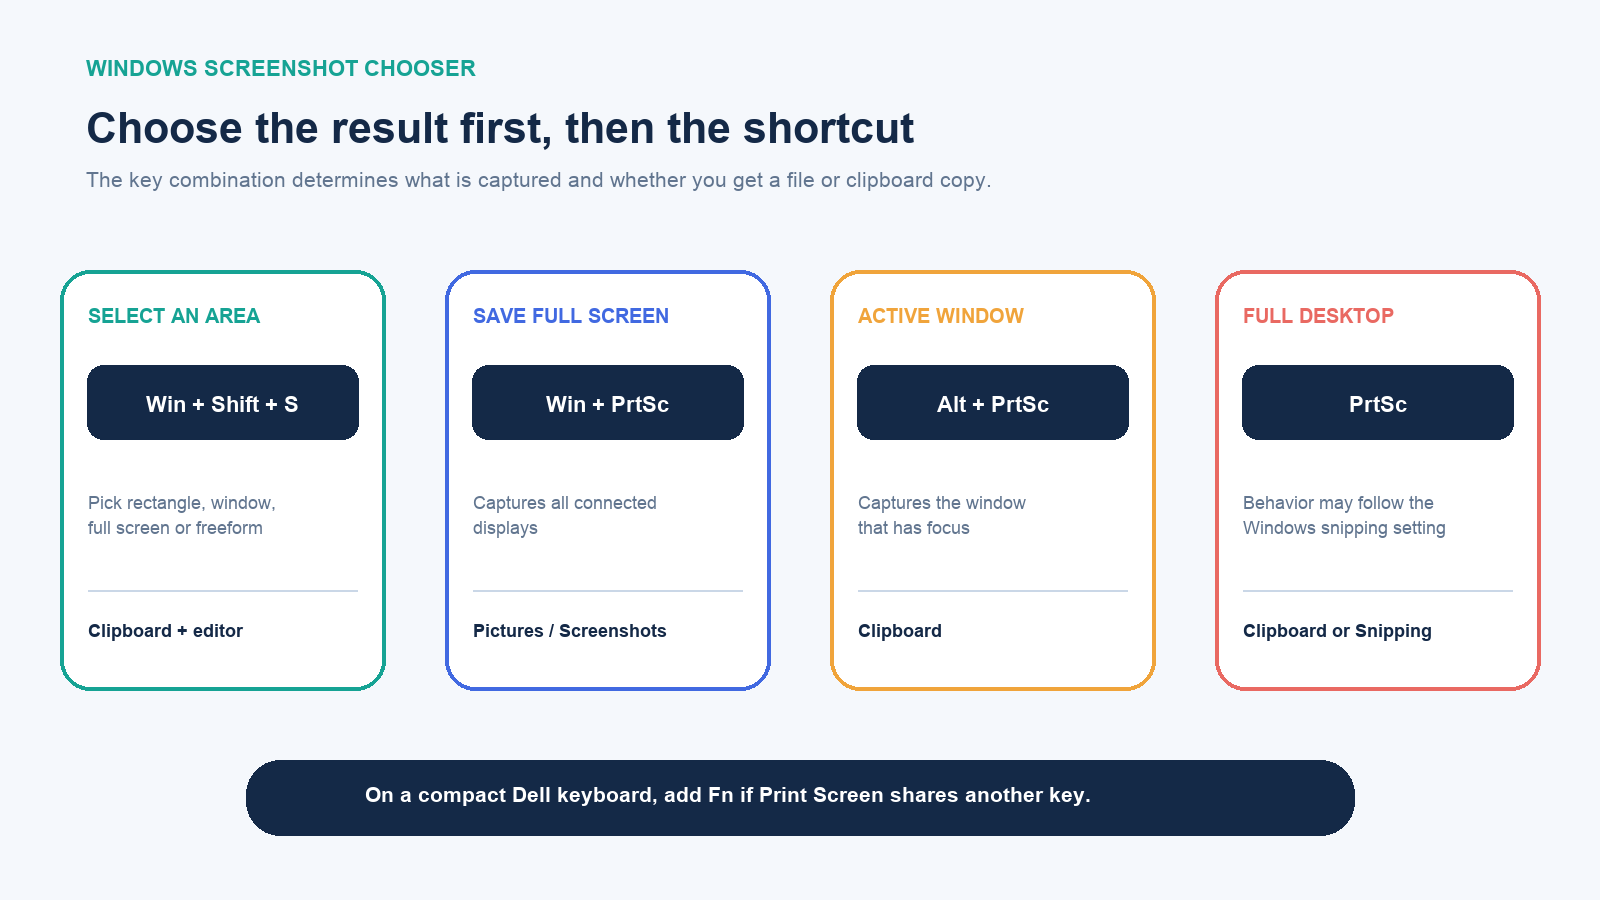
| What you need | Shortcut | What happens | Where the result goes |
|---|---|---|---|
| A selected region or one chosen window | Windows + Shift + S | Opens the Snipping Tool capture overlay | Clipboard first; use the notification/editor to save |
| The entire desktop saved immediately | Windows + PrtSc | Captures all screens and briefly dims the display on many systems | PicturesScreenshots |
| Only the active window | Alt + PrtSc | Copies the window that currently has focus | Clipboard; paste it into an app |
| The full desktop copied | PrtSc | Copies the desktop, or opens screen snipping if that Windows setting is enabled | Clipboard or the Snipping Tool workflow |
| A game or app through Game Bar | Windows + Alt + PrtSc | Creates a PNG capture through Xbox Game Bar | VideosCaptures |
Start with Windows + Shift + S unless you specifically want a full-screen file saved without an editing step. It avoids most confusion about Dell key labels, gives you control over the capture boundary, and lets you remove irrelevant screen content before saving.
Method 1: capture a region with Snipping Tool
- Arrange the window so the information you need is visible.
- Press Windows + Shift + S. The screen darkens and a small capture toolbar appears.
- Choose Rectangle for a box, Window for one application window, Full screen for all visible displays, or Freeform for an irregular area.
- Select the target. Windows copies the capture to the clipboard.
- Click the notification if you want to crop, mark up, copy again, or save a file. If no notification is visible, open Snipping Tool from Start and use its editor, or paste directly into the destination with Ctrl + V.
The same app can make a screen recording on current Windows versions with Windows + Shift + R. That is a recording workflow, not a substitute for a still screenshot when you need a small, searchable attachment.
Method 2: save the full screen as a file
Press Windows + PrtSc. Windows saves a numbered PNG in the Screenshots folder inside Pictures. If the key’s Print Screen label is secondary on your Dell laptop, hold Fn as well: Fn + Windows + PrtSc. The exact physical combination varies by model, so treat Fn as a layout adjustment rather than a required part of every Dell shortcut.
This method normally captures the combined desktop across connected monitors. If you only want one display or one application, the Snipping Tool’s Rectangle or Window mode creates a cleaner result and reduces later cropping.
Method 3: copy only the active window
Click the window you want so it has focus, then press Alt + PrtSc. On a keyboard with a shared Print Screen key, the combination may be Fn + Alt + PrtSc. Nothing has to appear on screen: the image is placed on the clipboard.
Open an email draft, document, image editor, chat, or other destination and press Ctrl + V. Save from that application if you need a reusable file. This is the fastest method for capturing a dialog box without the desktop around it, but it is easy to mistake a clipboard-only result for a failed shortcut.
Find Print Screen on a Dell keyboard
On a full-size Dell desktop keyboard, Print Screen is commonly in the upper-right group. On laptops, it is often in the function-key row or combined with another key. Dell documents multiple labels, including PrtSc, PrntScrn, PrntScr, PrtScn, and PrtScr. Some models use an alternate function such as Fn + F10; others can place Print Screen on Insert. A shortcut from one Dell model should not be assumed to match another.
Look for small secondary lettering on the top row and nearby navigation keys. If a shared function is not responding, try holding Fn. Dell also uses Fn + Esc as a function-lock toggle on supported keyboards, but its effect is model-dependent. If the printed legend still does not resolve the layout, identify the Dell model or Service Tag and open that model’s keyboard guide or owner’s manual on Dell Support.
If the keyboard genuinely has no Print Screen key, Microsoft documents Fn + Windows + Spacebar as an alternative on supported devices. The universal fallback remains Windows + Shift + S, which does not need Print Screen at all.
Where Dell screenshots are saved
A Dell computer does not create a special Dell screenshot folder. The destination comes from Windows and from the method you chose:
- Windows + PrtSc: open File Explorer and go to PicturesScreenshots. If your Pictures folder is backed up or redirected to OneDrive, the path may be under your OneDrive Pictures folder.
- PrtSc or Alt + PrtSc: the capture is normally on the clipboard, not yet a file. Paste it with Ctrl + V, then save from the receiving app.
- Windows + Shift + S: the result is copied and can be opened from the notification in Snipping Tool. Save to the folder you choose. Current versions may also retain captures according to the app’s settings, but do not rely on that when the image matters—save it explicitly.
- Xbox Game Bar: captures are normally in VideosCaptures.
Old instructions may tell you to enable a dedicated “Save screenshots to OneDrive” option. Microsoft says that option is no longer available. The current approach is to back up the Pictures folder with OneDrive if you want screenshots stored there automatically.
If the screenshot shortcut is not working
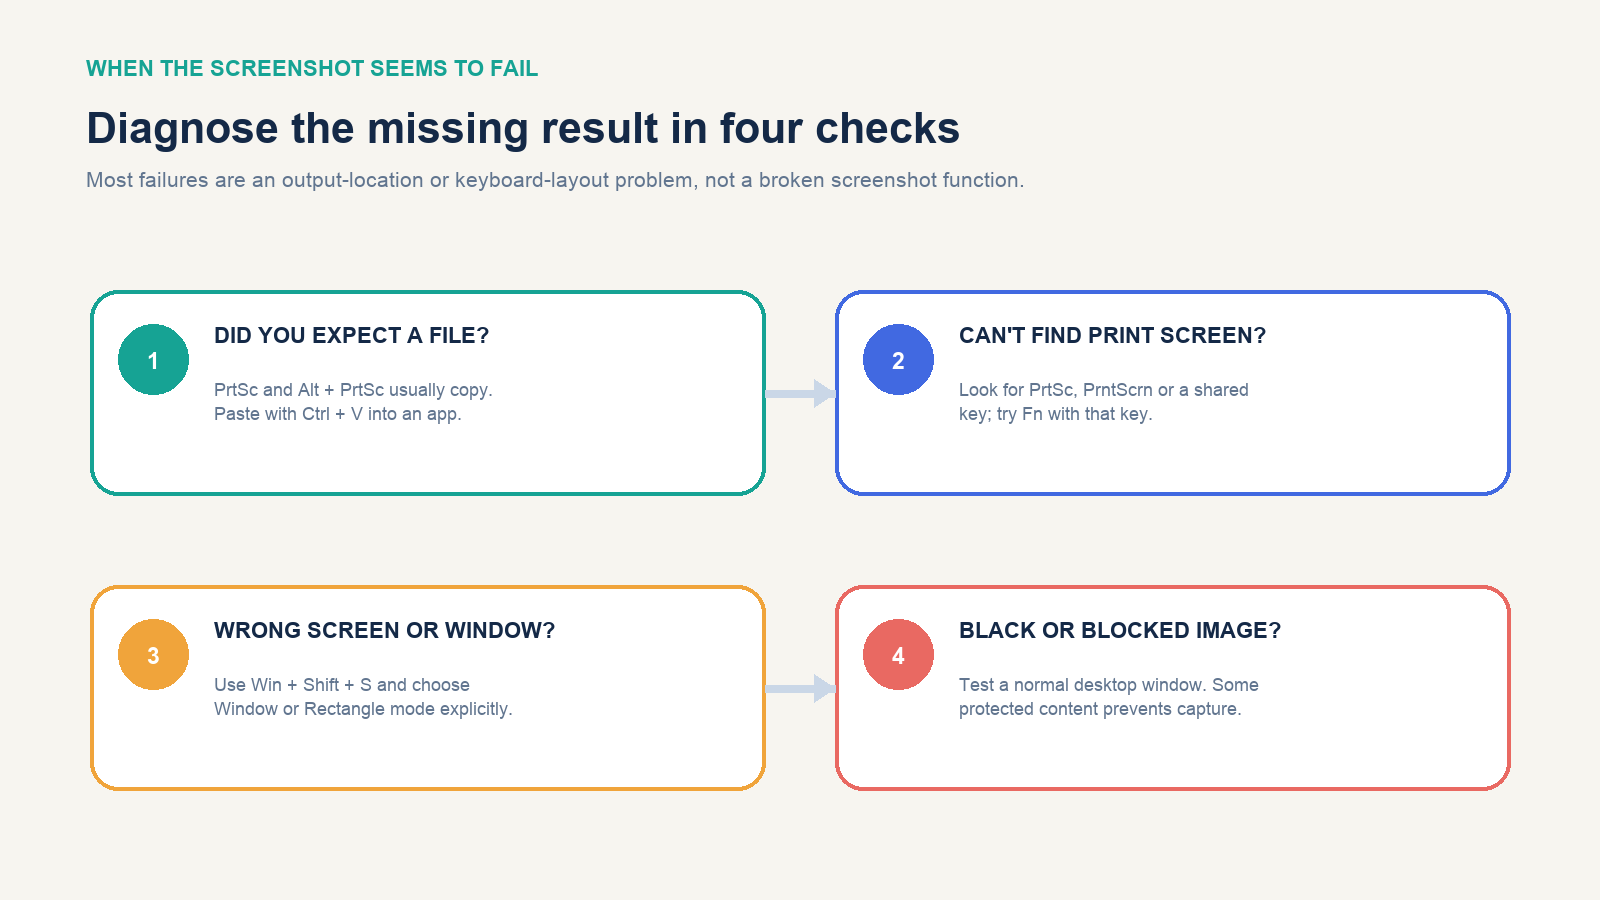
- Test a method with visible feedback. Press Windows + Shift + S and select a small rectangle. Paste it into Paint or a document. If that works, screenshot support is fine and the original confusion was likely the shortcut or destination.
- Check whether Print Screen is shared. Try the same shortcut with Fn. Inspect the key legend rather than repeatedly pressing F10 or Insert without knowing what your model assigns there.
- Confirm the Print Screen preference. In Windows Settings, go to Accessibility > Keyboard. The setting named “Use the Print Screen button to open screen snipping” determines whether a press launches the capture overlay on supported versions. Turn it off only if you specifically want the older full-desktop clipboard behavior.
- Focus the intended window. Alt + PrtSc captures the active window, which may be a dialog or menu you clicked last. Use Window mode in Snipping Tool when the focus is uncertain.
- Rule out protected content. If the desktop captures normally but a streaming, security, remote-access, or protected application is black or blank, the application may deliberately block capture. Do not try to defeat the restriction; use an approved export or sharing method.
- Check the keyboard itself. If other keys also fail, use the Windows On-Screen Keyboard or an external keyboard as a diagnostic step, then follow Dell’s keyboard troubleshooting guidance for the model.
If your Dell is a Chromebook
Dell Chromebooks use ChromeOS shortcuts, not the Windows combinations above. Press Ctrl + Show windows for a full screenshot. Press Shift + Ctrl + Show windows to open Screen Capture and choose a partial area or other mode. The Show windows key resembles a rectangle with two lines to its right.
With an external keyboard that has no Show windows key, Google documents Ctrl + Shift + F5. In ChromeOS tablet mode, press Power + Volume down. Captures go to Downloads by default, and the Screen Capture settings can change the save folder.
Check the image before you share it
A screenshot can expose more than the intended error or instruction: browser tabs, account names, notifications, email addresses, customer data, file paths, QR codes, recovery codes, or an application’s background window. Capture the smallest useful area, then inspect every edge at full size.
Blur or cover sensitive information in a flattened copy, and verify the saved result before sending it. Cropping or adding a shape inside an editable document may leave the hidden material recoverable to someone who opens the original file. When evidence must remain unchanged for support, legal, compliance, or security work, keep the original privately and share a separately redacted copy under the relevant policy.
The practical rule is: use Windows + Shift + S for deliberate captures, use Windows + PrtSc when you need an immediate full-screen file, and remember that plain PrtSc or Alt + PrtSc may create only a clipboard copy. Add Fn only when your Dell keyboard makes Print Screen a secondary function, and consult the exact model manual rather than forcing a shortcut from a different Dell layout.