Start an iPhone screen recording in seconds, choose the correct audio mode, protect private information, and fix the failures that waste a take.
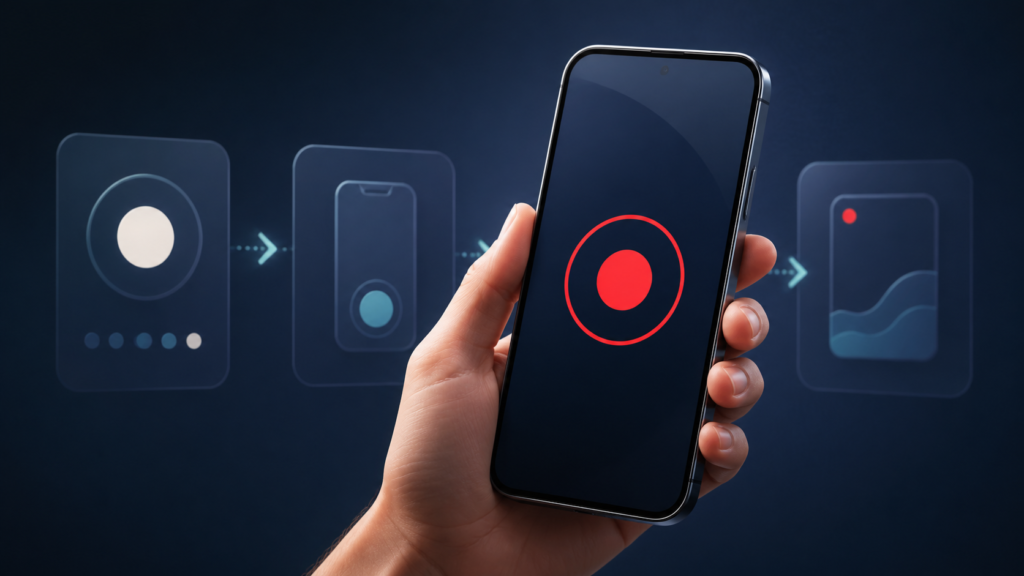
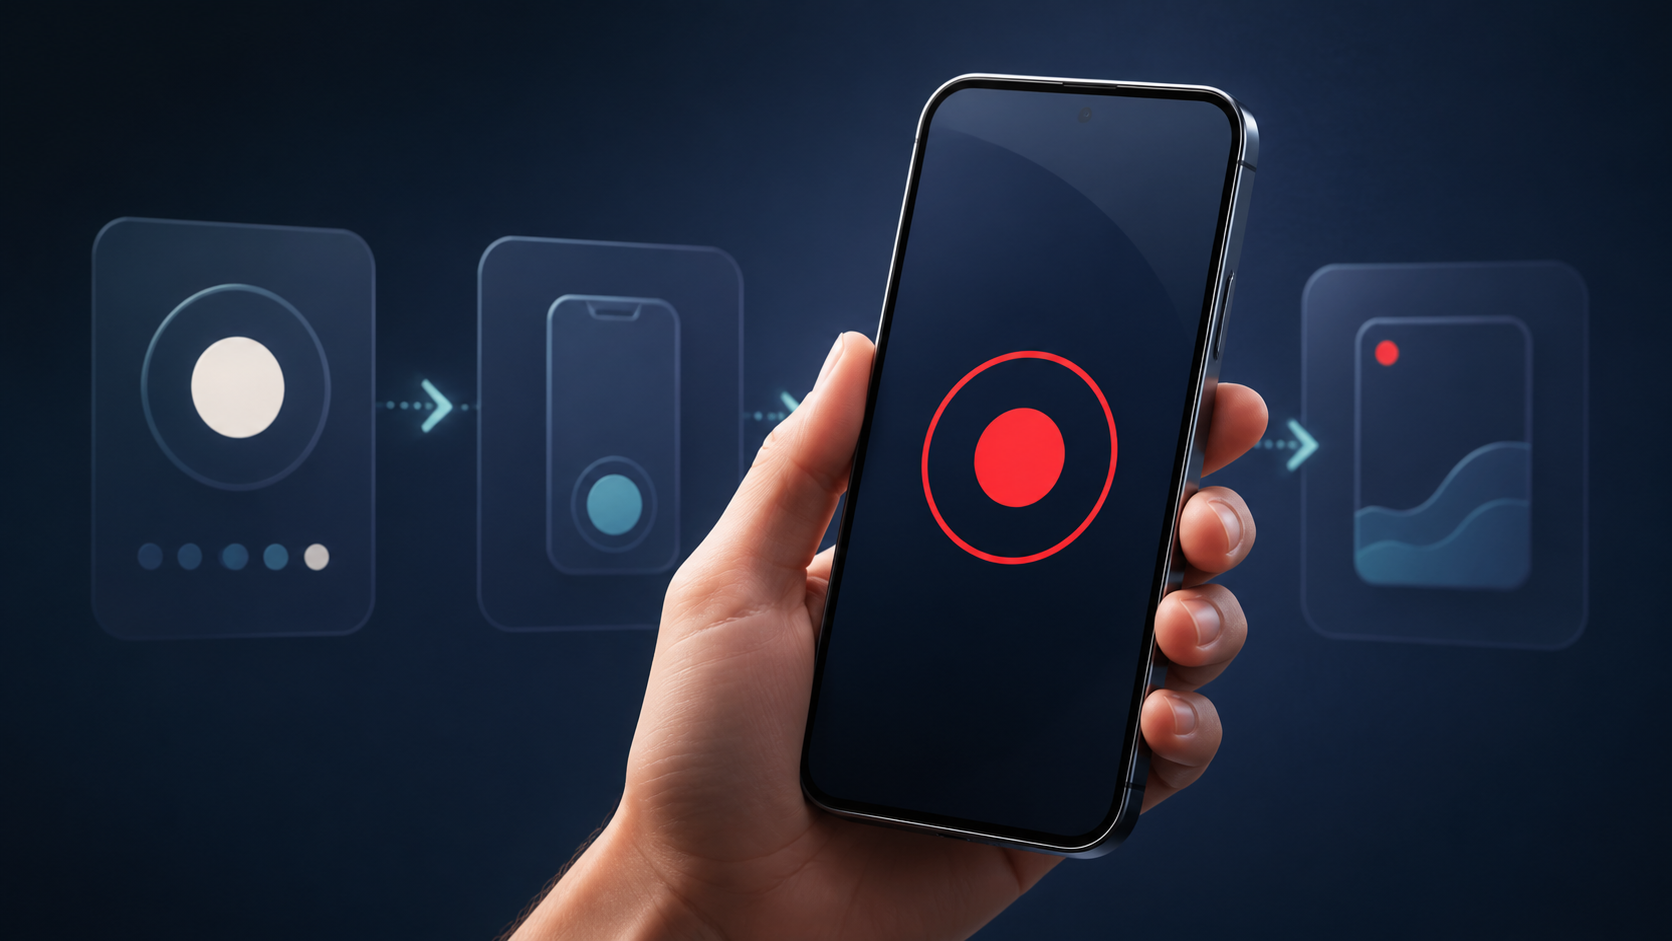
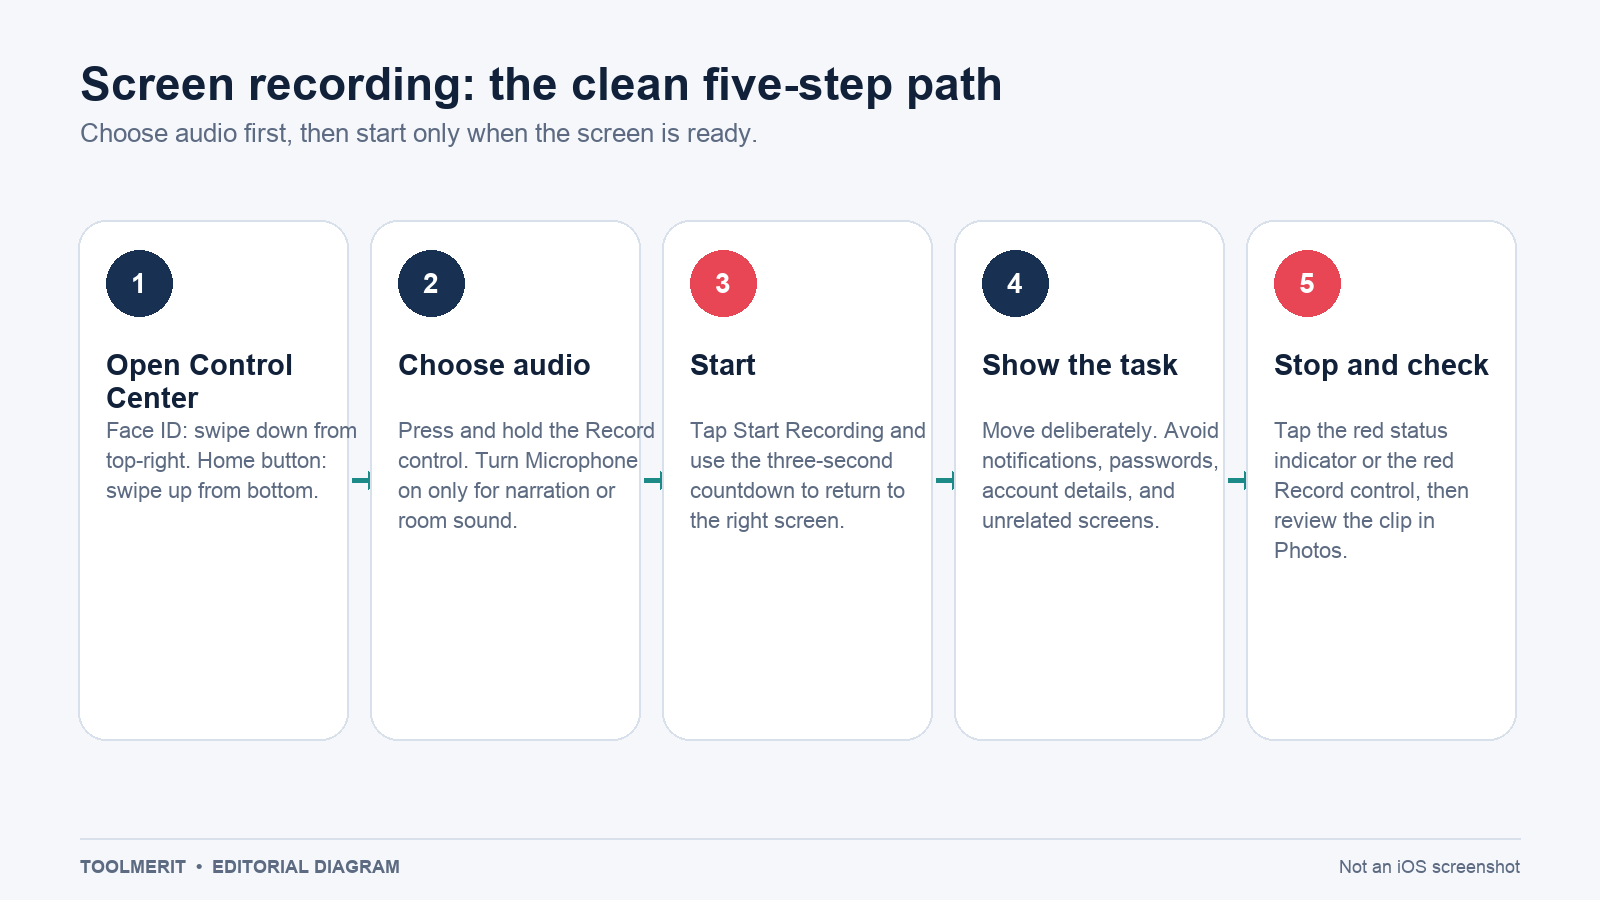
To screen record on an iPhone, open Control Center, tap the gray Screen Recording control, and wait for the three-second countdown. To stop, tap the red recording indicator at the top of the screen and confirm, or open Control Center and tap the red Record control. The video saves to Photos. If you want your voice in the clip, press and hold the Record control before starting and turn Microphone on.
That is the short answer. A clean recording depends on two decisions the button cannot make for you: what the clip should hear, and what private information must stay out of view. The workflow below covers both, using Apple’s current support instructions checked on August 16, 2026.
Use the 20-second recording path
- Prepare the first screen. Open the app or page you want to demonstrate, then pause at a safe starting point. Remove passwords, verification codes, private messages, account balances, and anything else that should not appear in the finished file.
- Open Control Center. On an iPhone with Face ID, swipe down from the top-right corner. On an iPhone with a Home button, swipe up from the bottom edge. Apple documents these two gestures in its current Control Center guide.
- Choose the audio mode. For an ordinary screen-only recording, leave the microphone off. For narration or room sound, press and hold the Screen Recording control, turn Microphone on, and tap Start Recording.
- Wait through the three-second countdown. Use that time to close Control Center and return to the exact starting point. Avoid tapping ahead before the countdown ends.
- Perform the task deliberately. Pause briefly before important taps, scroll at a readable speed, and do not wander through unrelated screens.
- Stop the recording. Tap the red status indicator at the top of the display and confirm Stop. You can also reopen Control Center and tap the red Record control.
- Check the saved video. Open Photos and play the beginning, a middle section, and the end. Verify both picture and sound before deleting source material or repeating a long demonstration.
If you only need to preserve one static moment, a video is unnecessary; use the shorter screenshot workflow. If you are recording a computer instead, the controls and audio choices are different, so follow our Mac screen-recording guide.
Choose the audio before you start
The microphone toggle is easy to misunderstand. It controls whether the recording includes sound from the iPhone’s microphone—your narration and whatever the microphone hears around you. It does not force an app to supply its own audio, and it does not override an app that blocks capture.
| What the final clip needs | Microphone | What to test |
|---|---|---|
| A silent visual walkthrough | Off | Confirm the picture is readable and no app audio was captured unexpectedly. |
| Sound supplied by the app | Off, unless you also need narration | Record five seconds. Some apps permit their sound; others block audio, video, or both. |
| Your voice or surrounding sound | On | Check voice level, room noise, and whether the app’s own sound remains usable. |
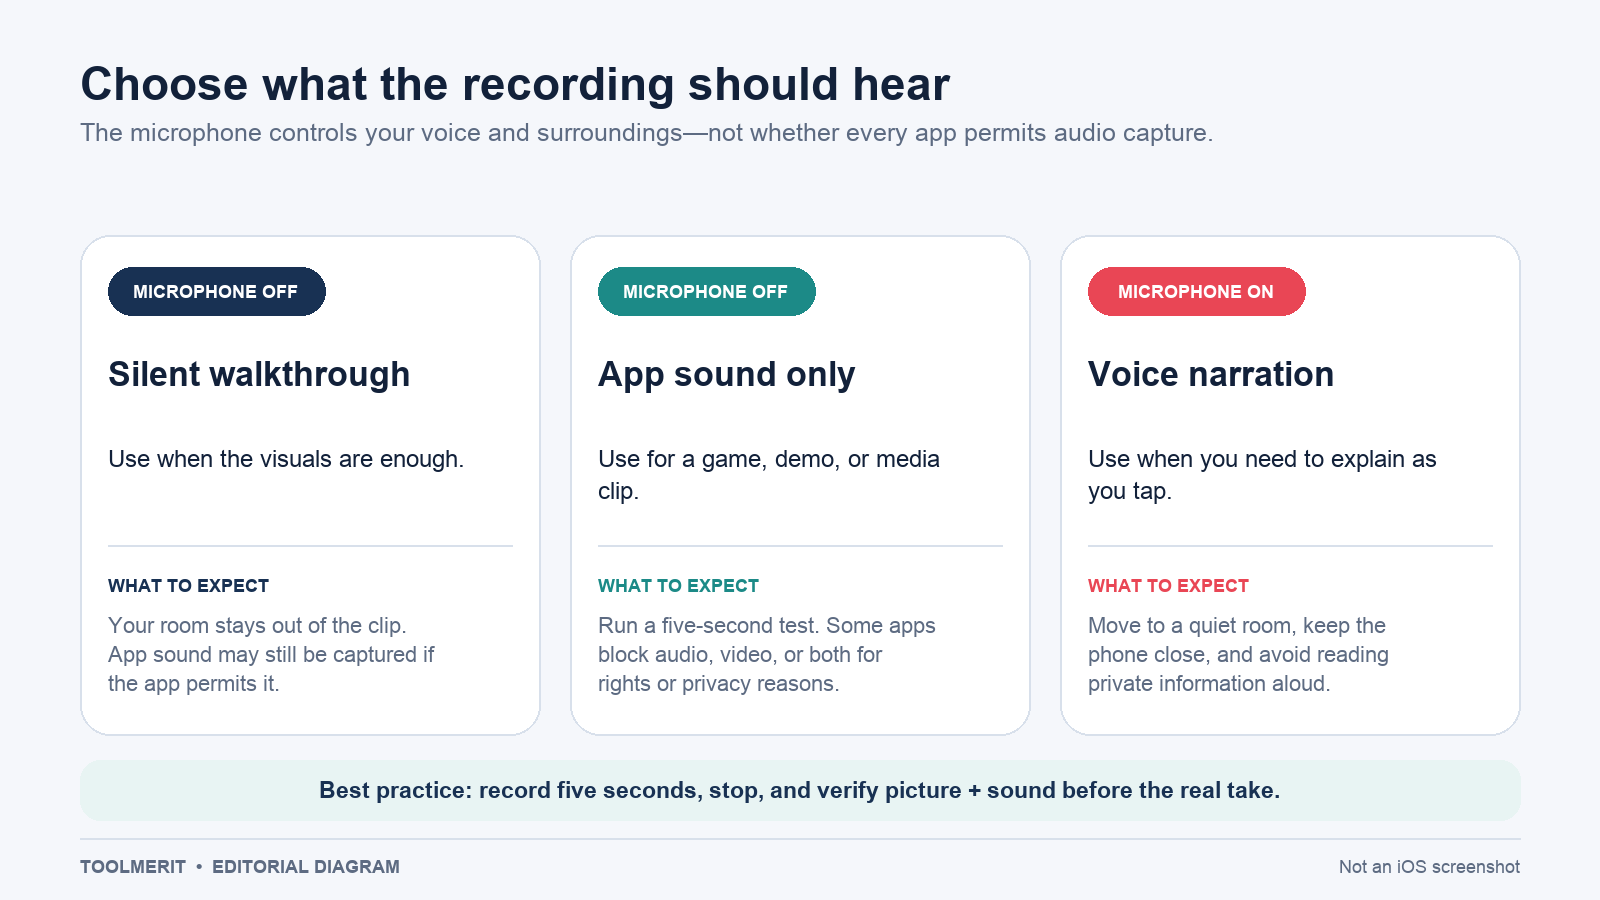
For narration, hold the phone at a steady distance and record in a quiet room. A headset or external microphone may change the input path, so include it in the test. If the clip will show a support problem, say what you expected, what you tapped, and what happened; that is more useful than narrating every visible label.
Do not assume that protected media, a call, or a privacy-sensitive app can be captured just because the Record control starts. Apple’s iPhone User Guide states that some apps may not allow their content to be recorded. When an app blocks capture, use the app’s authorized share, download, or export feature if one exists.
Add Screen Recording if the control is missing
Apple’s current iPhone guide adds the control from inside Control Center:
- Open Control Center.
- Press and hold an empty area, then tap Add a Control.
- Choose Screen Recording in the controls gallery.
- Return to Control Center and tap the newly added control.
You only need to add it once unless you later remove or reset the control. Menu placement can differ on an older iOS release; if in-Control Center editing is absent, open Settings and search for “Control Center” instead of following a random interface screenshot from another iOS version.
If you keep opening Notification Center, begin the swipe at the top-right edge rather than near the top-center. If the iPhone has a Home button, use the bottom-edge swipe instead. These gestures matter more than the phone’s physical size.
Run a privacy preflight before the countdown
A screen recording can capture more than the task. Treat the red indicator as a camera pointed at the display and run this preflight:
- Quiet notifications. Use an appropriate Focus mode or close apps that may reveal names, messages, calendar titles, or one-time codes.
- Reset the starting screen. Put the app at the first safe step so the recording does not include searching through private folders or accounts.
- Hide credentials and identifiers. Check usernames, email addresses, order numbers, location data, browser tabs, photos, and account avatars—not only passwords.
- Choose portrait or landscape first. Rotate before starting so the final video does not begin with an awkward orientation change.
- Decide whether room sound is acceptable. A microphone-on recording can include nearby conversation, a television, or spoken personal data.
- Ask before recording other people’s content. Get permission when the screen or microphone may capture another person, and follow the rules that apply to your workplace, school, service, and location.
For live assistance, recording is not always the right mechanism. A meeting or support session may need screen sharing instead; our Zoom guide explains that separate workflow. Apple also notes that ordinary screen recording and screen mirroring cannot run at the same time.
Stop, find, and trim the recording
The recording saves automatically in the Photos library. In the current iPhone guide, you can also open Photos, choose Collections, scroll to Media Types, and select Screen Recordings to isolate these clips from the rest of the library.
Most recordings include a little setup at the start and the stop action at the end. Remove those edges without installing another editor:
- Open the screen recording in Photos and tap Edit.
- Drag the handles on the left and right ends of the timeline.
- Play the selection to confirm the first and last useful moments.
- Tap Done, then choose Save Video or Save Video as New Clip.
Apple’s video-editing instructions distinguish the two save options: Save Video keeps only the trimmed version, while Save Video as New Clip keeps the original and creates an additional trimmed copy. Use the new-clip option when the original is evidence, a client deliverable, or difficult to reproduce.
Fix the problem by symptom
| Symptom | Likely boundary | Fastest useful check |
|---|---|---|
| The Screen Recording control is missing | It has not been added, or you opened the wrong panel. | Edit Control Center and add Screen Recording; on a Home-button iPhone, open Control Center from the bottom edge. |
| The video has no narration | The microphone was off when the recording began. | Press and hold the Record control, turn Microphone on, and make a five-second voice test. |
| There is picture but no app audio | The app may not provide capturable audio, or that content may be protected. | Record the Home Screen or another permitted app. If that works, check the original app’s share/export options instead of trying to bypass its restriction. |
| The app area is blank or the recording stops | The app may block video capture, or screen mirroring is active. | Turn off screen mirroring and test a neutral screen. A failure limited to one app points to an app-level restriction. |
| Recording is unavailable inside a child’s Game Center game | A Game Center Screen Time restriction may be set to Don’t Allow. | On the parent-managed device, review Screen Time > Content & Privacy Restrictions > App Store, Media, Web & Games > Game Center. Apple says this restriction applies to games that use Game Center. |
| You cannot find the finished clip | You are looking in Files or in the wrong Photos view. | Open Photos > Library, or Photos > Collections > Media Types > Screen Recordings. |
| The clip shows setup and the stop tap | Normal edge footage was left in the take. | Trim both ends in Photos; keep a new clip if preserving the original matters. |
Do not solve blocked content with an unknown “recorder” app that requests broad photo, microphone, network, or account access. The built-in recorder already handles ordinary screen capture. A third-party app only makes sense when you can name a missing feature, understand its permissions, and verify that the content is permitted to be recorded.
Use the smallest capture that proves the point
The most useful screen recording is rarely the longest. Start on the relevant screen, show one outcome, and stop. For a support clip, reproduce the problem once and include the result. For a tutorial, break a complicated process into short named segments instead of one uninterrupted phone session. For any recording with important audio, test five seconds before the real take.
The quality rule is simple: prepare what the viewer should see and hear before you tap Record. That prevents more failures—and more privacy leaks—than editing can repair afterward.