Set the right Mac recording boundary and sound source, capture a clean take, fix common failures, then trim and verify the delivered movie.
To screen record on Mac, press Shift-Command-5, choose Record Entire Screen, Record Selected Window on macOS Tahoe 26 or later, or Record Selected Portion, then open Options to choose a microphone and save location. Click Record. Stop with the menu-bar Stop button or Command-Control-Escape, then open the saved .mov file and check both picture and audio before sharing.
The shortcut is the easy part. A dependable recording also needs a deliberate boundary, the right sound source, a known stop method, enough privacy, and a playback check. Set those before the real take so you do not discover a silent microphone or exposed notification after a long demonstration.
Design the recording before opening the toolbar
Write a one-line recording specification: Show one person how to complete one result, with only the context needed to follow it. Then fill in these choices.
| Decision | Use this default | Change it when | Proof before the real take |
|---|---|---|---|
| Recording boundary | Selected portion around the work area | The menu bar, multiple apps, or window changes are part of the lesson | No private dock, tab, notification, or second display appears |
| Sound | Microphone for spoken explanation; None for a silent visual | The recipient must hear sound played by an app | A 10-second test contains the intended source and no echo |
| Pointer evidence | Show mouse clicks for a procedural lesson | The pointer would distract from a presentation or motion demo | The viewer can see which control was activated |
| Save location | A dedicated project folder | The recording is temporary and the desktop is already organized | The folder is writable and has enough available space |
| Stopping cue | Command-Control-Escape | You prefer the menu-bar Stop button | You can stop without moving through private content |
Prepare the screen next. Close password managers, private chats, customer records, unrelated browser tabs, and any app that might show account information. Turn on an appropriate Focus if incoming notifications should be silenced; Apple’s Focus settings guide explains that a Focus can silence all notifications or allow only selected people and apps.
Place the first required screen in view and rehearse the final action once. If the workflow includes a login, payment, personal message, or secret key, record a prepared example with non-sensitive data rather than planning to blur the secret later.
How to screen record on Mac with Shift-Command-5
- Press Shift-Command-5. The Screenshot toolbar appears near the bottom of the screen.
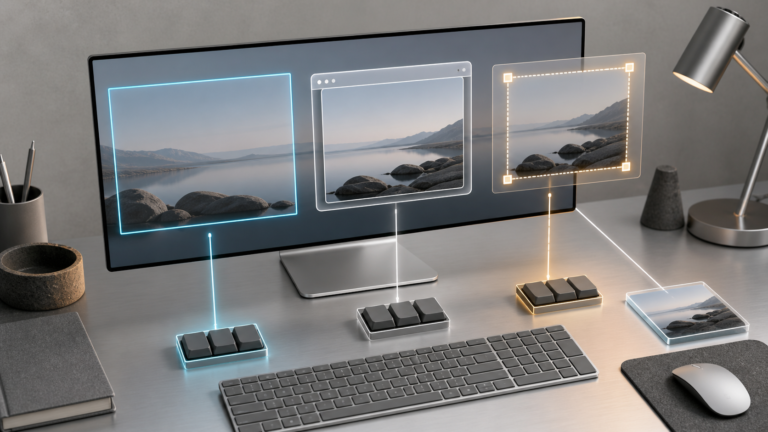
- Choose a recording scope. Select Record Entire Screen for display-wide context, Record Selected Portion for a bounded work area, or Record Selected Window when it is available on macOS Tahoe 26 or later. On an older macOS release, draw a selected portion around the window instead.
- Open Options. Set Save to, choose a microphone or None, select a timer if you need setup time, and turn Show Mouse Clicks on when clicks are part of the explanation.
- If you selected a portion, drag inside the frame to reposition it or drag an edge to resize it. Keep the app identity or relevant title visible, but exclude unrelated desktop areas.
- Click Record. If you selected one window, click that window when prompted.
- Pause briefly before the first action, complete the workflow once at an even pace, and leave the finished state visible for two or three seconds.
- Click the Stop button in the menu bar or press Command-Control-Escape.
Apple’s April 2026 Mac screen-recording instructions document these controls and state that recordings save to the desktop by default. The automatic filename begins with “Screen Recording,” includes the date and time, and ends in .mov. The related Screenshot app guide also documents the save destination, timer, microphone, floating thumbnail, remembered selection, and capture-format options.
QuickTime Player is an alternate entry point, not necessarily a different capture engine. Open QuickTime Player and choose File > New Screen Recording, or press Control-Command-N. On current systems, this can open the same Screenshot controls. It is useful when you expect to review and trim the result immediately in QuickTime Player.
Choose microphone, silence, or app audio deliberately
| Desired result | Recording setup | What to verify | Main failure |
|---|---|---|---|
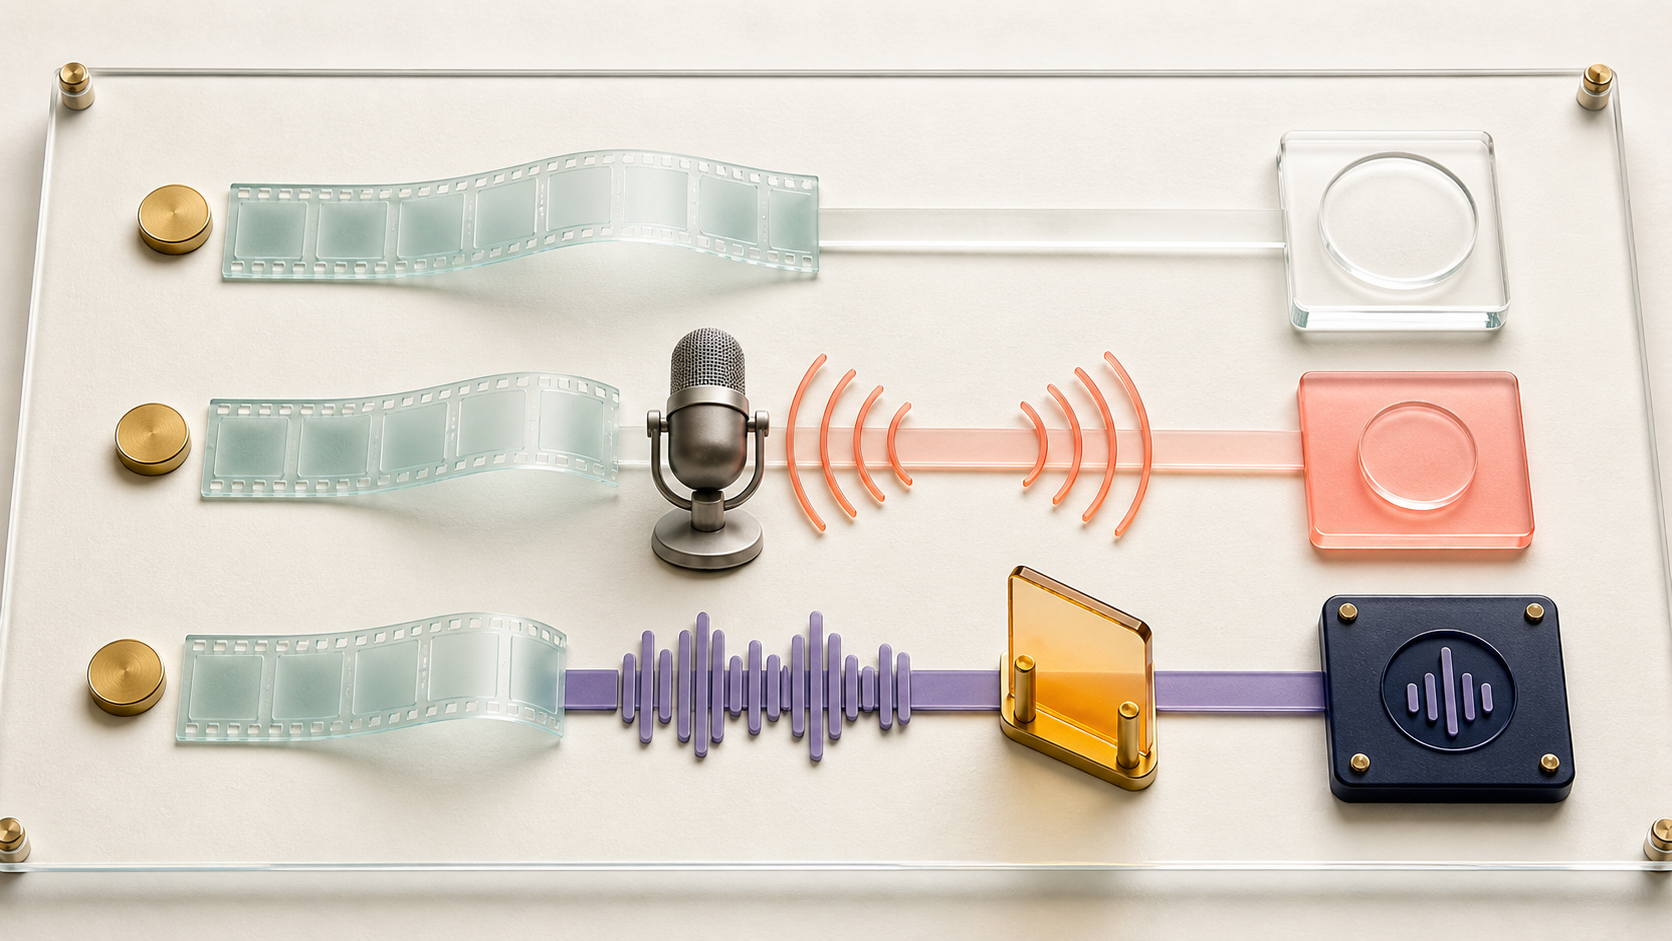
| Silent visual walkthrough | Options > Microphone > None | The picture alone explains the sequence or captions will be added later | Important spoken context is missing |
| Spoken narration | Select the intended built-in or external microphone | Your voice is clear, the level is usable, and speakers do not create feedback | The wrong microphone or an echoing room is recorded |
| Sound played by an app | Use a trusted recorder that explicitly supports app or system audio and grant only the required access | A short playback contains the app sound, and sharing that sound is permitted | Assuming microphone selection captures internal playback |
| Meeting or call | Prefer the meeting app’s approved recording workflow when available | Participants, organizational policy, storage, and consent requirements are addressed | Recording people or protected information without appropriate notice or authority |
Apple’s built-in recording documentation names a microphone as the audio source; it does not instruct users to choose an application’s playback as that source. Based on that public documentation, do not assume a video or browser sound will be present just because it was audible through the speakers. Record 10 seconds, play it back, and confirm the track that matters.
A third-party app that captures app or system sound may request access under System Settings > Privacy & Security > Screen & System Audio Recording. Apple’s permission instructions let you allow screen and audio together or audio alone for listed apps. Enable only an application you trust, review its privacy terms, and turn access off when the ongoing need ends. Microphone permission is managed separately under Privacy & Security > Microphone.
If narration feeds back through the speakers, use headphones with a microphone or reduce monitoring volume. The recording still needs a playback test: visible input meters or the fact that you heard yourself live does not prove the saved movie contains usable audio.
Stop, trim, name, and export the finished movie
- Stop cleanly. Leave the completed state visible, then use Command-Control-Escape or the menu-bar Stop button. Avoid ending on a private Finder window or notification.
- Open the result. Click the floating thumbnail if it appears, or open the chosen save folder. If no destination was changed, check the desktop.
- Review from the beginning. Confirm the first click, final state, pointer visibility, voice, app audio if required, and any accidental notification.
- Trim only dead time. In QuickTime Player, choose Edit > Trim, drag the yellow handles around the portion to keep, and select Trim. Apple’s QuickTime trimming guide notes that holding a handle exposes individual frames for more precise placement.
- Save with a useful name. Include the workflow and version or date when it helps, such as
invoice-approval-macos26-2026-08-14.mov. Avoid personal names or account identifiers that should not travel with the file. - Export for the recipient. In QuickTime Player, choose File > Export As and select a resolution no higher than the source requires.
Apple’s QuickTime export guide offers 4K, 1080p, 720p, and 480p when appropriate for the source. At 4K or 1080p, Smaller File Size uses HEVC while Greater Compatibility uses H.264. Both remain QuickTime .mov movies; QuickTime Player does not export an MP4 video. If a recipient explicitly requires .mp4, use an approved conversion tool and inspect the converted file rather than merely changing the extension.
Keep the original until the delivered copy has been opened successfully. For software that trims, compresses, captions, or converts the final media, compare options in ToolMerit’s editing tools directory.
Fix a Mac screen recording that fails
| Symptom | Likely boundary | Next test |
|---|---|---|
| Shift-Command-5 does nothing | The shortcut was changed, another app intercepted it, or Screenshot is not responding | Open Screenshot from Spotlight or Applications > Utilities; review System Settings > Keyboard > Keyboard Shortcuts > Screenshots |
| No voice in the saved file | Microphone was set to None, the wrong input was selected, or access was denied | Choose the intended microphone, review Privacy & Security > Microphone, and make a fresh 10-second test |
| No app or browser sound | The built-in setup recorded the microphone rather than internal playback | Use the app’s approved recording/export function or a trusted recorder that explicitly supports system audio; verify Screen & System Audio Recording access |
| The recording includes the wrong area | A remembered portion or the entire screen was selected | Reopen Shift-Command-5, resize the portion, and turn off Remember Last Selection if it causes repeated mistakes |
| One app is black, blank, or absent | The app, protected media, or an organizational policy blocks capture | Do not try to bypass the restriction; use the content provider’s supported export or ask the administrator |
| The file is too large to send | The boundary, duration, resolution, or codec exceeds the handoff need | Trim dead time, crop the next take to a smaller portion, or export an appropriate lower resolution; keep a readable original |
| The Stop control is hard to reach | The menu bar is hidden or the pointer is inside a full-screen app | Press Command-Control-Escape, then verify that the recording indicator has disappeared |
Some apps, including protected media apps, may prevent screen recording. Treat that as a content or policy boundary, not a technical invitation to evade the restriction. For a repeatable support process, attach the tested movie to the correct task and record the owner and next action; ToolMerit’s project-management tools directory can help compare systems for that handoff.
Run a one-minute playback proof
- The delivered file—not only the unedited original—opens from the location you plan to share.
- The first useful action and final result are both present.
- Text and pointer movement remain readable at normal playback size.
- The intended voice or app sound is audible throughout, with no feedback or unexpected private conversation.
- Notifications, account identifiers, private tabs, filenames, and background windows reveal nothing unintended.
- The filename, resolution, codec, and container are acceptable to the recipient.
- The message beside the video states the device or macOS version when relevant, the expected result, and what the viewer should examine.
The recording is complete only when another person can play the exact delivered file, follow the intended action, hear the intended audio, and identify the result without asking where the demonstration begins or what it is meant to prove. Continue with ToolMerit’s tool tutorials for other focused platform workflows.