Turn a set of notes into a focused six-slide PowerPoint presentation with a practical build sequence, story blueprint, and preflight check.
To use PowerPoint, define the decision or message first, turn it into a short slide sequence, use built-in layouts for each slide, add only the evidence the audience needs, then rehearse in Slide Show mode and export a checked copy. You do not need to master every menu before building a useful presentation. For a first deck, focus on purpose, structure, readable slides, and delivery.
This guide assumes you already have notes, data, or an idea and need to turn that material into a five- to ten-minute presentation. The workflow works in current desktop versions of PowerPoint and PowerPoint for the web, although labels and feature placement can differ slightly. Keep the editable .pptx file even if the version you share is a PDF.
Prepare the message before you design slides
Write one sentence that completes this prompt: “After this presentation, the audience should ______.” A good answer names an observable result: approve an option, understand a change, choose a next step, or remember a small set of facts. “Learn about our project” is too broad to guide slide decisions.
Next, identify three constraints:
- Audience: What do they already know, and what will be new?
- Time: How many minutes do you actually have?
- Delivery: Will people watch in a room, on a video call, or read the file later?
Collect only the source material that supports the intended result. Keep source links and original files next to your deck so you can verify numbers and update them later. If you are still choosing software or need a different presentation workflow, ToolMerit’s presentation tools guide explains the jobs a presentation stack needs to cover.
How to use PowerPoint in eight steps
1. Create the file and choose a restrained theme
Open PowerPoint, create a blank presentation, and save it with a descriptive name before doing detailed work. Choose a theme from the Design area if you need a coordinated set of fonts and colors. A theme is a starting system, not the message. Avoid spending the first half hour comparing visual styles.
Microsoft’s basic PowerPoint workflow covers themes, slides, text, pictures, shapes, and speaker notes. Use it as a reference when a command differs in your edition.
2. Add the complete slide sequence
Create all the planned slides before polishing any one slide. Use Home > New Slide and choose an appropriate layout. Built-in layouts provide predefined positions and placeholders for titles, text, pictures, charts, and other content. They are faster to maintain than manually drawing every box, and Microsoft recommends built-in designs as part of accessible slide creation.
Give every slide a working title that states its job. “Results” only names a topic; “Sign-ups increased after the shorter form launched” communicates a message. In Slide Sorter view, those titles should form a coherent argument even before the body content is complete.
3. Put one main message on each slide
Each slide should answer one question or support one step in the story. Replace paragraphs with the smallest useful evidence: a short list, a chart, a labeled image, a comparison, or one number with context. If you need to shrink the text repeatedly, the slide is probably doing more than one job.
Move supporting explanation into speaker notes. Notes let you preserve context without asking the audience to read and listen to the same paragraph. Write prompts rather than a full script unless exact wording is required.
4. Add visuals that explain something
Use Insert > Pictures, Shapes, Icons, SmartArt, or Chart only when the visual clarifies a relationship, sequence, contrast, or piece of evidence. Resize pictures from a corner to preserve proportions, and crop instead of stretching. Do not use a decorative image where the audience needs a chart or source.
If you need to create or adapt visual assets, review ToolMerit’s AI images and design tools guidance. Generated artwork should remain illustrative; it should not impersonate a screenshot, benchmark, customer, or real result.
5. Make the deck readable and accessible
Use clear slide titles, sufficient contrast, descriptive link text, and a consistent reading order. Add concise alternative text to informative visuals; mark purely decorative visuals as decorative. Do not use color as the only way to distinguish categories or status.
Run PowerPoint’s Accessibility Checker before sharing. Microsoft’s PowerPoint accessibility guidance also recommends unique slide titles, built-in slide designs, meaningful links, alternative text, and checking reading order.
6. Add notes, sources, and an explicit next step
Place citations close to the chart, quotation, or claim they support. A short source label can appear on the slide; the full link can live in notes or a final sources slide. Check that the audience can tell which statements are data, which are assumptions, and which are recommendations.
End the deck with a concrete next action. Name the decision, owner, deadline, or follow-up. “Questions?” may start a conversation, but it does not tell the audience what should happen afterward.
7. Rehearse in Slide Show and Presenter View
Start the slide show from the beginning and deliver it aloud. Check whether the story still makes sense when you cannot edit mid-sentence. If available, Presenter View shows your current slide, next slide, speaker notes, and timing controls while the audience sees only the presentation. Microsoft documents these controls in its Presenter View guide.
When the deck runs long, remove a branch of the story or move detail into follow-up material. Speaking faster rarely fixes an overfilled presentation.
8. Save, export, and verify the delivered version
Save the editable PowerPoint file first. Then export the format your audience needs. PowerPoint’s File > Export options can create a PDF, video, or Word-based handout in supported desktop versions. A PDF is useful when recipients need a stable reading copy rather than animations or presenter controls.
Open the exported file and inspect every page. Confirm that fonts, charts, links, image crops, symbols, and page order survived the export. Keep the source deck, shared copy, and supporting data clearly named so later corrections do not begin from an outdated attachment.
Use the six-slide first-deck blueprint
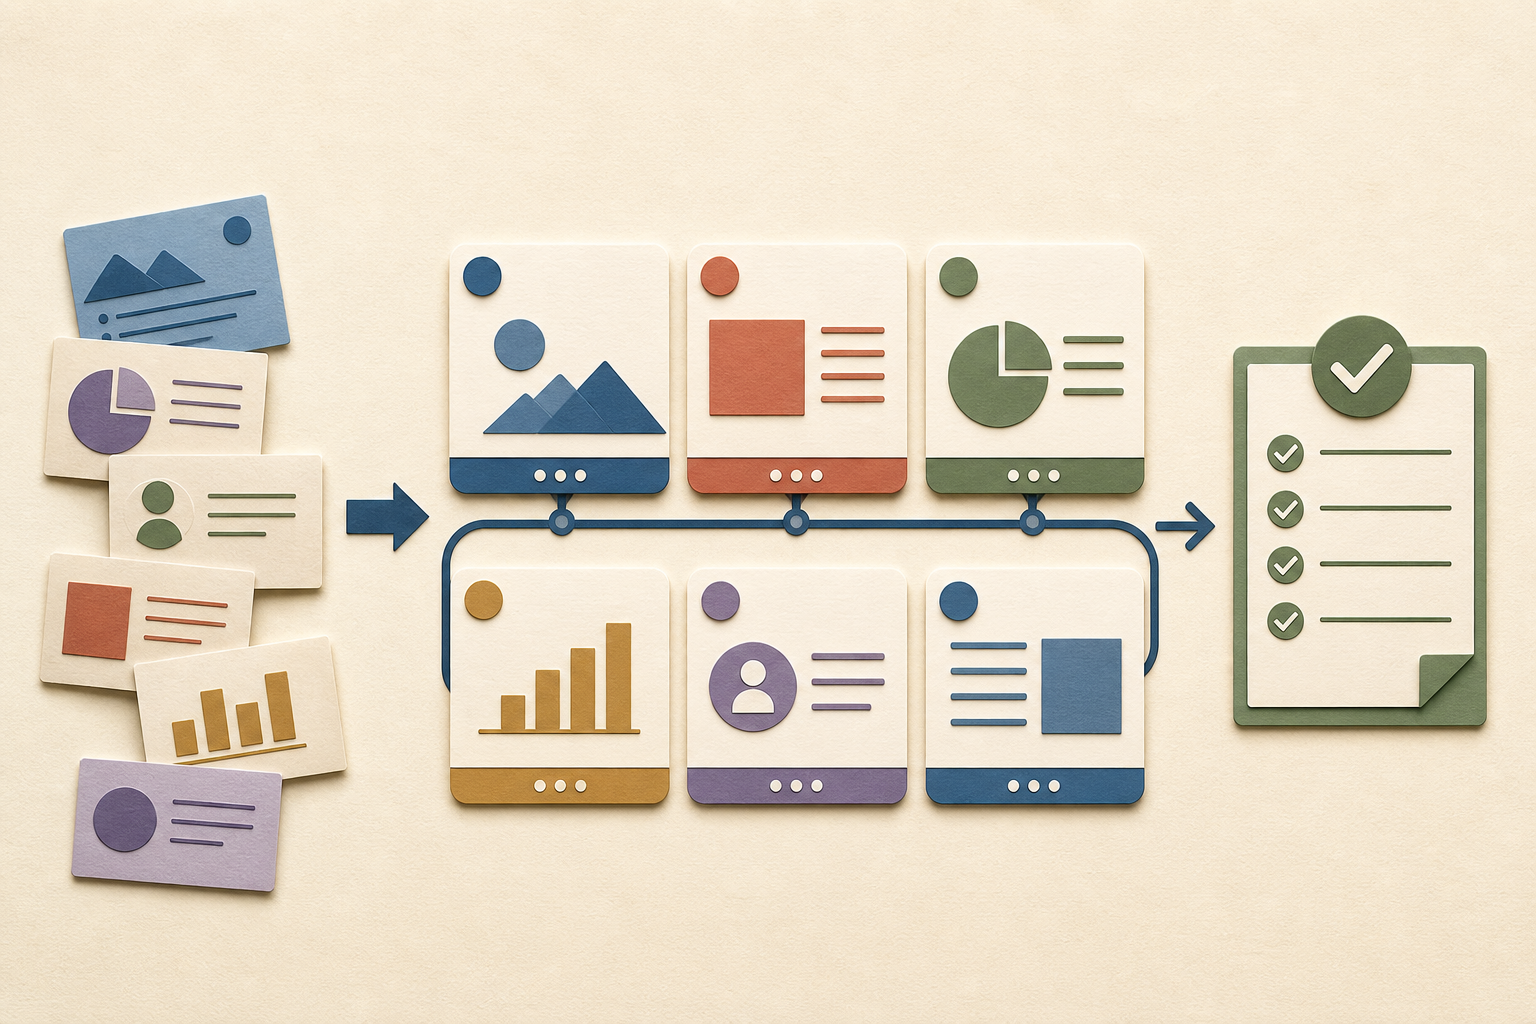
This blueprint is deliberately small. It gives a beginner enough structure for a useful short presentation without turning every supporting detail into a slide.
| Slide | Job | What appears on screen | Transition you should be able to say |
|---|---|---|---|
| 1 | Frame the outcome | Topic, audience, and desired result | “Here is the decision or message this deck supports.” |
| 2 | Establish the situation | One problem, opportunity, or essential context | “This is why the subject matters now.” |
| 3 | Show the evidence | A verified chart, example, or small set of facts | “The evidence points to this pattern.” |
| 4 | Present the response | The proposal, explanation, process, or answer | “This is the practical response to that pattern.” |
| 5 | Address the tradeoff | Limit, cost, risk, or alternative | “This works under these conditions, with this constraint.” |
| 6 | Close with action | Decision, owner, deadline, or next step | “Here is what should happen next.” |
Not every deck must contain exactly six slides. Expand the sequence only when a new slide has a distinct job. For a complex workshop or report, the six jobs can become sections rather than individual slides.
Run the presentation preflight checklist
A deck is ready when it works as a file and as a delivered story. Check these items in order:
- The first slide makes the topic and intended outcome clear.
- Every slide has a unique, descriptive title.
- Each slide supports one main message.
- Numbers, quotations, charts, and claims have a traceable source.
- Text is readable in the actual room or video-call layout.
- Informative visuals have useful alternative text and a sensible reading order.
- The Accessibility Checker has no unresolved issue you can reasonably fix.
- Speaker notes support delivery without duplicating the entire slide.
- The presentation fits the available time when spoken aloud.
- The exported or shared copy opens correctly and includes the intended slides.
If the deck fails several checks, return to the story before adjusting colors and transitions. Structural problems compound; decorative polish cannot repair a missing outcome or unsupported claim.
Fix common first-deck problems
| Symptom | Likely cause | Best first fix |
|---|---|---|
| Text is too small | One slide contains several messages | Keep the strongest evidence, move explanation to notes, and split only if the second slide has a distinct job. |
| Slides look inconsistent | Objects were manually formatted one by one | Reapply a theme and built-in layouts, then reset individual slides where appropriate. |
| Pictures look stretched or blurry | Images were resized from a side handle or started too small | Restore proportions, crop from a corner, or replace the file with a suitable source image. |
| The story feels like a list | Slide titles name topics instead of conclusions | Rewrite titles as takeaways and test the sequence in Slide Sorter view. |
| The presentation runs long | Every supporting detail was treated as essential | Remove a story branch, create follow-up material, and rehearse again. |
| Presenter View appears on the wrong screen | The display or monitor selection is reversed | Check Use Presenter View and the monitor setting before the audience joins. |
What a completed first PowerPoint looks like
Your first presentation is complete when another person can open it, understand the sequence from the slide titles, identify the evidence, and see the requested next step without needing you to repair the file. During delivery, you should be able to explain the story from notes rather than read the canvas.
Keep this version as a baseline. After the presentation, record which questions appeared, which slide caused confusion, and what information the audience needed next. That feedback gives the next deck a better starting point than adding more effects. For more practical production workflows, browse ToolMerit’s creator guides.