A cross-platform screenshot guide organized by operating system, capture scope and destination, with built-in shortcuts, save locations and privacy checks.
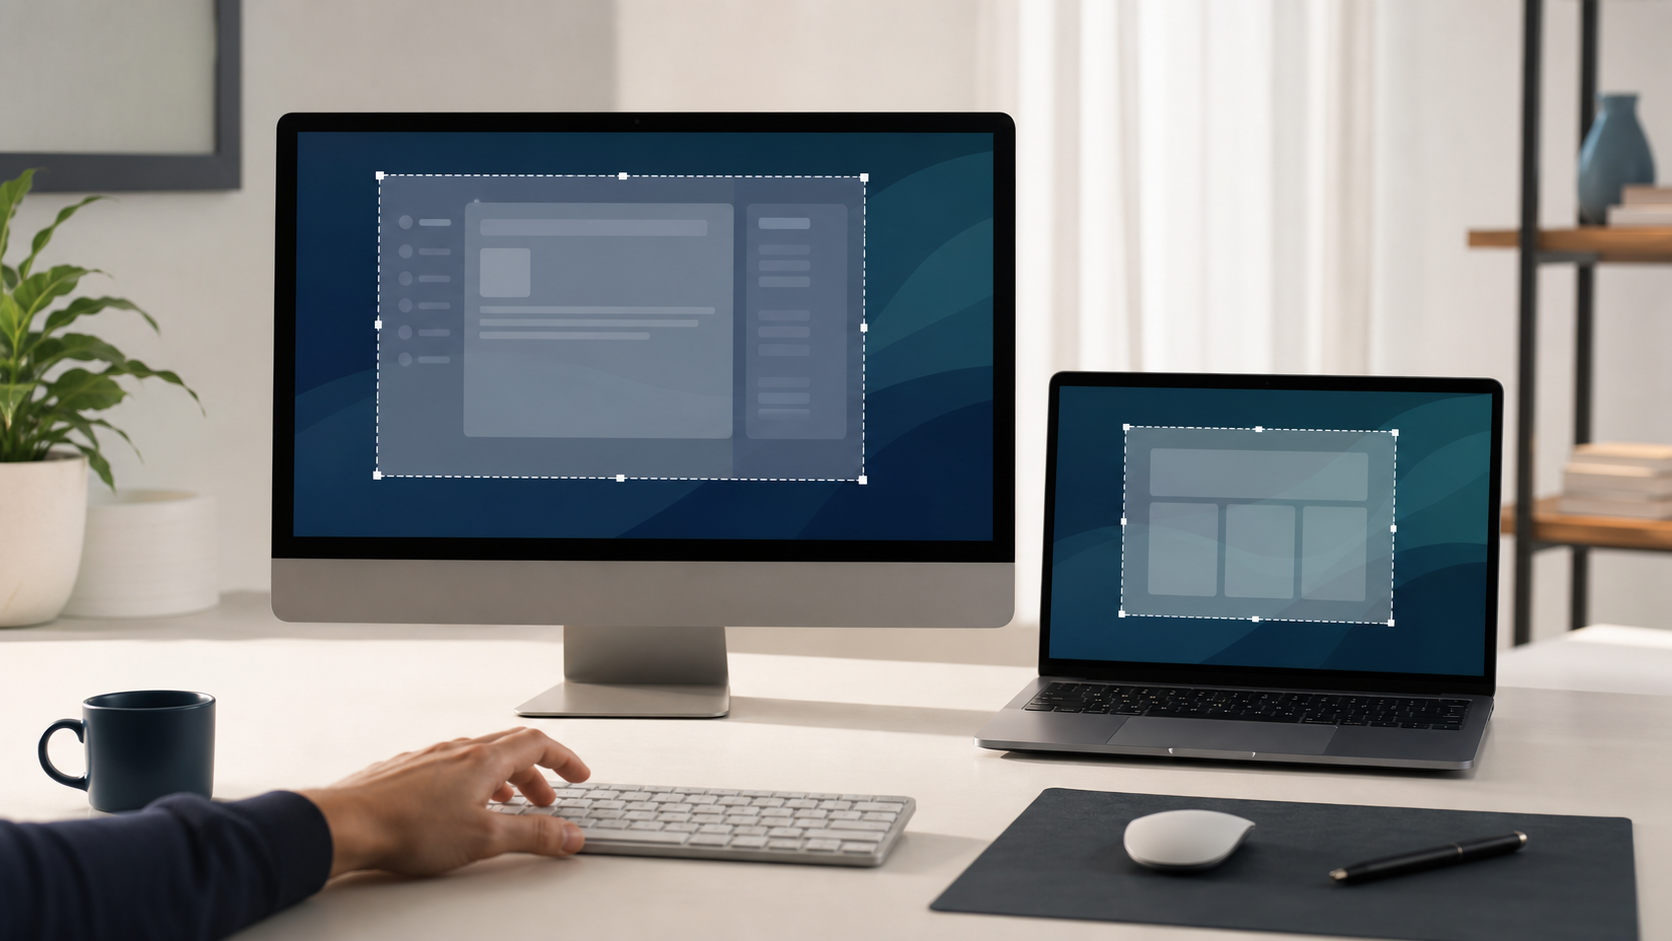
Does the computer show a Windows Start button, a Mac menu bar, a Chromebook shelf, or a Linux desktop? That answer matters more than the brand printed on the case. A Dell can run Windows or ChromeOS, a Mac can use an external Windows keyboard, and Linux shortcuts vary by desktop environment.
First identify the operating system. On Windows, press Windows + Shift + S. On a Mac, press Shift + Command + 5. On a Chromebook, press Shift + Ctrl + Show windows. On GNOME Linux, press Print. Each opens a capture tool where you can choose a region, window, or full screen; then confirm whether the result was saved as a file or copied to the clipboard.
Identify the computer before choosing a shortcut
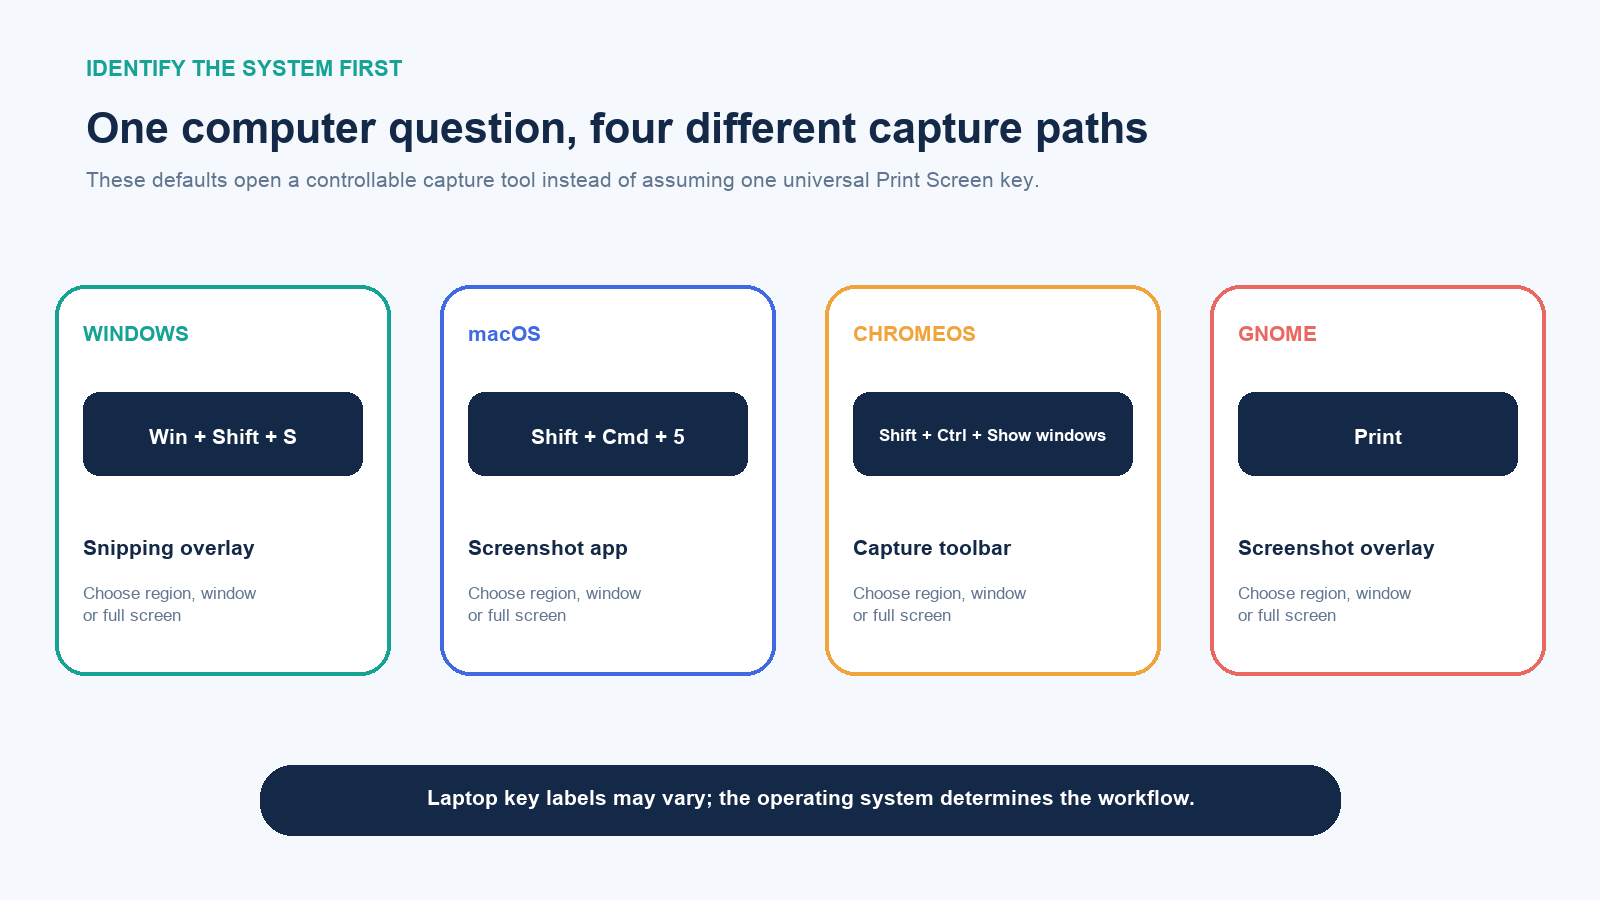
- Windows: a Windows logo appears on the taskbar and usually on the keyboard. The built-in tool is Snipping Tool.
- macOS: the top menu bar has an Apple menu and the keyboard uses Command (⌘). The built-in tool is Screenshot.
- ChromeOS: the bottom shelf and Launcher identify a Chromebook. The top row often includes a Show windows key, shaped like a rectangle with lines.
- Linux: the distribution may use GNOME, KDE Plasma or another desktop. This guide gives GNOME’s official defaults; check the desktop’s shortcut settings when the layout differs.
If you are connected to another computer through remote desktop, decide which system should receive the shortcut. The local machine may intercept the keys before the remote session sees them. Use the remote software’s send-key command or its own capture control when necessary.
Choose the output before the shortcut
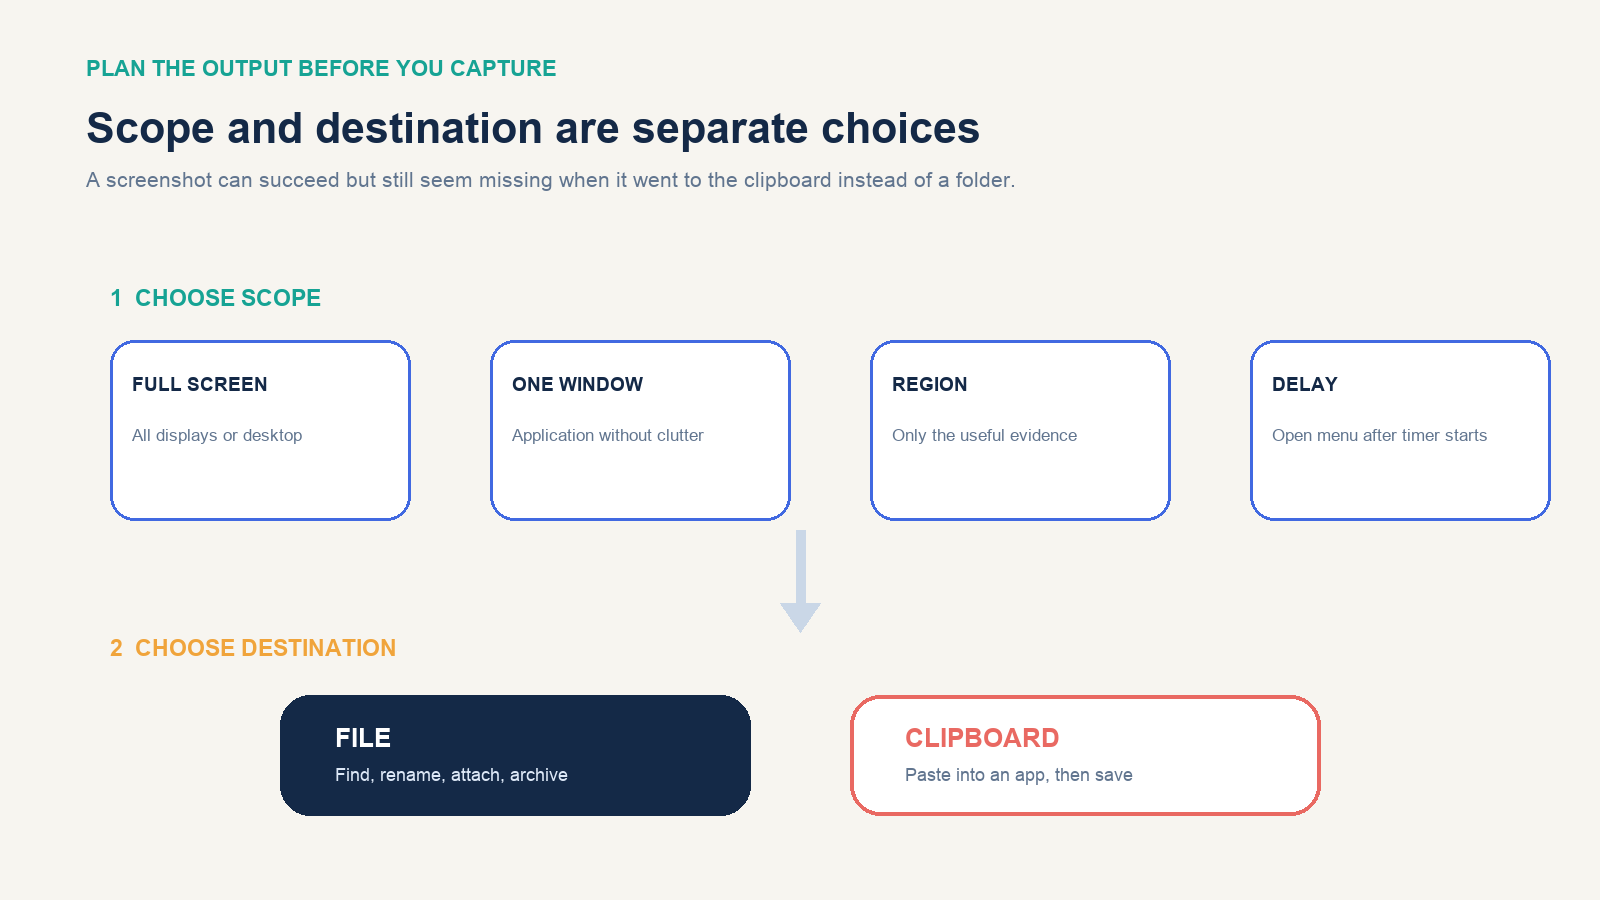
Make two decisions:
- Scope: full screen, one window, a selected region, or a delayed capture for an open menu.
- Destination: an image file you can locate and attach, or a clipboard copy you will paste into another app.
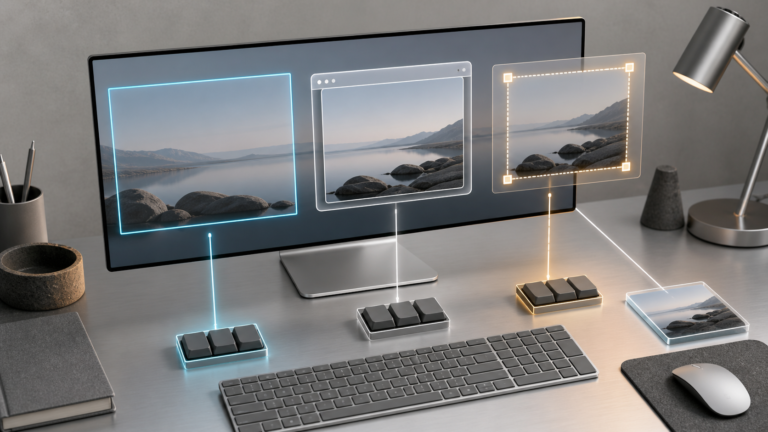
Region capture is the safest default for support messages and tutorials because it reduces irrelevant content before the image exists. Use a full-screen method when the spatial relationship among windows or displays matters. Use a window method when borders and application context matter but the desktop does not.
Capture menus, tooltips, and temporary states
A menu may close when you press a shortcut or click another control. Use a capture tool’s timer or delay: start the countdown, reopen the menu, place the pointer if it matters, and wait for capture mode. Windows Snipping Tool exposes a delay control; macOS Screenshot provides a timer in Options. When the built-in tool has no convenient delay, record a short screen video and extract an approved still only if a recording is appropriate for the content.
Decide whether the pointer is evidence. It can show where to click in a tutorial, but it can also obscure text or imply a selection that did not occur. GNOME exposes a pointer toggle in its capture overlay, and other systems offer pointer controls in certain modes. State annotations should be added after capture so they remain visually distinct from the original interface.
Choose a file that survives the next step
PNG is a reliable default for interface text, diagrams and support evidence because it preserves sharp edges without the artifacts common in heavily compressed photos. A platform may use another format under a current setting—for example, supported recent Macs can offer HDR capture in HEIF. If the recipient or ticket system cannot open that format, export a compatible copy while preserving the original. Rename the file with a meaningful subject and timestamp rather than sending a sequence of ambiguous “Screenshot” files.
Computer screenshot cheat sheet
| System | Open capture controls | Fast full-screen capture | Typical destination |
|---|---|---|---|
| Windows 10/11 | Windows + Shift + S | Windows + PrtSc | Snip: clipboard/editor; full file: PicturesScreenshots |
| macOS | Shift + Command + 5 | Shift + Command + 3 | Desktop by default; location can change in Options |
| ChromeOS | Shift + Ctrl + Show windows | Ctrl + Show windows | Downloads by default and clipboard |
| GNOME Linux | Choose Screen in the overlay | Pictures/Screenshots and clipboard |
The table uses built-in operating-system behavior. Laptop manufacturers may combine Print Screen with another key, and external keyboards may label Command, Windows, Search or Show windows differently. The platform sections below provide alternatives that do not depend on one physical key.
Windows: use the Snipping Tool overlay
- Arrange the content and dismiss unrelated notifications.
- Press Windows + Shift + S.
- Choose Rectangle, Window, Full screen or Freeform.
- Select the target. Windows copies the snip to the clipboard.
- Click the notification to open Snipping Tool for crop, annotation and saving, or paste directly with Ctrl + V.
For an automatically saved full desktop, press Windows + PrtSc and look in PicturesScreenshots. Alt + PrtSc copies the active window. Plain PrtSc can copy the desktop or open screen snipping depending on the Windows accessibility setting and version.
If Print Screen shares a laptop key, hold Fn with the shortcut. Do not assume a particular function-row number across all brands. Windows + Shift + S is the clean fallback because it does not require Print Screen.
Mac: choose capture, file location, or clipboard
Press Shift + Command + 5 to open the Screenshot controls. Choose capture entire screen, selected window or selected portion. The Options menu can set a timer, choose the save location and control the floating thumbnail.
For faster shortcuts:
- Shift + Command + 3 captures the entire screen.
- Shift + Command + 4 changes the pointer to a crosshair for a selected region.
- After Shift + Command + 4, press Space and click a window or menu.
- Add Control to a screenshot shortcut to send the result to the clipboard instead of waiting for a desktop file.
By default, macOS saves files to the desktop with a timestamped name. If screenshots seem missing, open the Screenshot app with Shift + Command + 5 and inspect Options. The configured destination may have been changed. Clicking the floating thumbnail opens editing controls; waiting lets the file save.
Chromebook: use Show windows or the screen menu
Press Shift + Ctrl + Show windows to open Screen Capture, then choose full screen, partial or window. For a full screenshot without opening the toolbar first, press Ctrl + Show windows. Some Chromebooks have a dedicated Screenshot key.
If an external keyboard has no Show windows key, Google documents Ctrl + Shift + F5. In tablet mode, press Power + Volume down. Screenshots save to Downloads by default and are also copied to the clipboard. Open the Screen Capture settings to select a different folder.
Do not confuse Show windows with the full-screen key. If unsure, open the bottom-right system menu and select Screen capture instead of guessing the top-row icon.
GNOME Linux: use the screenshot overlay
On current GNOME desktops, press Print or choose the screenshot control from the system menu. The overlay lets you drag a region, choose Screen for the whole display or choose Window from an overview. GNOME saves the image to Pictures/Screenshots and also copies it to the clipboard.
GNOME documents Alt + Print for the focused window and Shift + Print for the entire screen. These are GNOME defaults, not universal Linux guarantees. KDE Plasma, Xfce, a tiling window manager or a distribution customization may use a different tool and location. Search the desktop’s keyboard settings for “screenshot” before installing a third-party utility.
Avoid the wrong screen on a multi-monitor computer
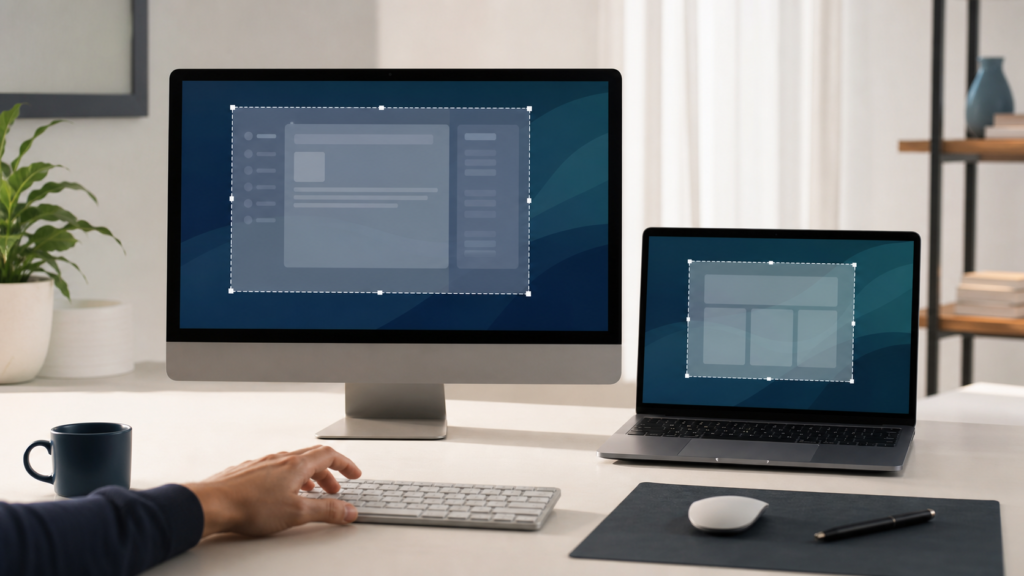
A full-screen shortcut can capture the combined desktop, including another monitor with private content. Before capturing, move the relevant window to the intended display and use Window or Region mode. Check the preview dimensions: an unexpectedly wide image often indicates multiple displays were included.
Display scaling can make a screenshot larger or smaller in pixels than expected. That is not necessarily a failed capture. If the image will document a layout defect, record the operating system, application version, display resolution and scaling percentage separately rather than trying to embed all context in the picture.
If the screenshot seems to disappear
- Check the clipboard. Paste into a blank document or image editor. Windows snips and several platform shortcuts copy before or instead of saving.
- Check the configured folder. Windows commonly uses PicturesScreenshots for Win + PrtSc, macOS uses the Screenshot Options destination, ChromeOS uses Downloads, and GNOME uses Pictures/Screenshots.
- Confirm the active window. An active-window shortcut can capture a dialog or another application that received focus.
- Use the on-screen tool. Open Snipping Tool, Screenshot, Screen Capture or the GNOME overlay through its menu when a physical key is shared or absent.
- Test ordinary desktop content. Some streaming, financial, remote-access or protected apps intentionally produce a black or blank image. Do not try to bypass the restriction.
- Check storage and permissions. If the preview appears but a file cannot save, choose another permitted folder and verify free space.
Review before you share
Inspect the image at full size for account names, browser tabs, notifications, email addresses, customer data, QR codes, API keys, recovery codes, file paths, timestamps and content on secondary displays. Crop to the smallest area that still proves the point.
Redact sensitive material in a flattened copy and reopen the exported image to verify the redaction. A rectangle placed over text in an editable document may be removable. When a screenshot is evidence for support, compliance, security or legal work, preserve an unmodified original privately and share a separately redacted derivative under the relevant policy.
Use the operating system’s built-in region tool for most everyday screenshots: Windows + Shift + S, Shift + Command + 5 on Mac, Shift + Ctrl + Show windows on Chromebook, or Print on GNOME. It minimizes both platform confusion and accidental disclosure while keeping full-screen and clipboard options available when the task specifically needs them.