
Use built-in tools to crop an existing screenshot—or capture only the region you need—with context and privacy checks before sharing.
To crop a screenshot, open it in your device’s built-in photo or screenshot editor, choose Crop, drag the boundary around the part you want to keep, and save. If you have not taken the screenshot yet, capture a region instead: Windows + Shift + S on Windows, Shift + Command + 4 on Mac, or the partial-screenshot option on Chromebook.
Before sharing, check the crop for private information and missing context. Cropping changes the visible frame; it is not a secure redaction method.

Use the shortest method for your situation
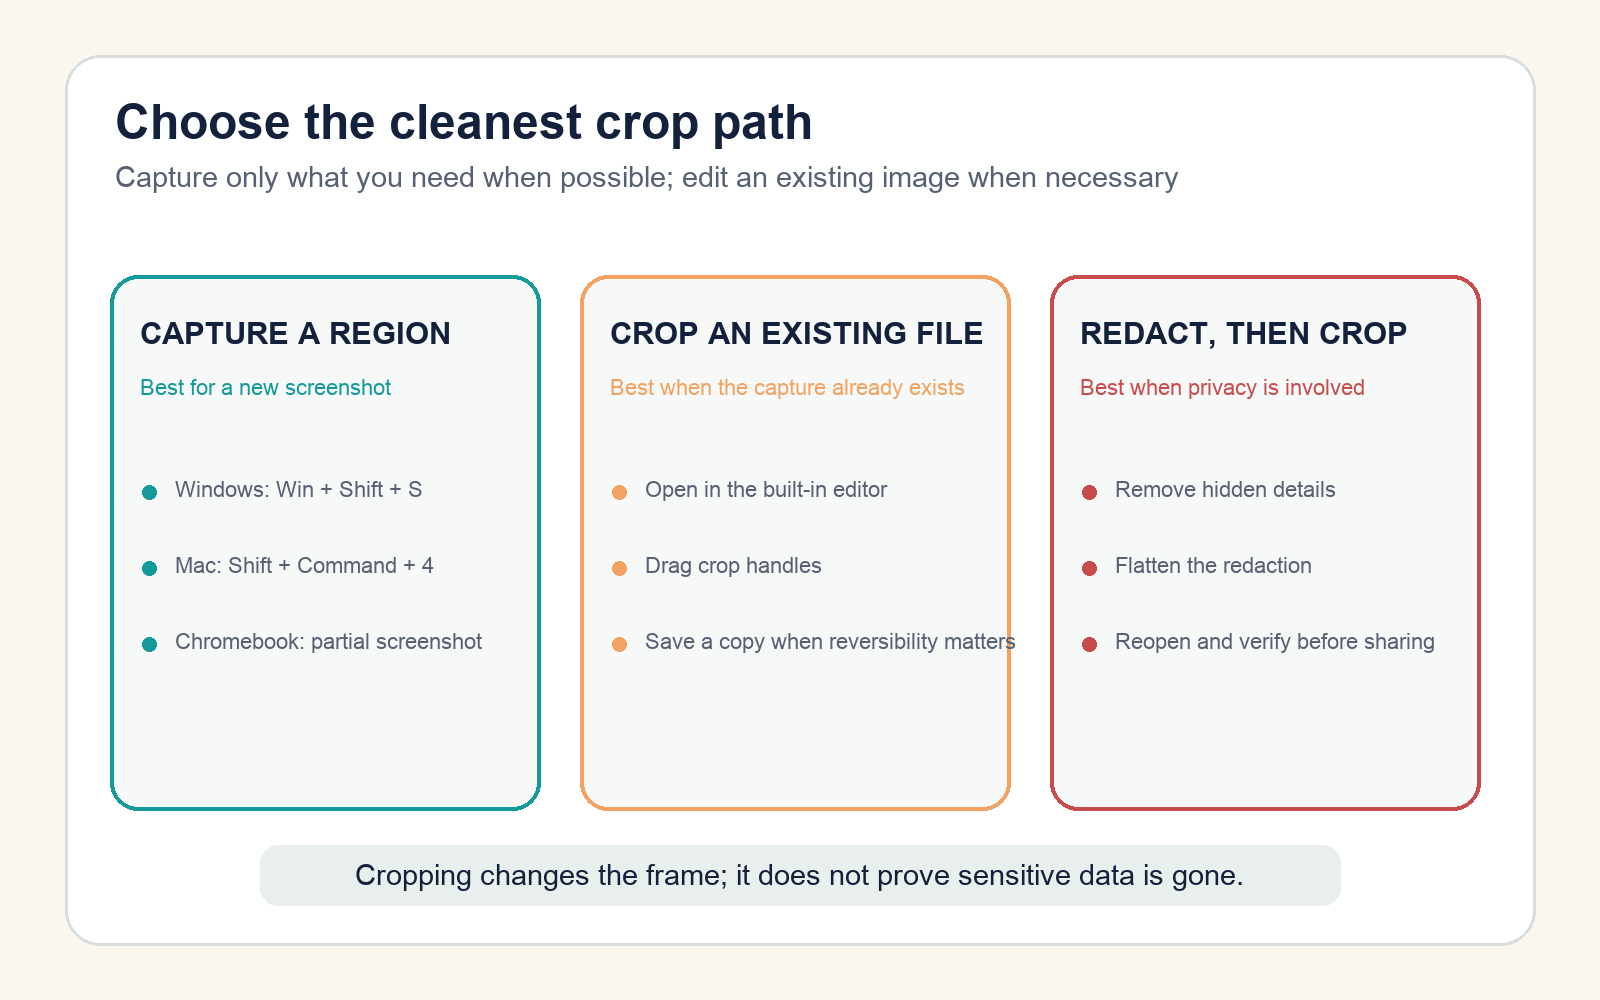
| Situation | Best action | Why |
|---|---|---|
| You can retake it | Capture only the required region | Faster and avoids extra pixels from the start |
| You already have the file | Use the built-in crop tool | No upload or third-party account required |
| You need a fixed shape | Choose an aspect-ratio preset | Produces a square, 16:9, or other consistent frame |
| The image contains private data | Redact securely, flatten, verify, then crop | A crop alone may leave recoverable or separate sensitive content |
Crop a screenshot on Windows
For a new capture, press Windows + Shift + S, select Rectangular mode, and drag around the area. Microsoft says the snip opens in Snipping Tool and is copied automatically, where the Image crop control can refine the frame.
For an existing screenshot, open the file in Snipping Tool or Photos, select the crop control, move the corners or edges, apply the crop, and use Save as if you want to preserve the original. If a menu disappears before capture, Snipping Tool also offers a delay.
Crop a screenshot on Mac
Retake only the needed region with Shift + Command + 4, then drag. To crop an existing image in Preview, open it, choose the rectangular selection tool, drag over the part to keep, and select Crop. Save or export a copy when the uncropped original matters.
Do not confuse image cropping with PDF cropping. Apple notes that cropping a PDF page in Preview can hide content rather than remove it. If the goal is confidentiality, use a proper redaction workflow and confirm what remains in the exported file.
Crop a screenshot on iPhone or iPad
- Open the screenshot thumbnail immediately after capture, or find the image in Photos.
- Tap Edit, then the Crop control.
- Drag the corners to enclose what should remain. Unlock the aspect ratio if a freeform crop is required.
- Tap Done.
Apple’s current iPhone guide also offers presets such as Square and 9:16, rotation, flip, straightening, and a Revert option for saved Photos edits. That reversibility is useful, but do not assume every exported copy or messaging service preserves it.
Crop a screenshot on Chromebook
For a new partial screenshot, press Shift + Ctrl + Show windows, choose Screenshot and Partial, then select the region. Google says screenshots are copied to the clipboard and normally saved in Downloads, unless a different folder is chosen.
To crop an existing file, open Files, double-click the screenshot to open Gallery, and select Crop & rotate. Google’s Chromebook documentation separates Crop from Rescale: crop removes edge content, while rescale changes width and height.
Keep enough context
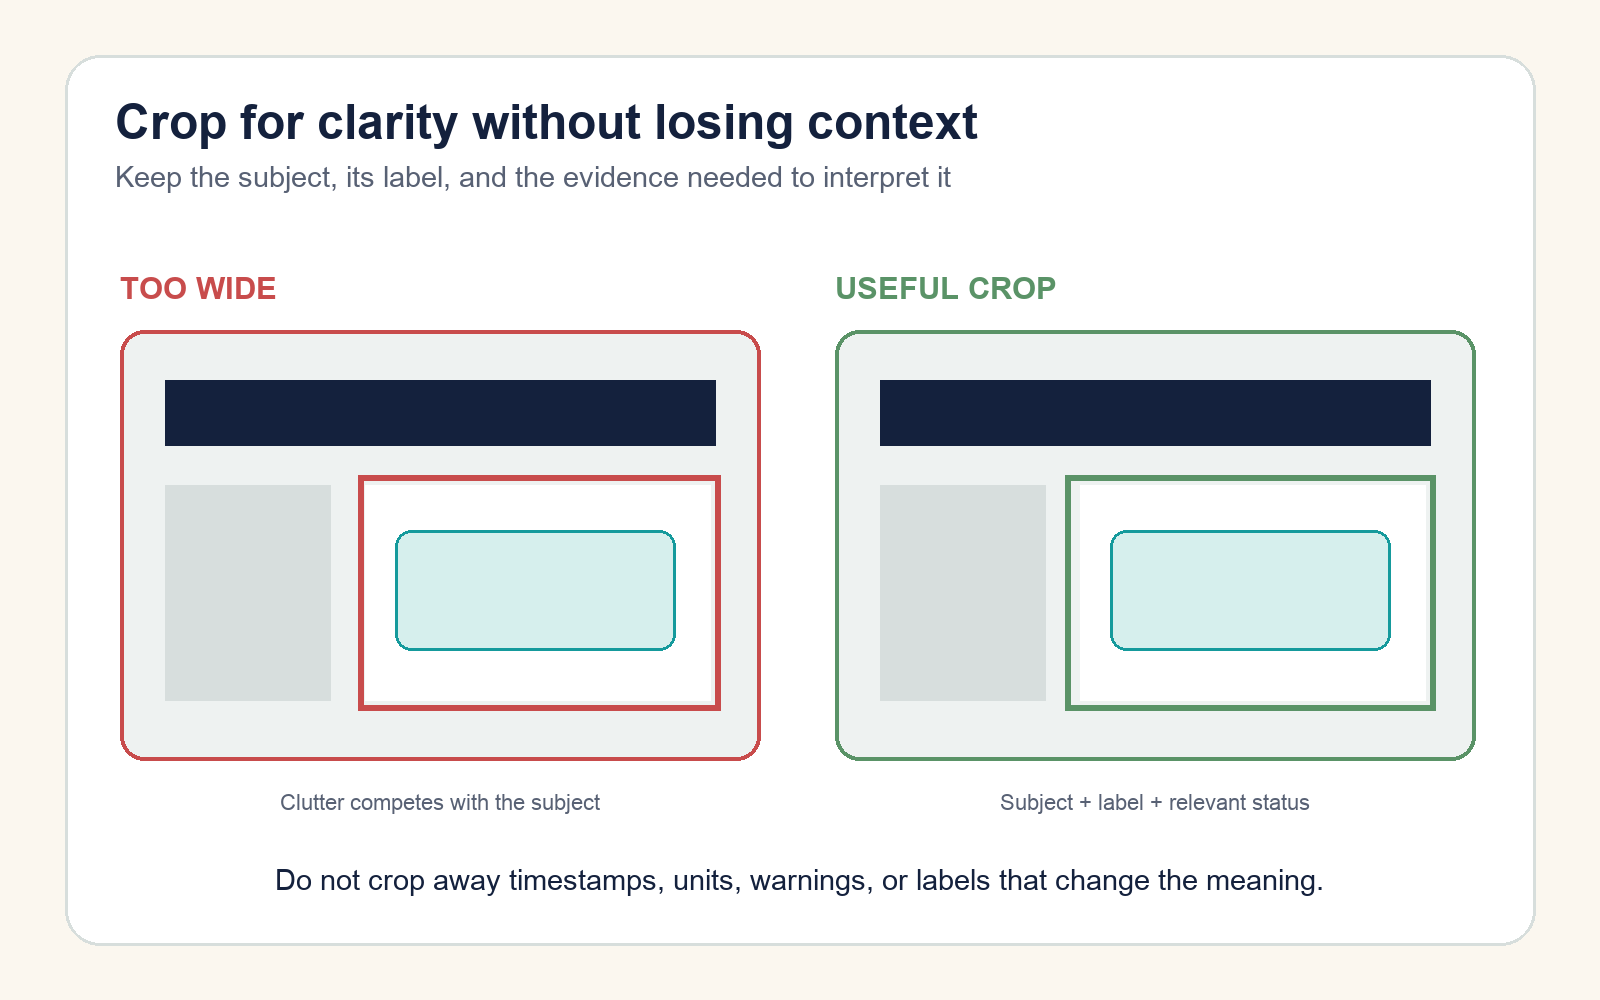
A tight crop is not automatically a good crop. Preserve the item name, relevant control, units, timestamp, error message, or state that supports the point. Remove unrelated tabs, notification previews, account avatars, and empty margins.
For support tickets, keep the full error and the affected application or page. For tutorials, use consistent dimensions and avoid cutting off the pointer target. For evidence, preserve the original file and record when and where it was captured; a crop should not imply that omitted context never existed.
Privacy check before sharing
- Look for email addresses, usernames, faces, account numbers, file paths, location details, browser tabs, and notifications.
- Do not cover text with a translucent marker or movable shape and assume it is removed.
- Flatten a true redaction into the exported image, reopen that exported file, and zoom in to verify.
- Remove metadata when location or device details matter.
- Share the smallest necessary file with the intended recipient.
The best workflow is simple: capture the needed region when possible; otherwise crop a copy, preserve meaning, and treat privacy redaction as a separate verified step.